home
about the artist
gallery
blog
links
contact

Archive for the ‘Dyeing’ Category

My Dyed Colorwheel

Tuesday, January 26th, 2016

_DSC7567

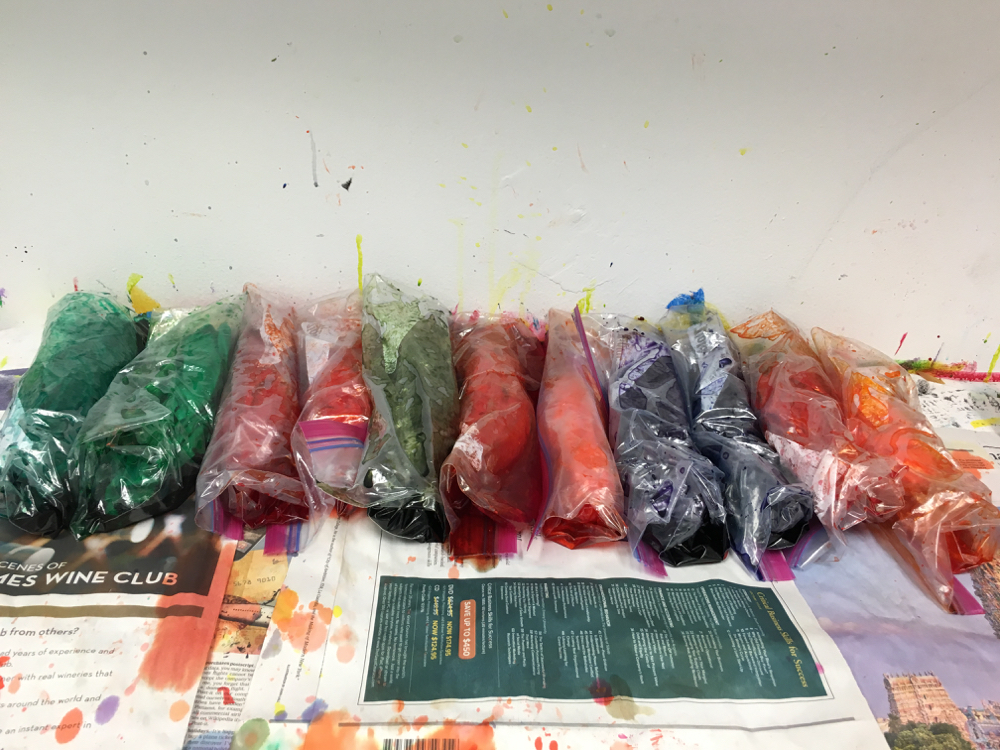
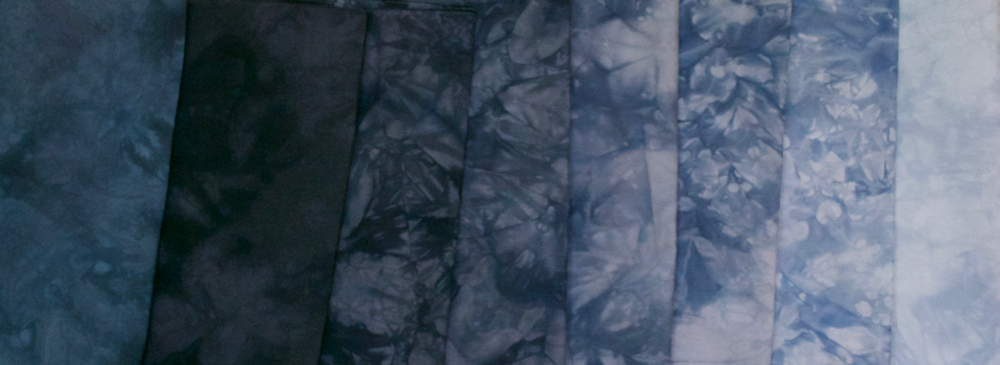
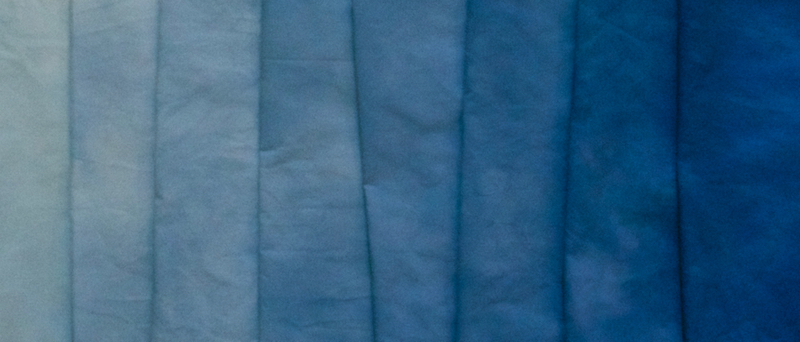
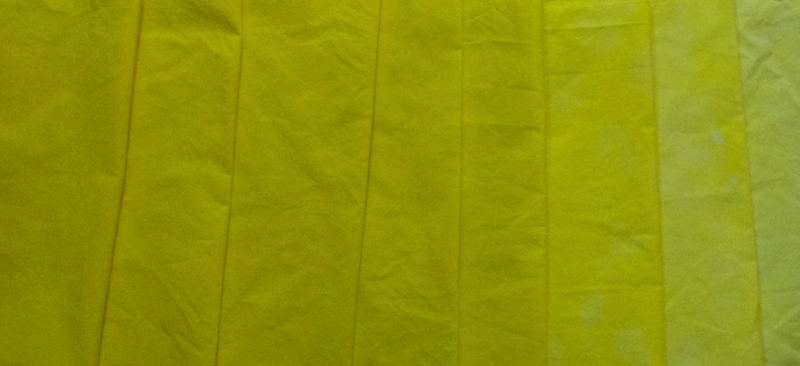
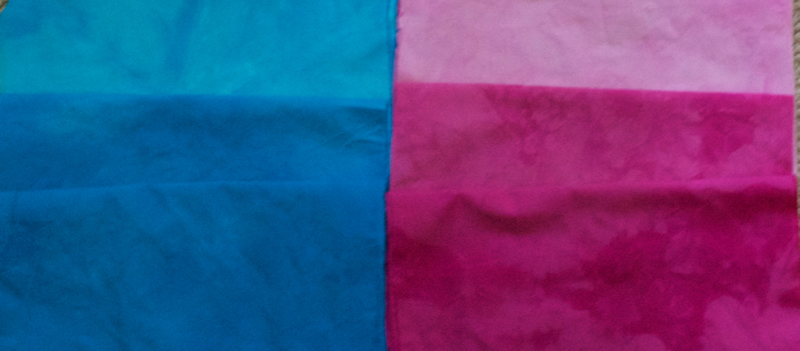
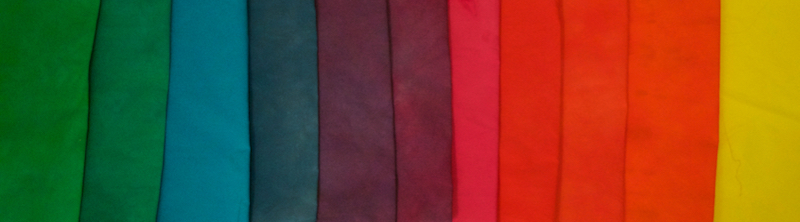
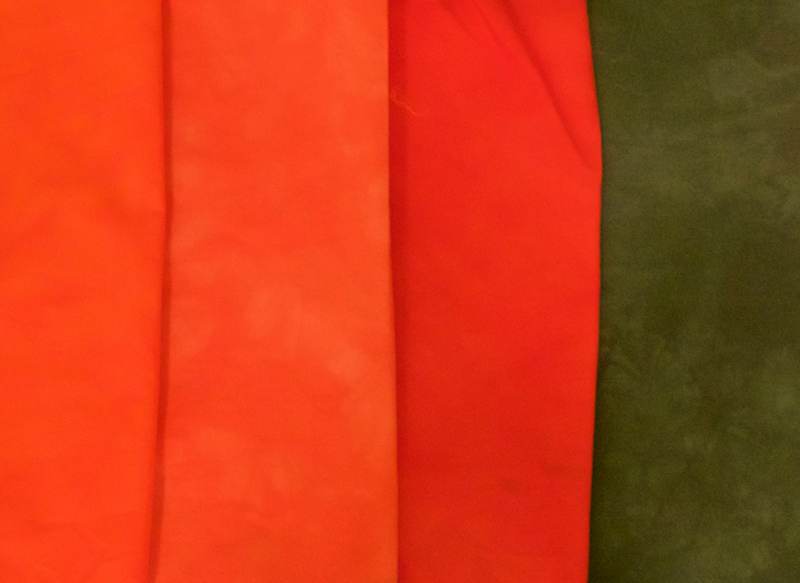
These are my color wheel fabrics so far. As I expected the really potent orange dye made all colors in which it was used look more orange. I want to get a real red, a better yellow green and yellow orange.

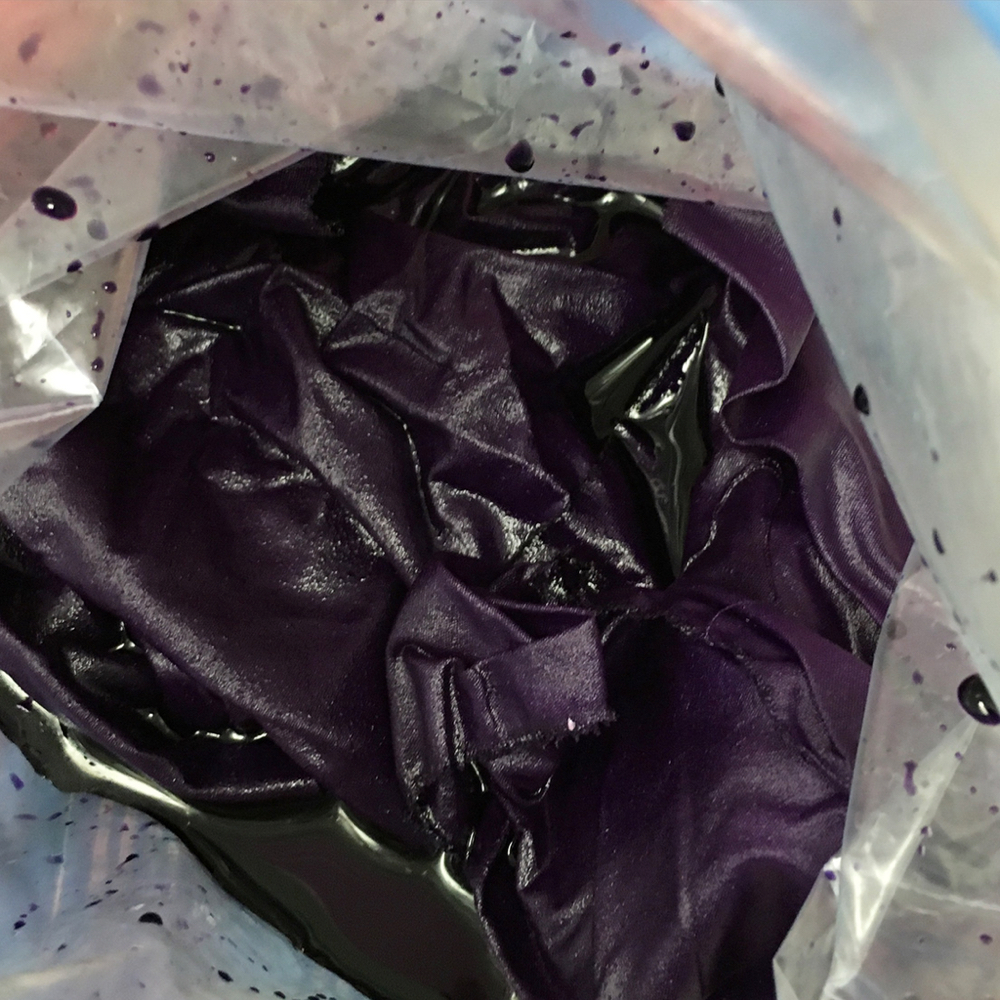
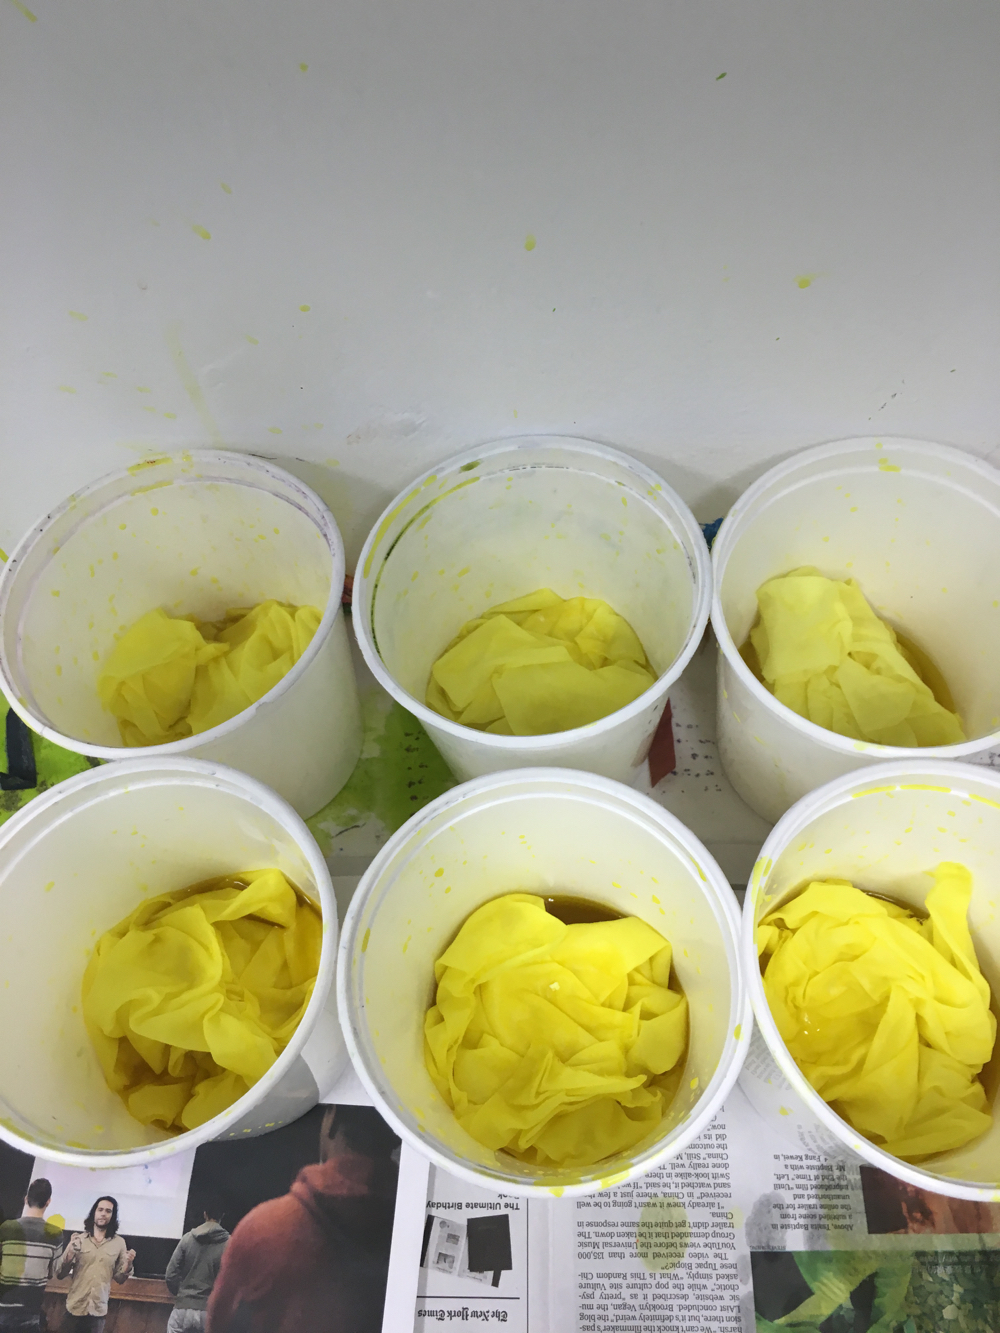
You can see that I dyed a lot of fabrics that turned orange in my attempt to get the right colors. Here are the other fabrics from yesterday’s run. More orange! And I love that green which is yellow with black. I wanted a lighter shade of that.

_DSC7568

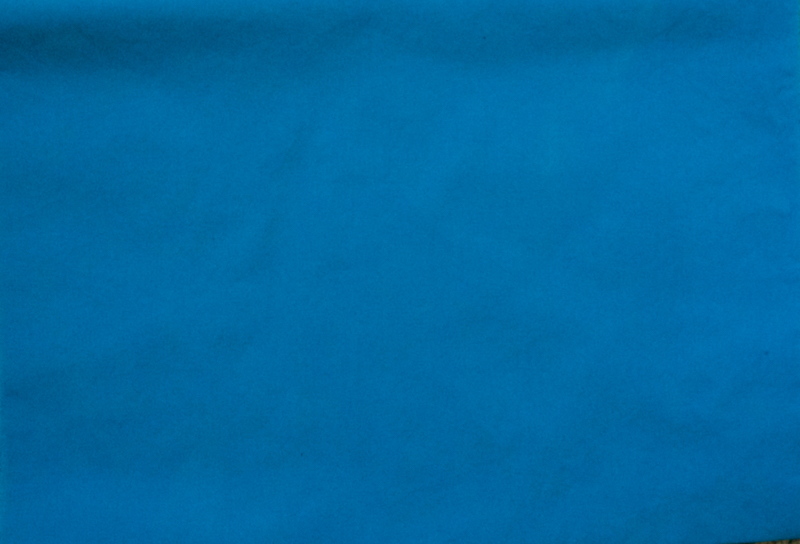
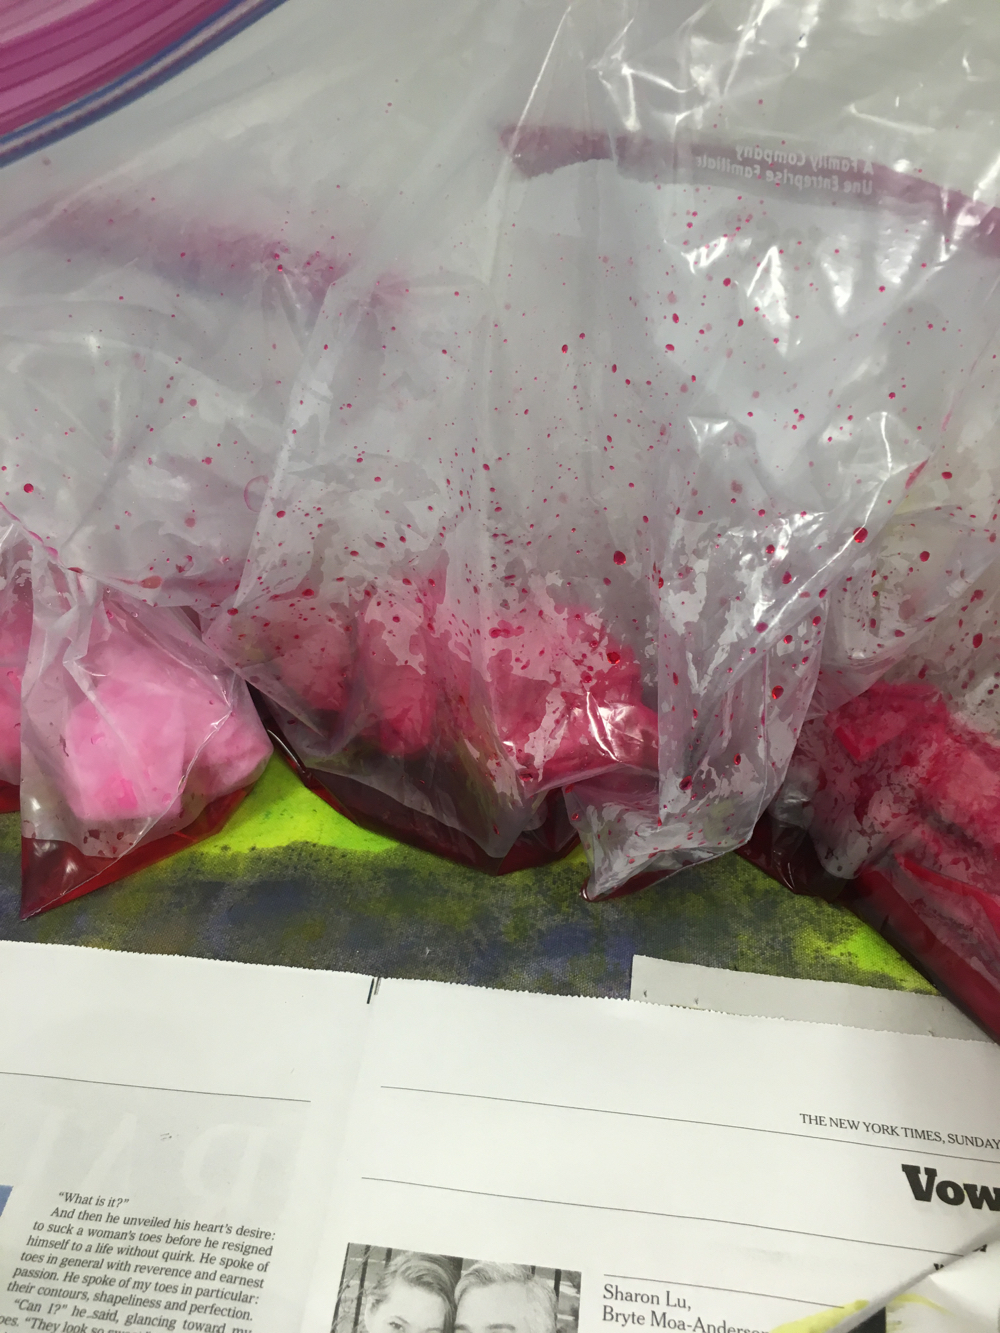
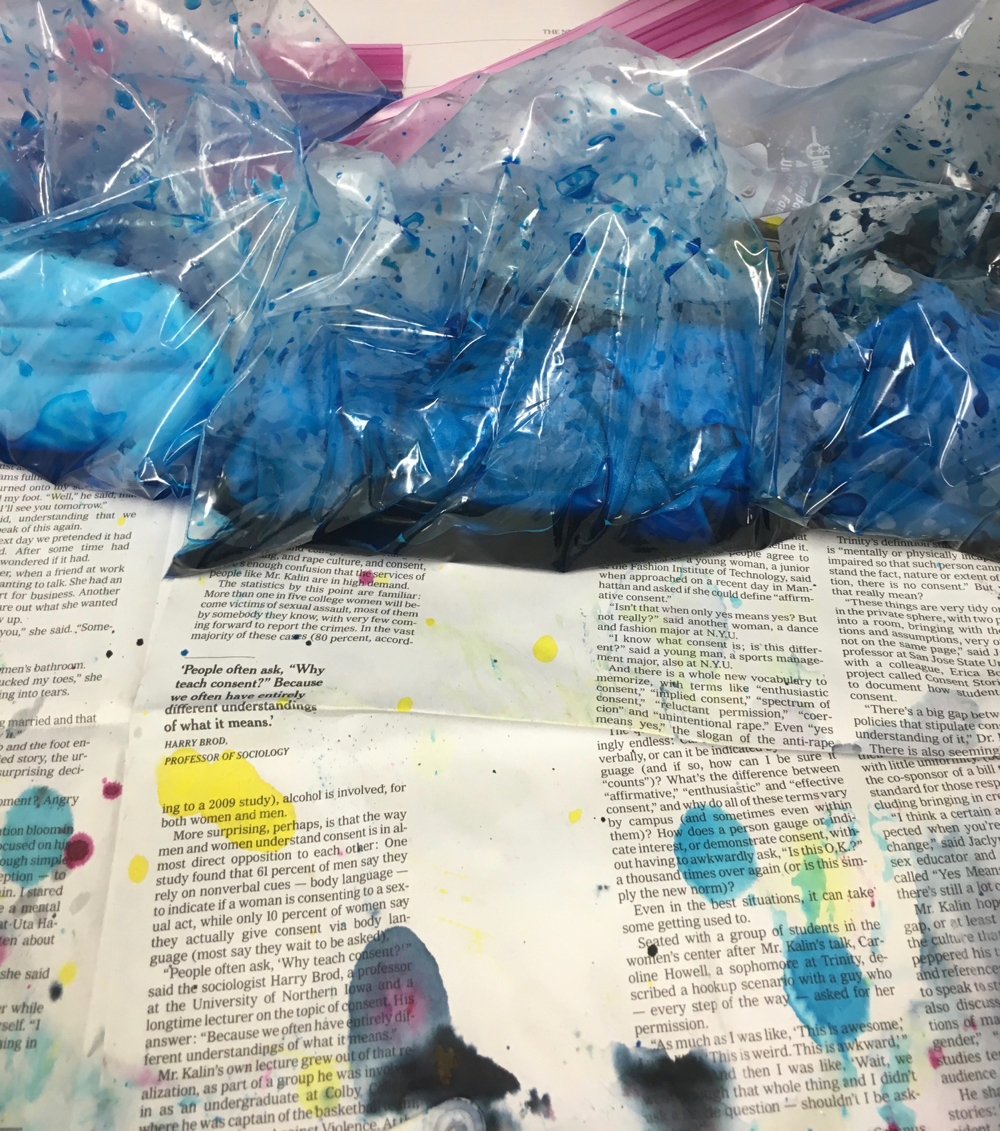
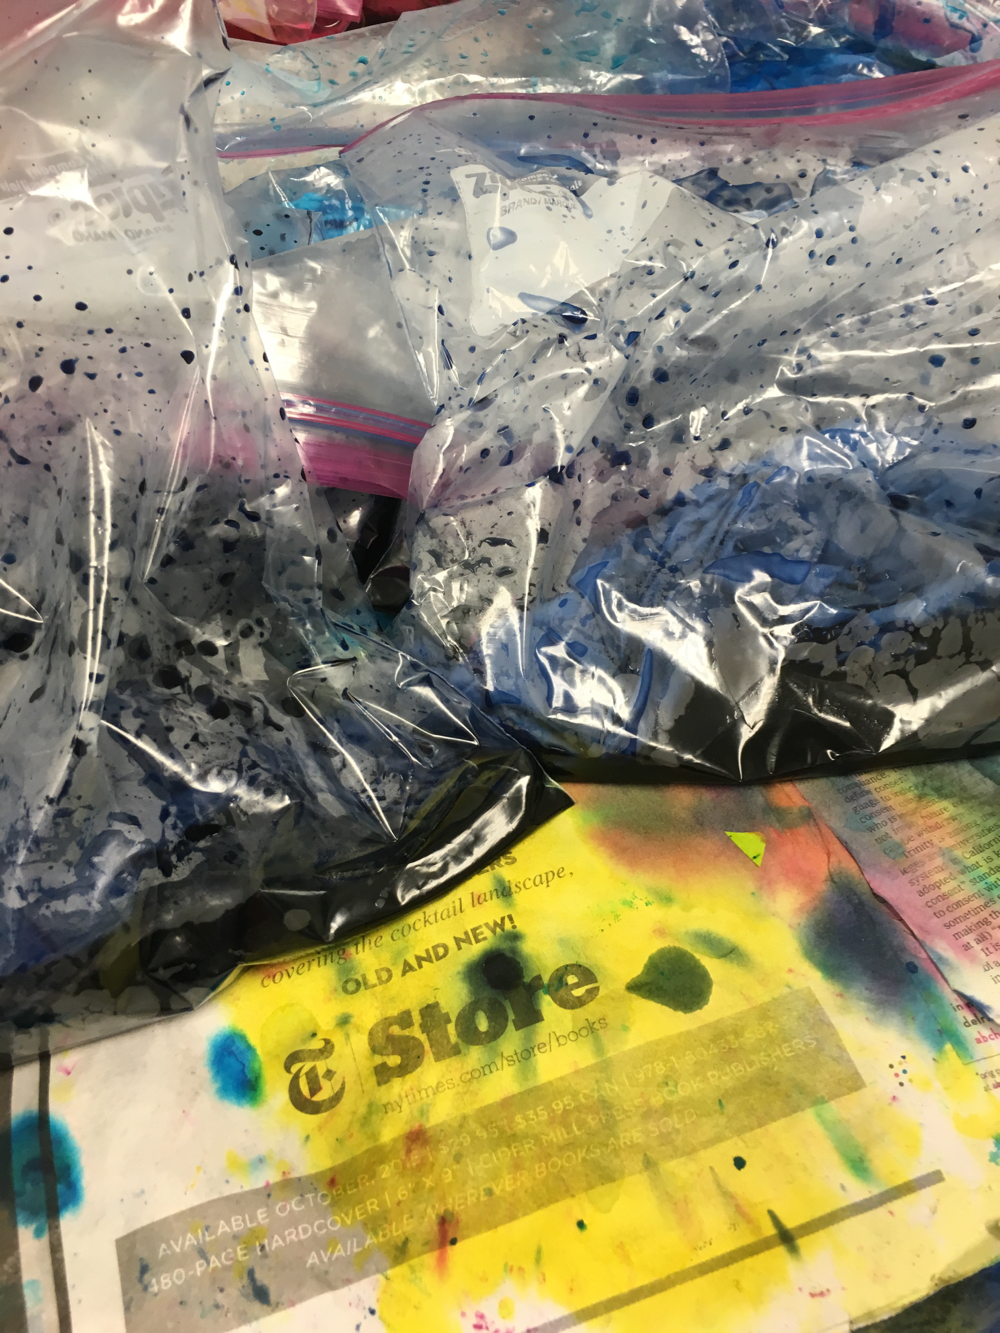
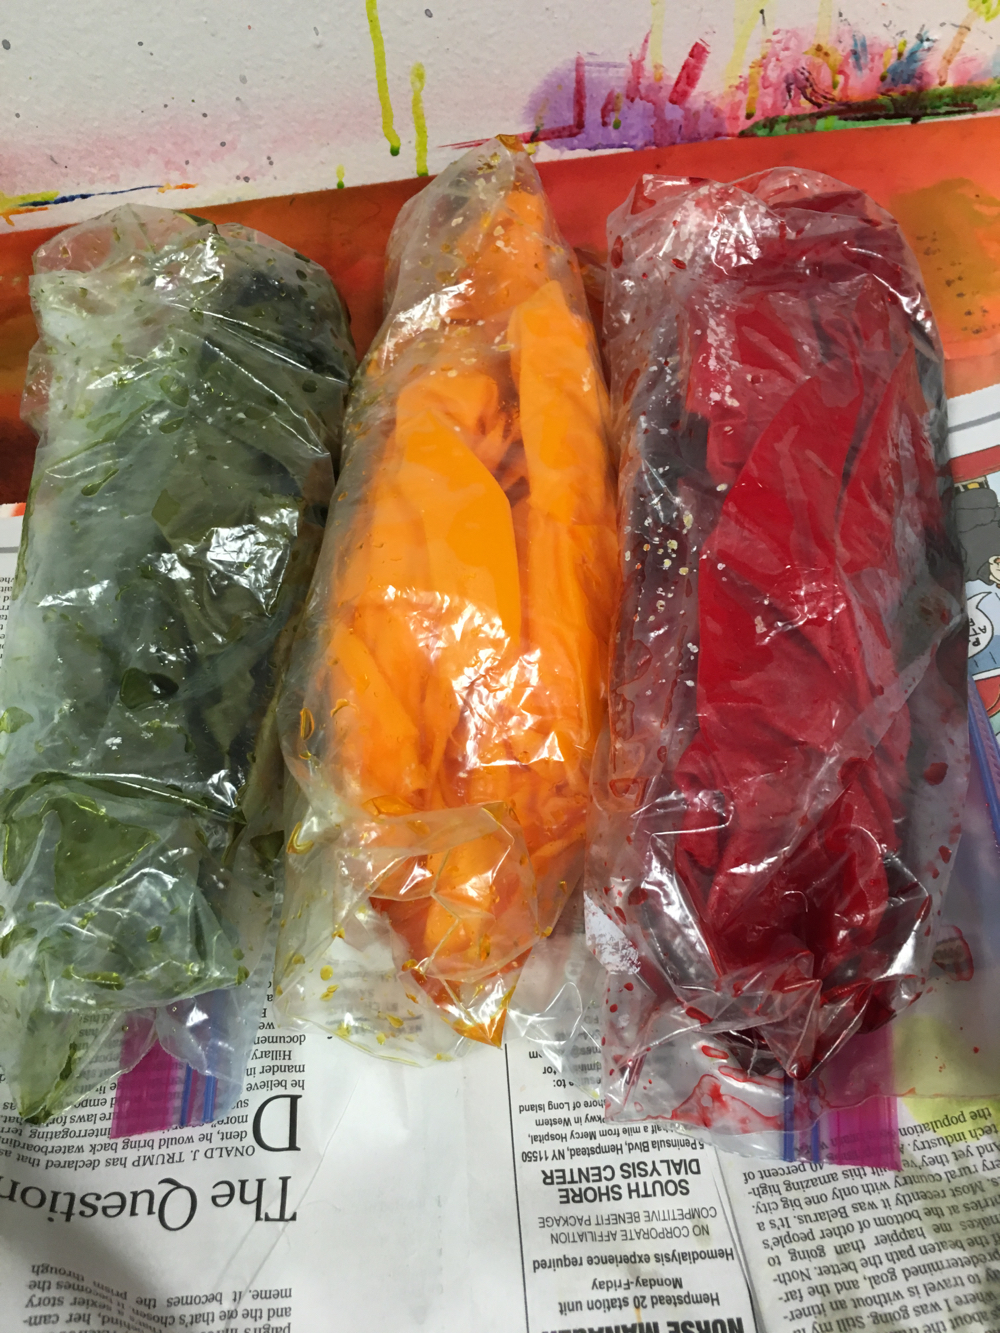
So, I went back to the studio today and dyed three more fabrics. Here they are, marinating in my warm studio. I will get them in the morning and wash, dry and iron them. I think I got what I was hoping for.

IMG_1332

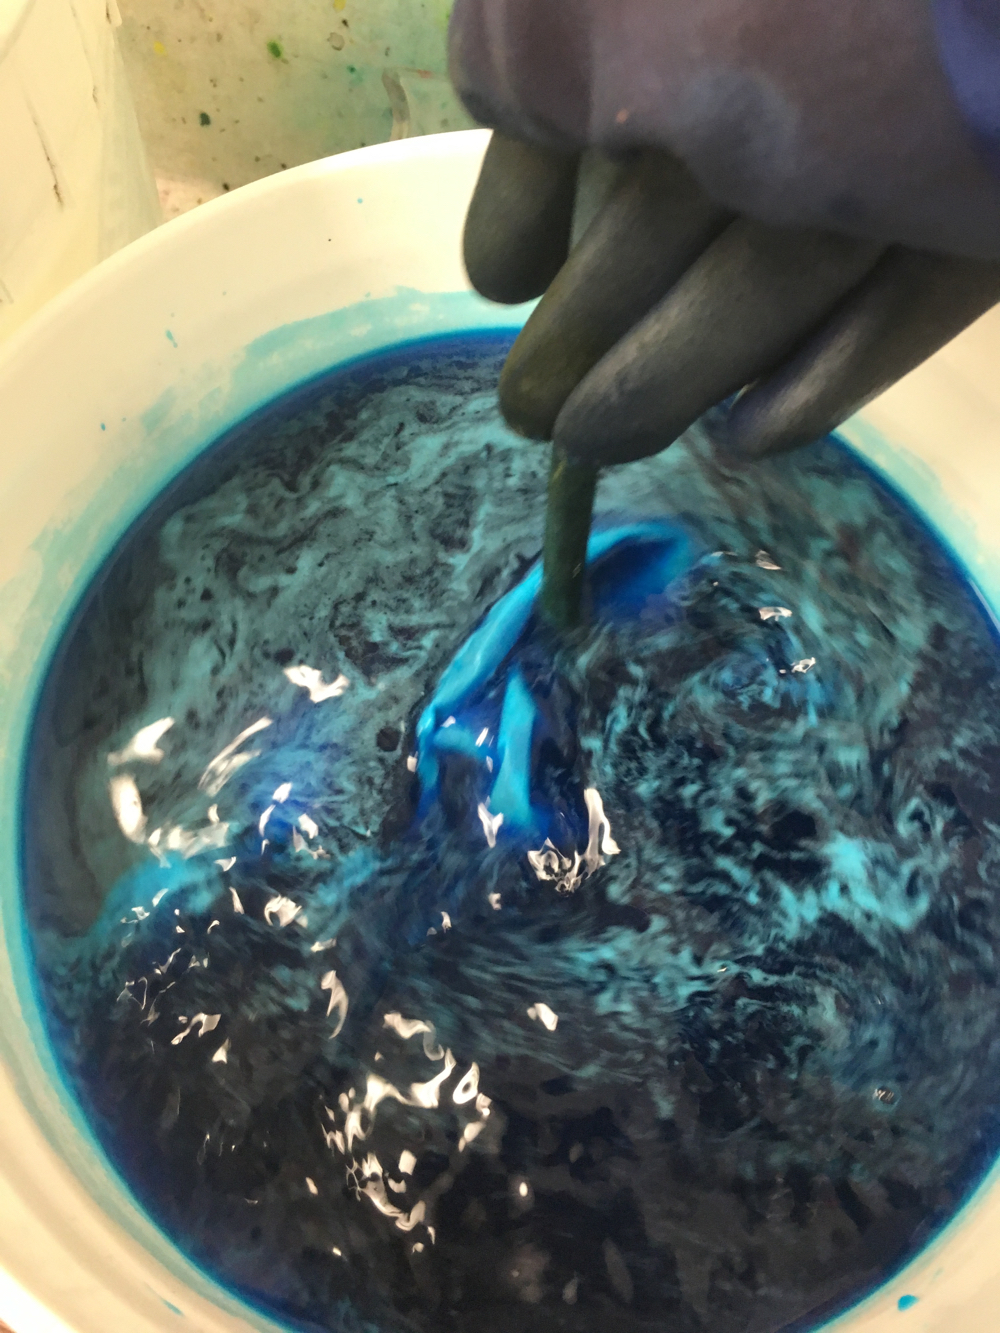
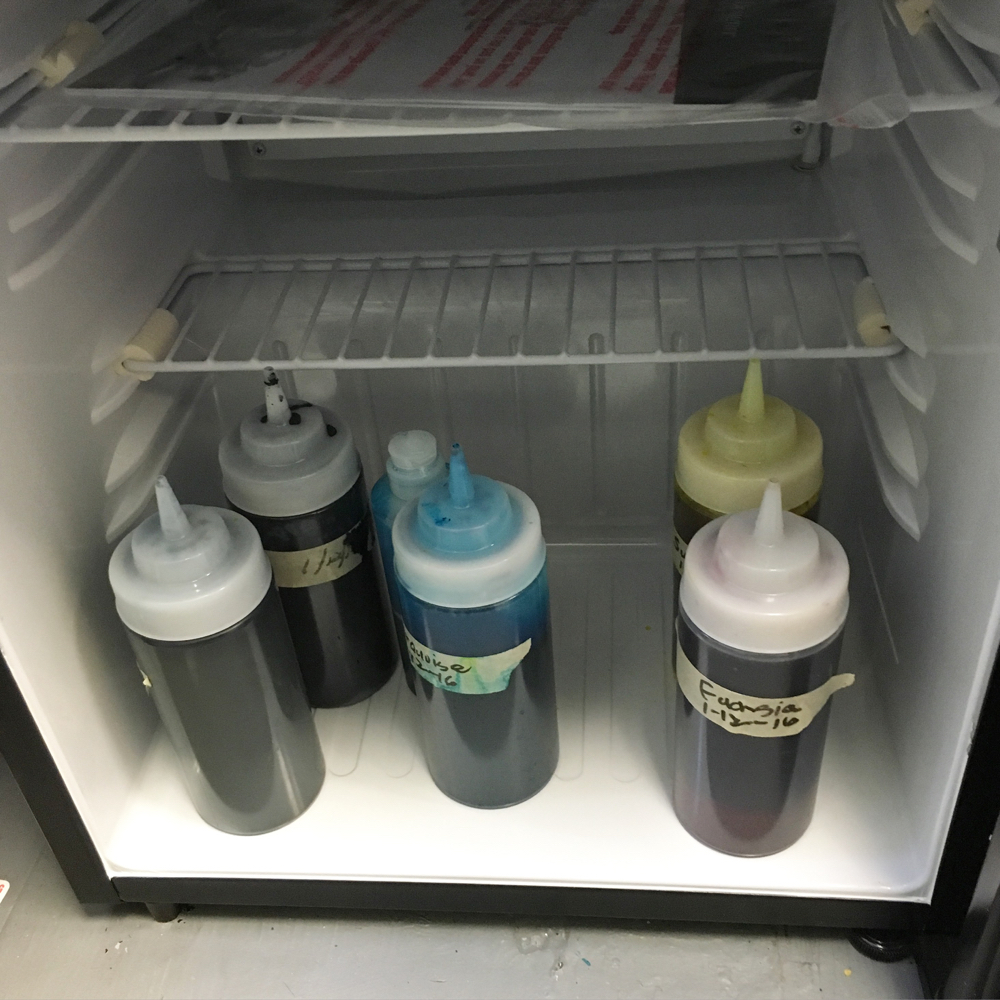
I am finding this method of having dye concentrate ready for mixing and dyeing is going to work well for me. You avoid the mess of starting with dye powder every time.

I had a good time yesterday spending time with my Condo Quilter’s group. We had lunch and shared our work and did some critiquing. Mr C had to drive me as I am finding it more and more difficult to walk very far. Our hostess drove me to my studio, where I rinsed out my dyes fabrics to take home and launder. Then, Mr C came and picked me up. I find myself having a meltdown most every day as I deal with the pain in my knee. I am feeling slower and less mobile and am gaining weight and feeling crappy too often. But, as Mr C says, each day, I am a day closer to getting a new knee.

A Colorful Week-end

Sunday, January 24th, 2016

IMG_1317

My dyeing workspace in the studio is covered with newspapers. I love the look of the splattered dye on the newsprint.

This week-end, I started working on dyeing the rainbow.

IMG_1315

Here are my quarter yards marinating in dye and soda ash.

Here is a closeup of the purple. I love it. I can’t wait to wash these out and iron them.

IMG_1318

I think I might have to redo some of the pieces which used orange in the recipe. My orange seems to be a lot stronger that my other dyes and has been overpowering. I will wait to see what I get before I jump in.

It was a busy week-end as it was Mr C’s birthday on Friday. We went out to dinner with Steph, Jack, and M & M on Friday night. On Saturday, we went to Lisa’s for dinner. Clay’s father and brother are here from Atlanta to go skiing.

The Good and The Bad

Thursday, January 21st, 2016

_DSC7563

There you have it, an evenly died turquoise, accomplished by doing bucket dyeing and stirring and stirring and adding salt to the water.

IMG_1252

While I was at the studio doing the bucket dyeing and stirring every 5 minutes for an hour, I decided to try using jet black to dye the dilutive way. Unfortunately, I miscalculated the amount of dye concentrate by 8 tbs!! I used 4 to start and should have used 12. I got some interesting results, anyway. Some of this will get overdyed.

_DSC7564

That piece on the left was when I wondered what would happen if I mixed better black with jet black. But, I grabbed my blue concentrate by mistake! It is a very nice blue. I like it.

Waiting for our next assignment which will be dyeing the color wheel. That will be fun.

Crazy Day

Tuesday, January 19th, 2016

_DSC7561

Today did not go as I planned so I made the best of it. Mr C took the new car to the dealership at 7:30 this morning to have a protective sealant put on it. He came home with a loaner and later, I asked him to take me to the studio to work on my dyeing. We got down to the lobby when I realized that my keys were in the car. Oops. So back to the condo, hoping it would not take too long to get the car back. Ha! It was 4:00. I did get lots of SDA work done which I often do at night.

As soon as I got the car, I ran down and rinsed out my gradations from yesterday and added some soda ash to the blue gradation. I put everything in a bucket and brought it  home.

It all got rinsed, washed, dried and ironed. I love that blue gradation which was done by the dilutive method, meaning a dye solution had water added going from dark to light. The other gradations are done by the additive method, adding more dye solution with each piece.

I got much better gradation with the dilutive method. I just love those blues.

Here is my 8 step yellow gradation:

_DSC7558 (1)

You can’t see much change in the middle pieces.

And I did only 3 step gradations with the turquoise and fuchsia. It doesn’t really show, but I got some nice mottling on these.

_DSC7559

I didn’t have time to do the high water dyeing in a bucket so I will go back and do that tomorrow.


Dyeing – Week 2

Monday, January 18th, 2016

IMG_1236

This week, we are doing gradations of the primaries – sun yellow, fuchsia and turquoise. I did a full 8 gradation of yellow because I use it quite a bit. I only did 3 gradations of the fuchsia and turquoise.

IMG_1237

IMG_1238

I used plastic baggies for these.

I also did a blue gradation using Elizabeth’s divisive method: which involves beginning with all the concentrate at once, and then gradually reducing the amount of dye concentrate you pour over the fabric. These are still needing soda ash.

IMG_1241

Tomorrow, I will do the high water version to get a solid color – you can add salt to the water to help the process.

I broke down and bought a small fridge on Amazon. It arrived packed in 3 boxes and some stryrofoam. It was a comedy of errors watching us unpack it. I need to keep my dye concentrates cold and since I turn up the heat in the studio to batch my dyes, it was a necessity!

IMG_1225

I also finished the brown sweater set for my hair stylist’s baby boy, who is a red head.

IMG_1214