home
about the artist
gallery
blog
links
contact

Archive for the ‘Collage’ Category

Great Workshop and Moving On

Monday, September 19th, 2016

collage1

Last week, I was privileged to take a 2 day workshop with Fran Skiles. I had so much fun and it was kind of like making a mystery quilt. She would do a demo and give us instructions to create some pieces and then we would move on to something else. She purposely did not show us a finished piece so that we would not have a preconceived notion of what to do.

We started by making random stitches on a piece of plain fabric.

img_2787

Then we coated one side with gesso.

img_2789

Next we made monoprints on Chinese rice paper using printing ink.

img_2796

Then we drew on Japanese rice paper with a bamboo pen and India ink.

img_2802

img_2801

We learned how to transfer photos from copy paper using gel medium.

img_2813

I don’t have photos, but we also drew on stitch and tear pellon with watercolor crayons which we then transferred to the fabric with gel medium.

Once, we had all our parts, we started assembling collages and then doing washes with thinned paint.

collage-3

collage2

I have 3 more skins (Fran’s word for the treated fabric) and lots of parts to make more collages. It was so much fun and so freeing to create the parts without a plan – just to play.

On Thursday, we have our Oregon SAQA one day conference. Our guest speaker is Kay Khan, who does intricate 3-D fiber work. In an homage to her, we were invited to create 3-D pieces. I am cutting up a boring quilt which will become a structure. I glued the parts to stiff pellon tonight.

cutupquilt

Tomorrow I will assemble it and hope it stands upright without too much work!!

Radical Embroidery

Saturday, July 30th, 2016

_DSC7605

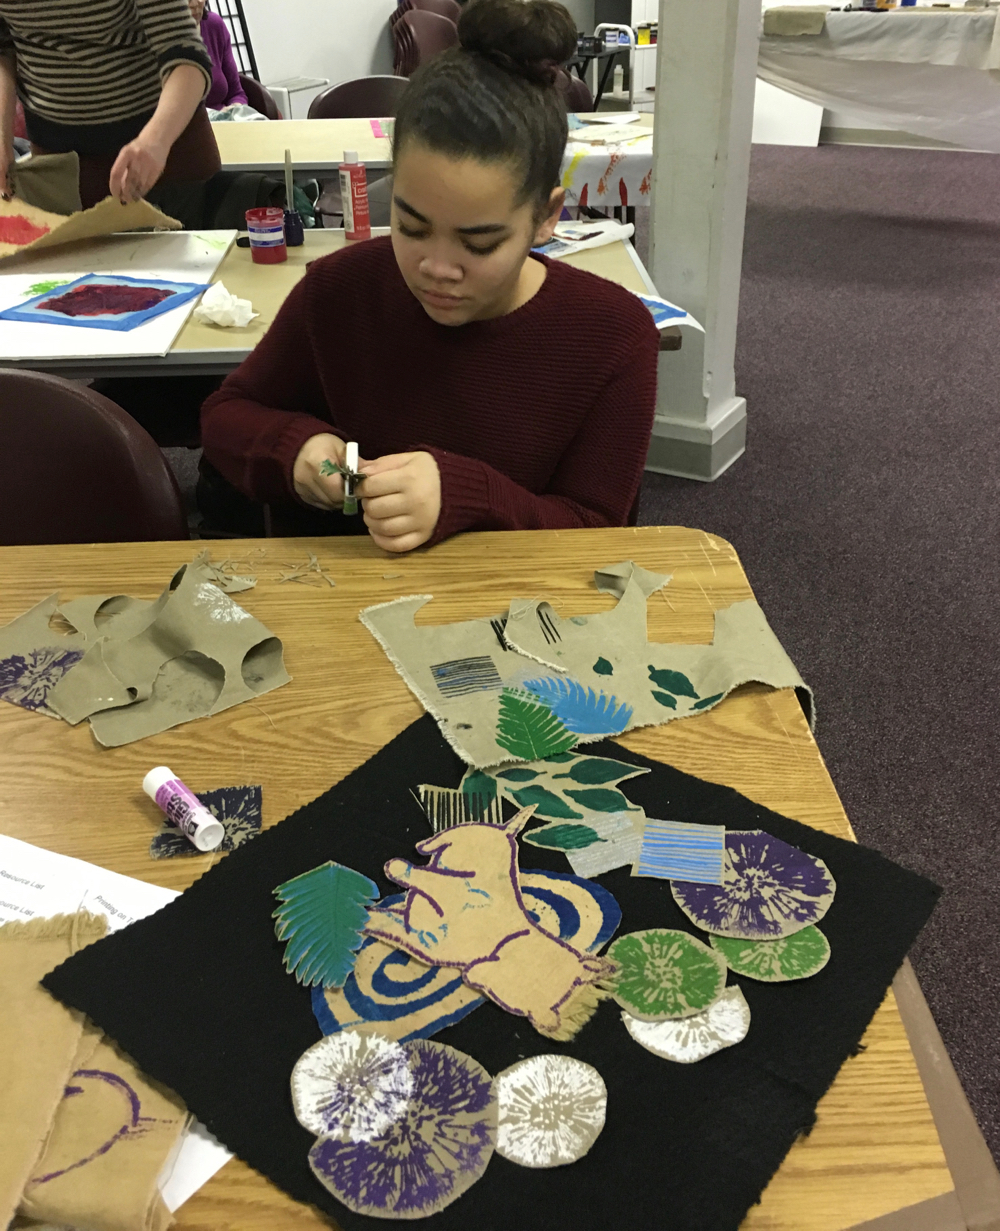
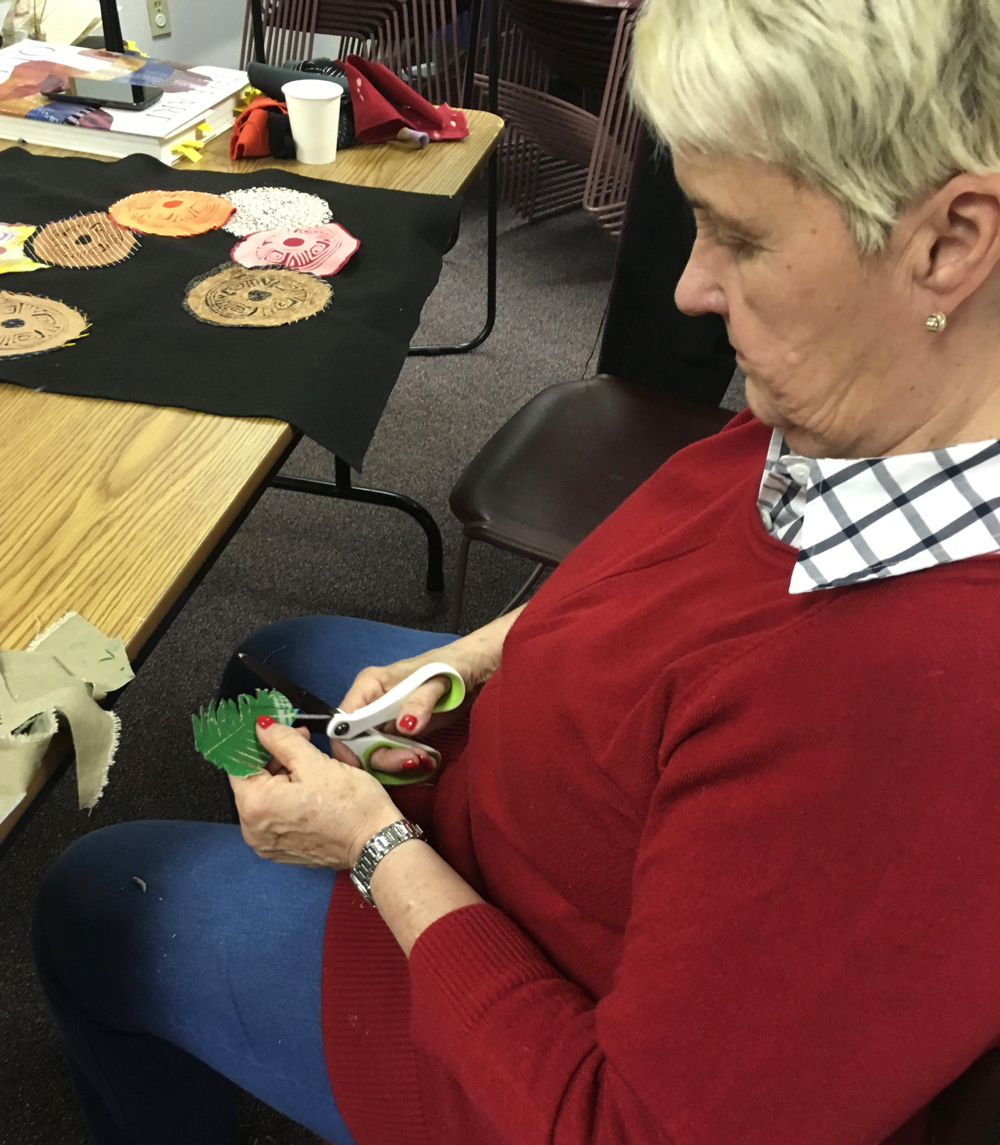
I signed up to take Radical Embroidery at Oregon College of Art and Craft. It was a 3 day workshop. It turned out to be not that radical, but I learned a lot about using embroidery as an art form. The instructor was a delightful young woman from the CA bay area, Victoria May. Her website is here. Her work is a bit radical as she has a fondness for the gritty and industrial debris that she finds in her travels. I think that adding delicate embroidery to these found objects serves to confound the viewer.

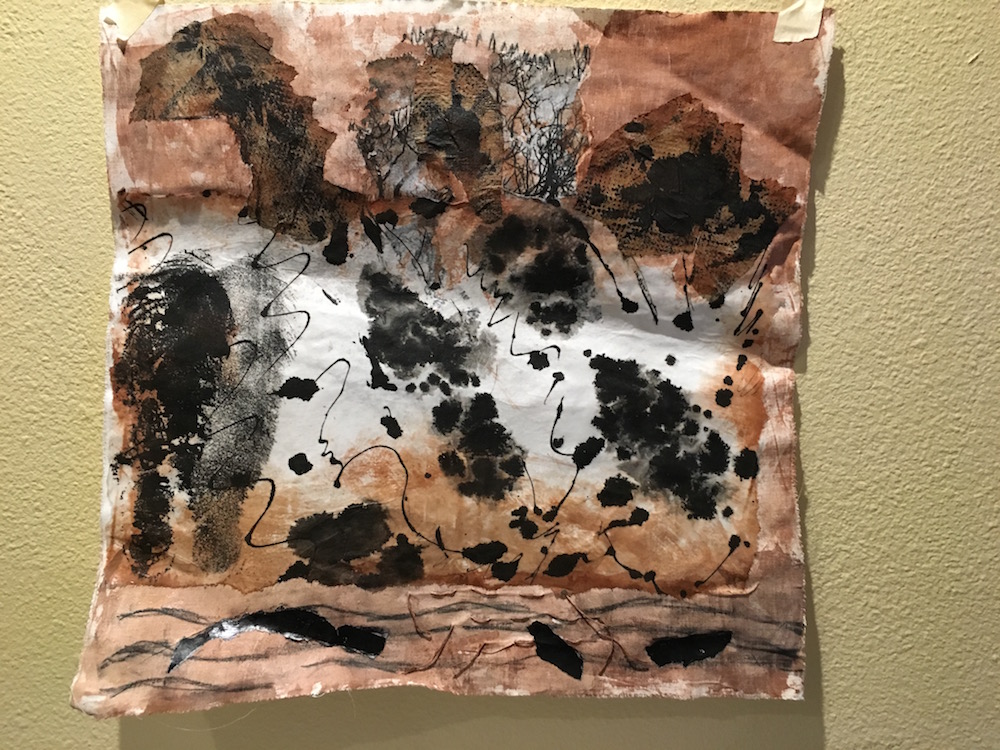
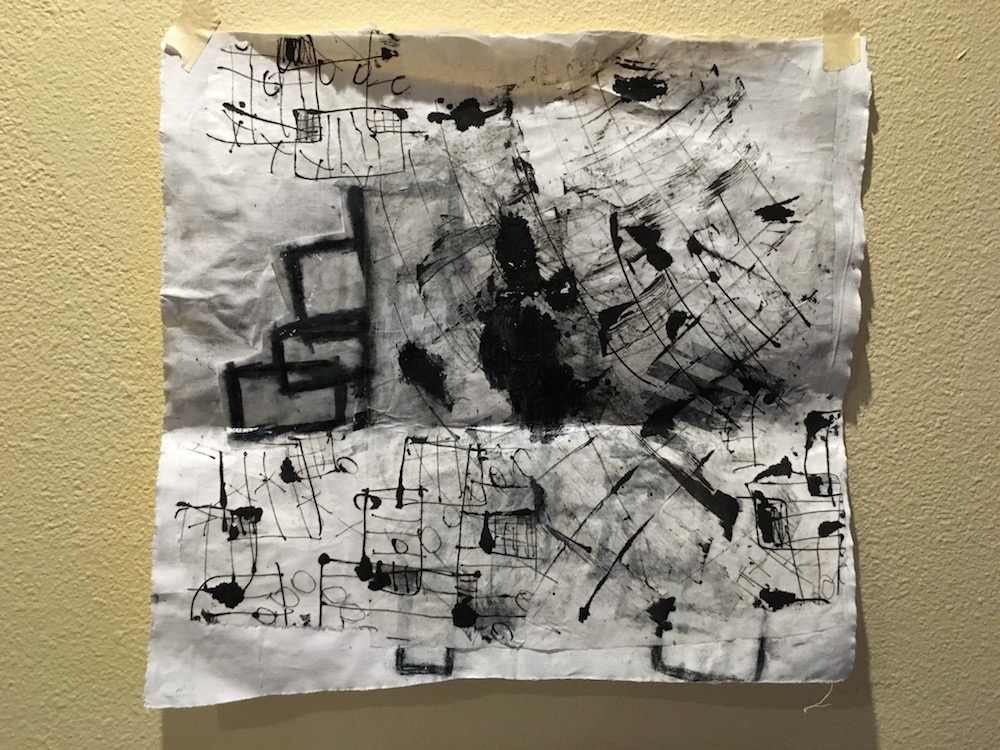
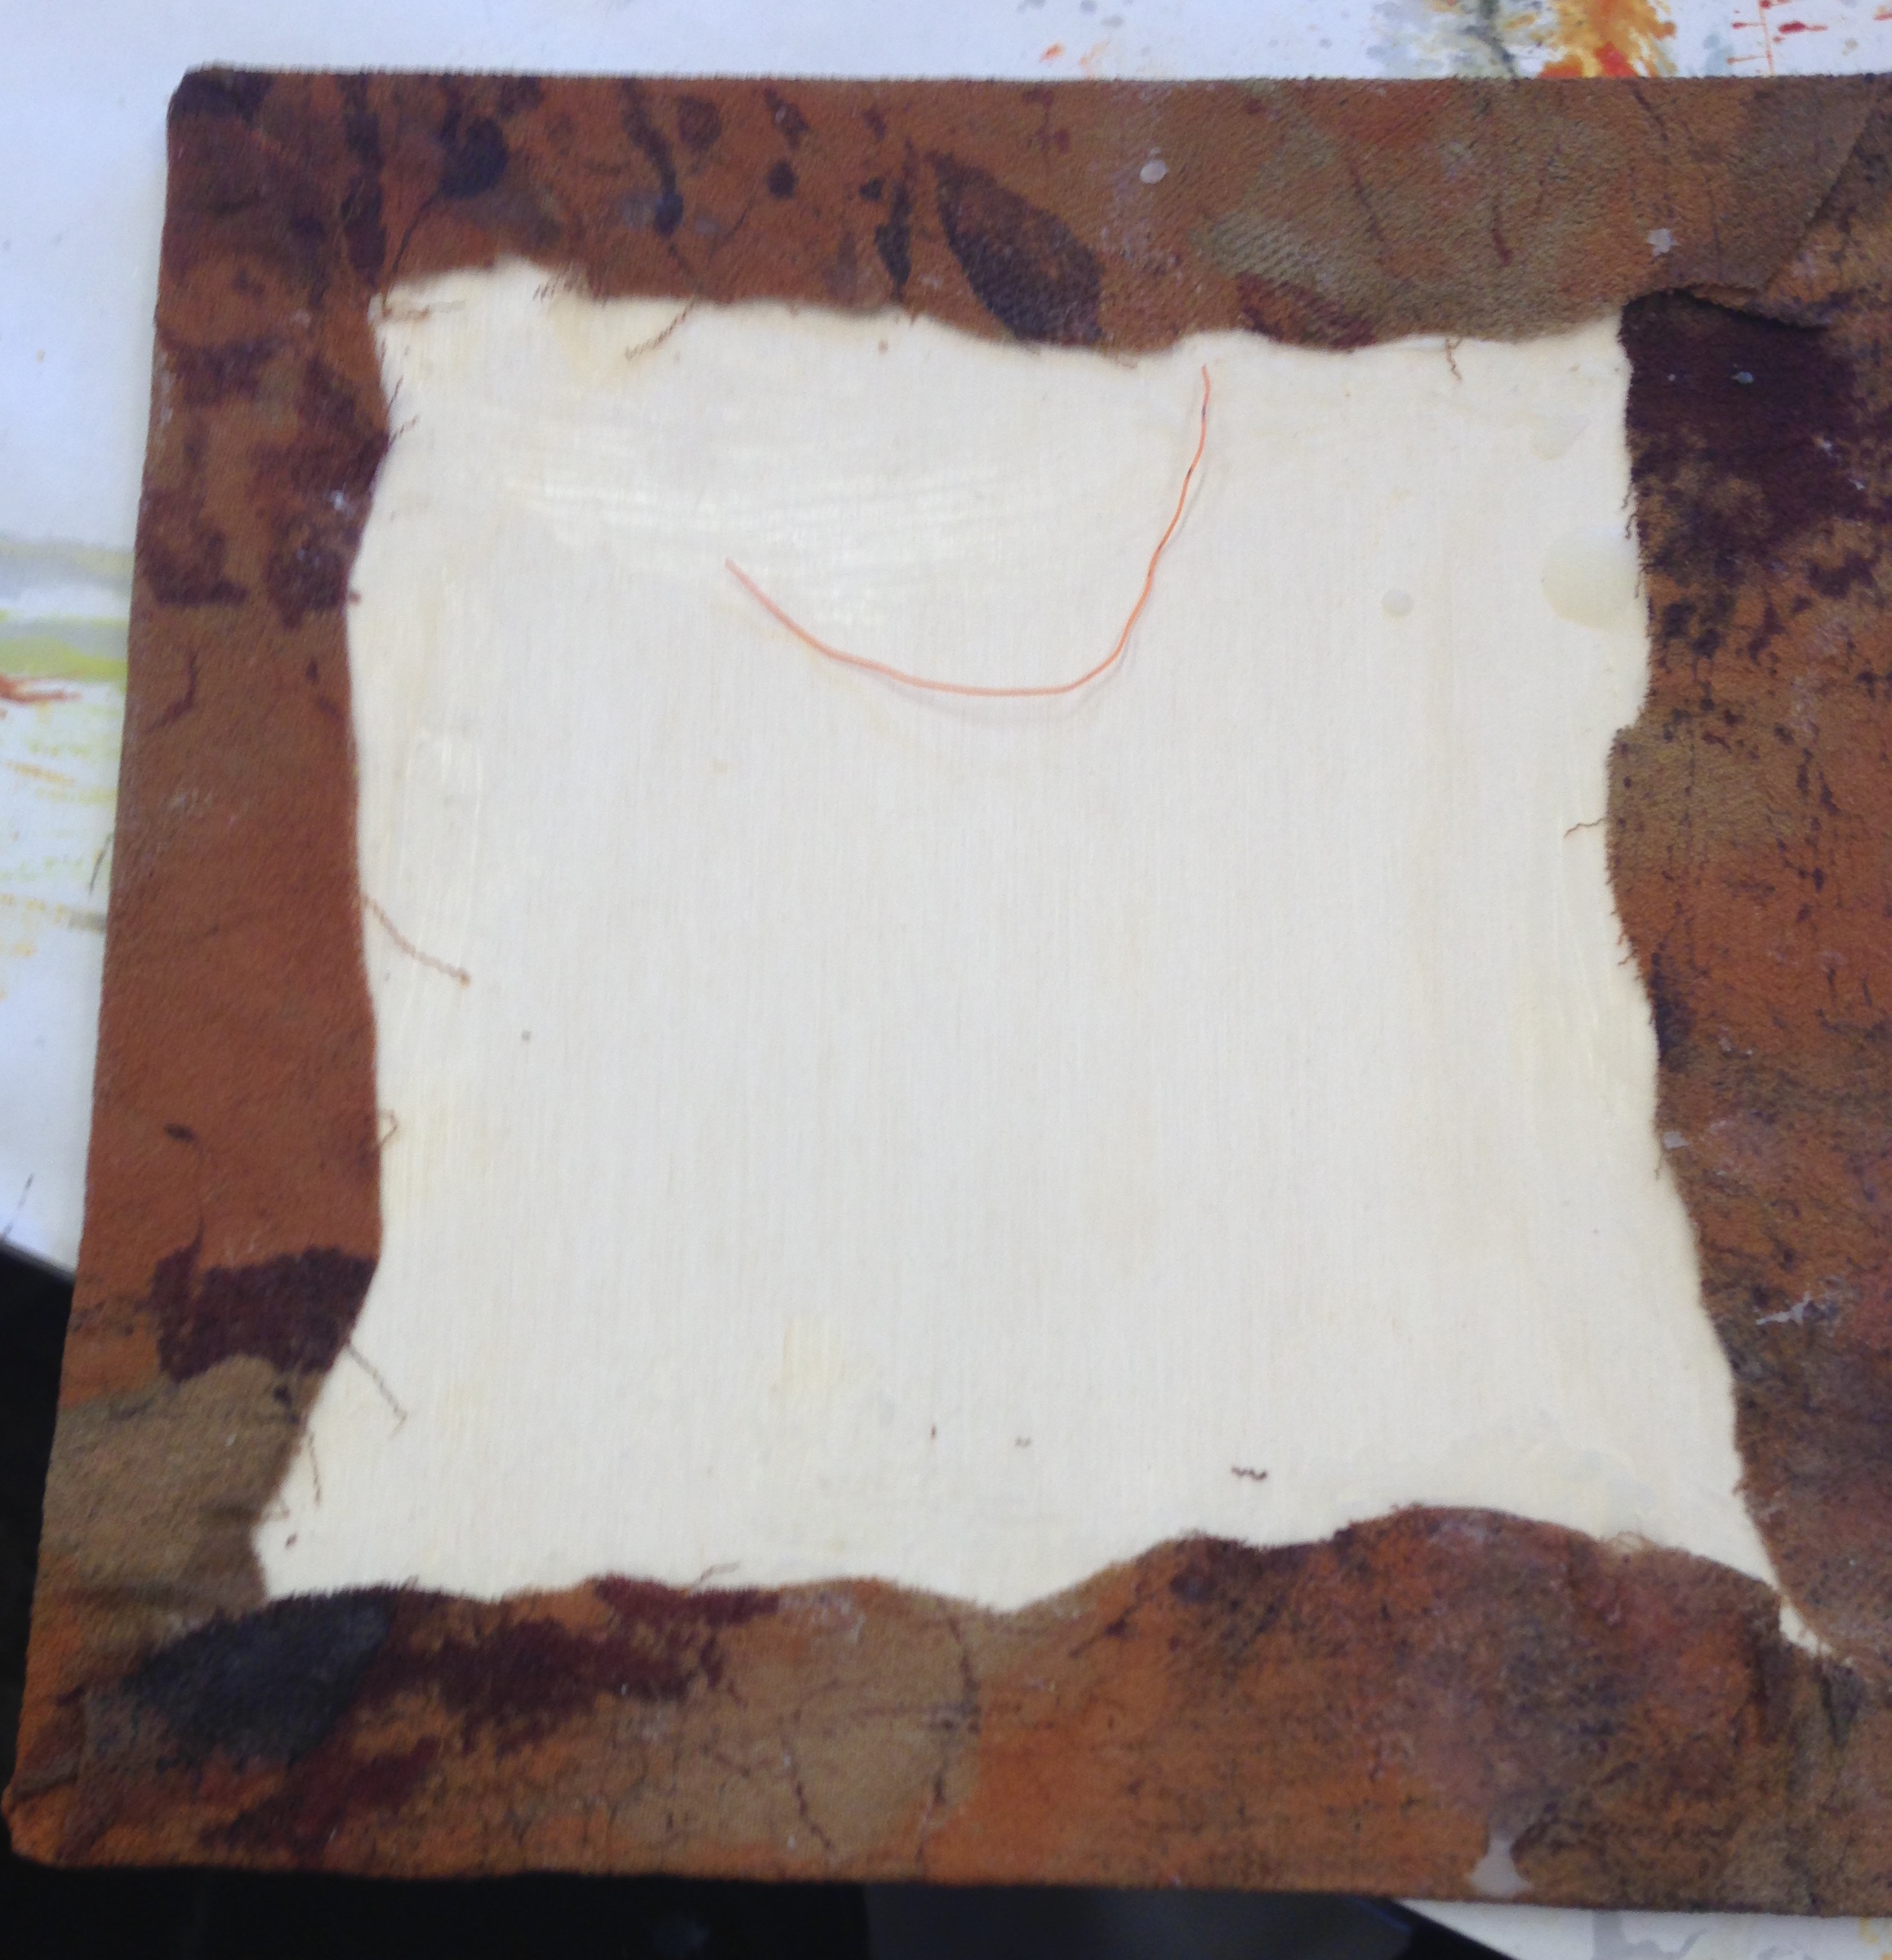
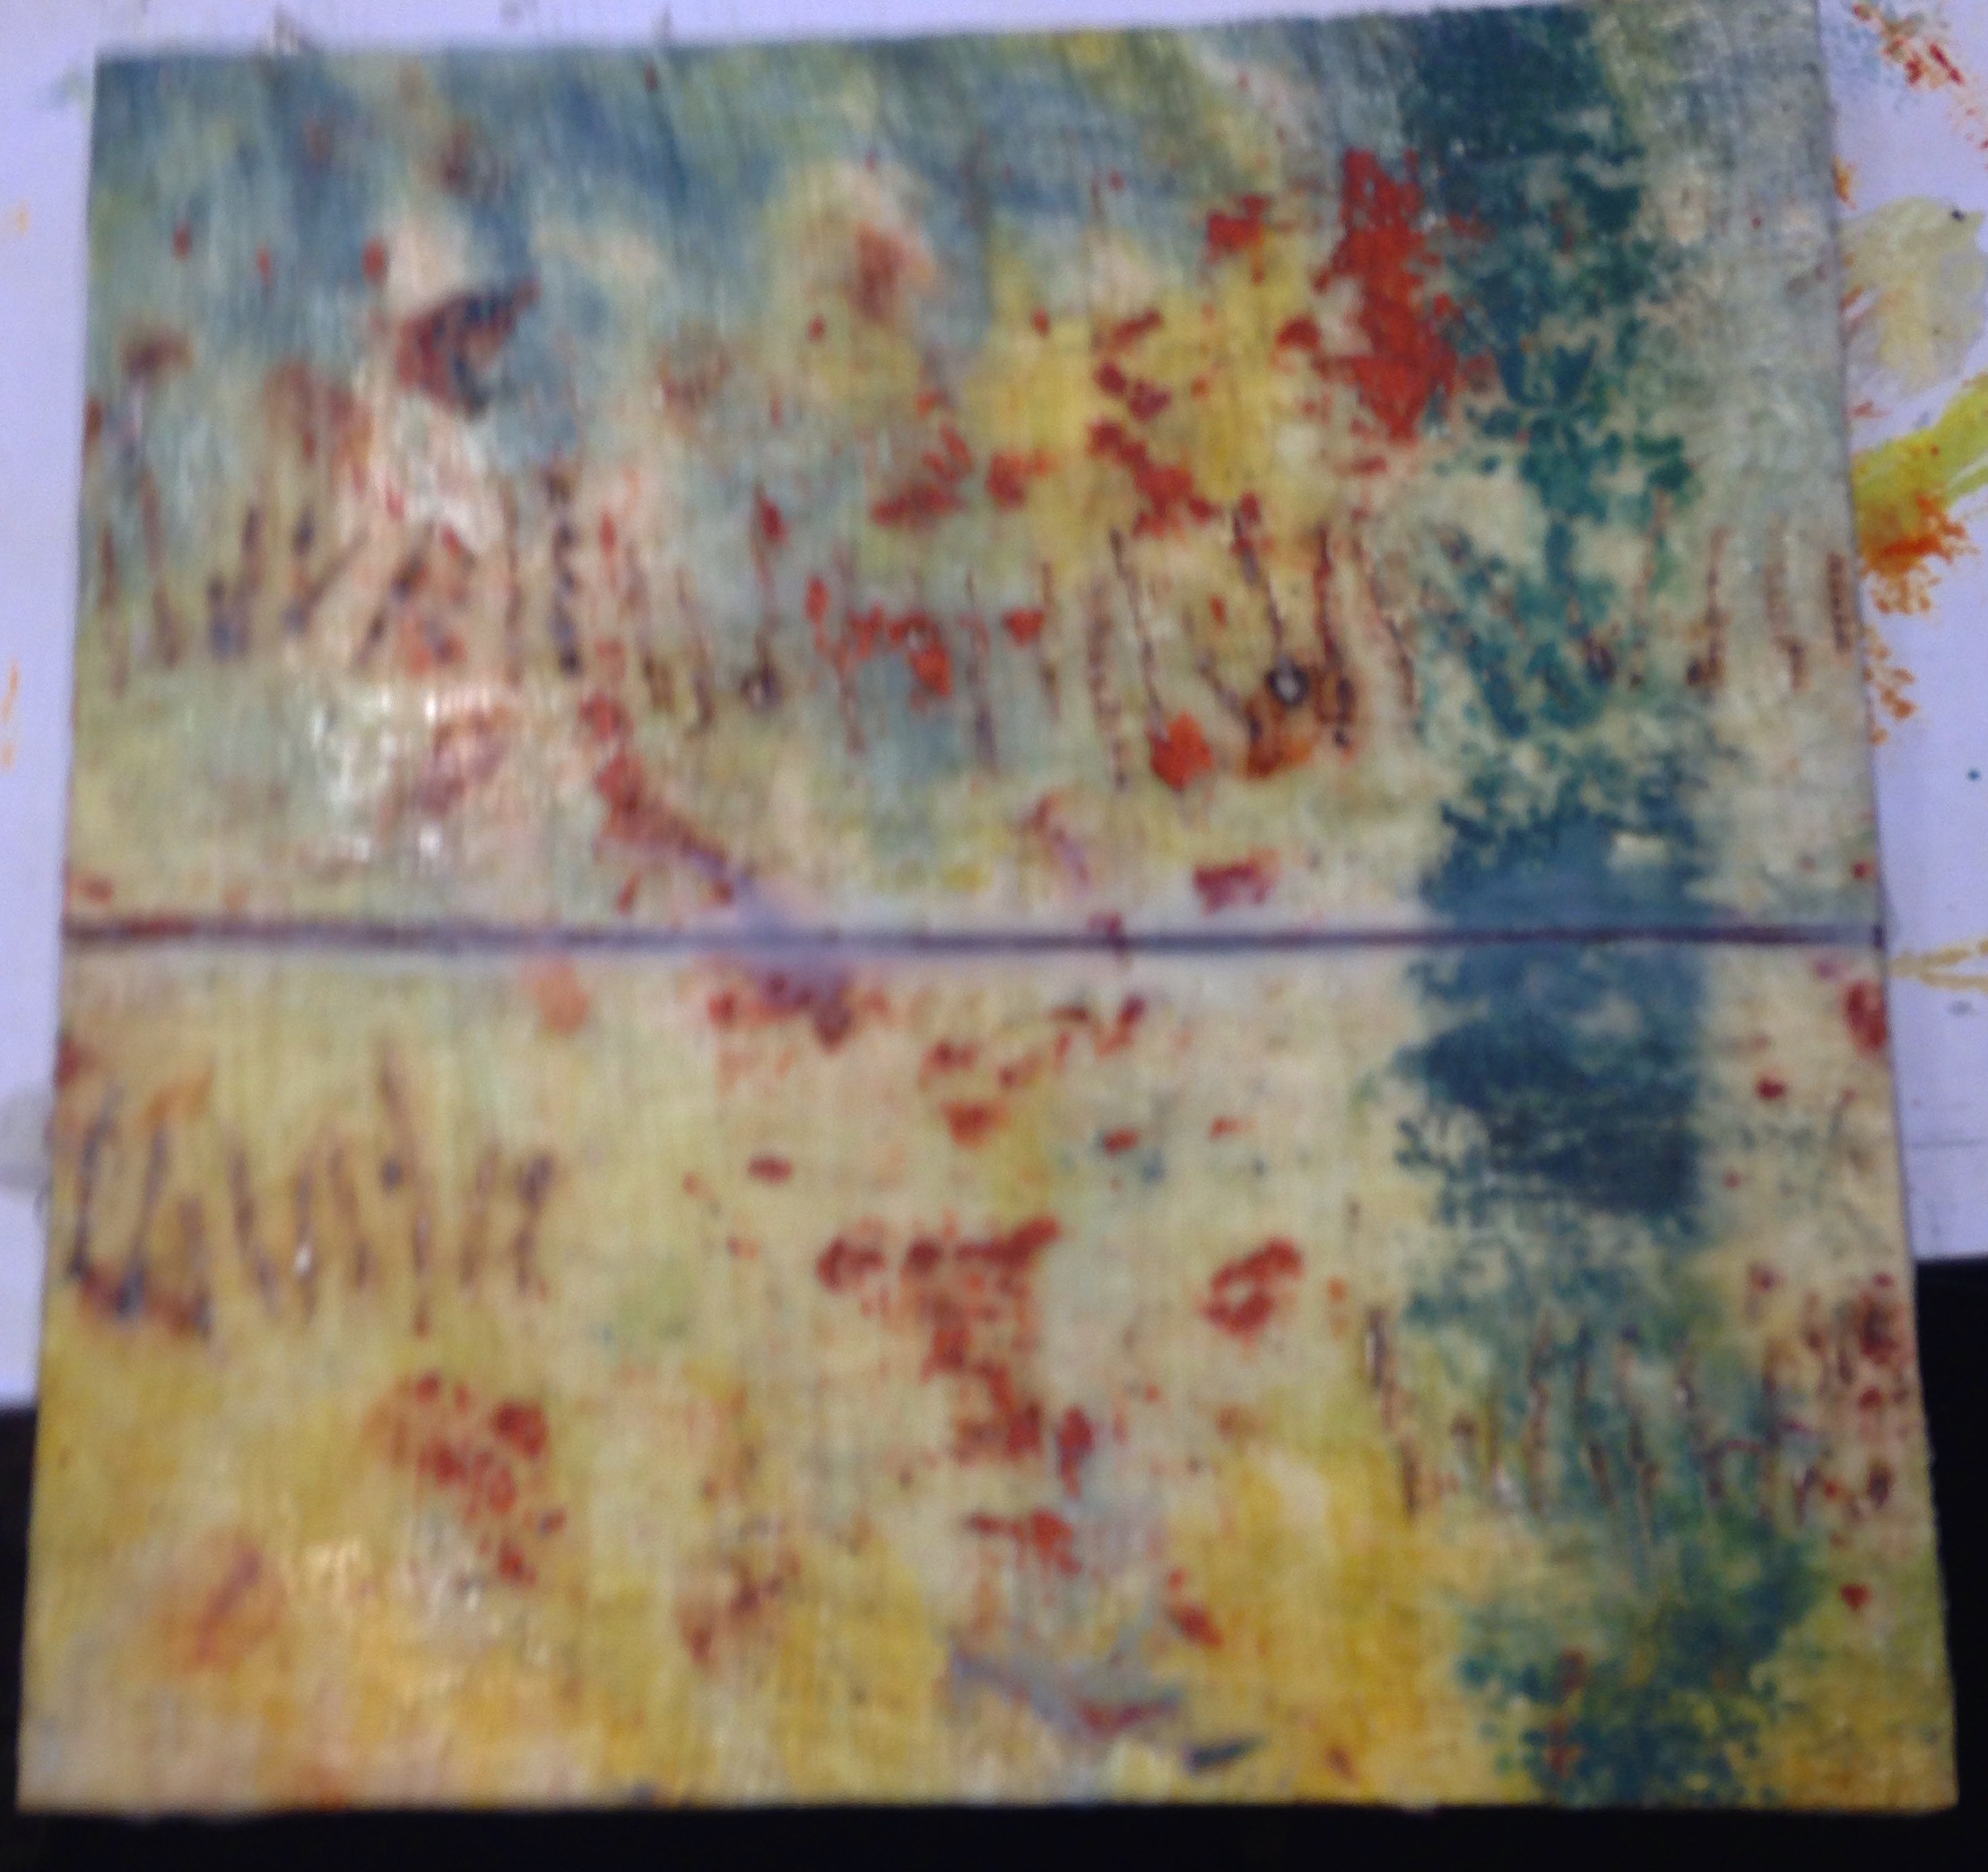
On the first day, we learned different ways to create line in our work. The piece at the beginning of this post is my sampler. We used Dynaflow paint on canvas to  begin our work. Then I added lines in various ways. We used organza in our work. For this line, I painted organza which I tore into strips and couched down. I really like the effect.

IMG_2274

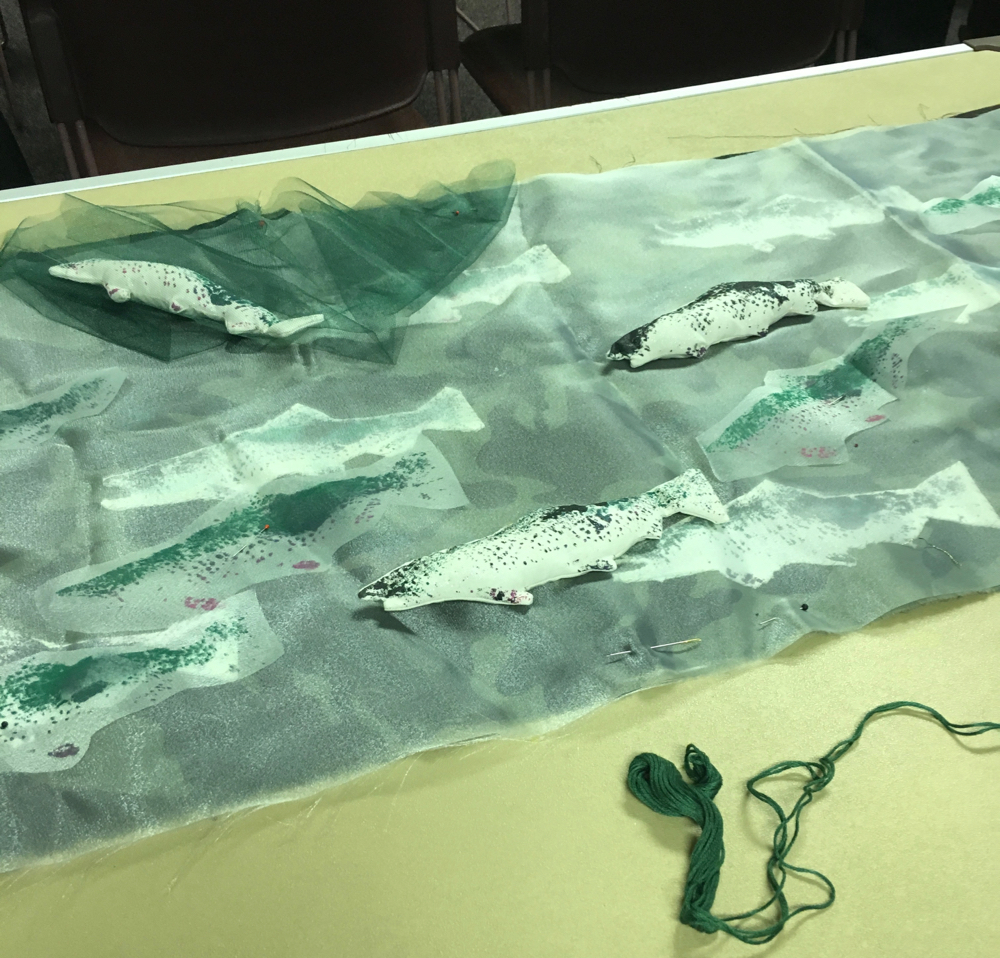
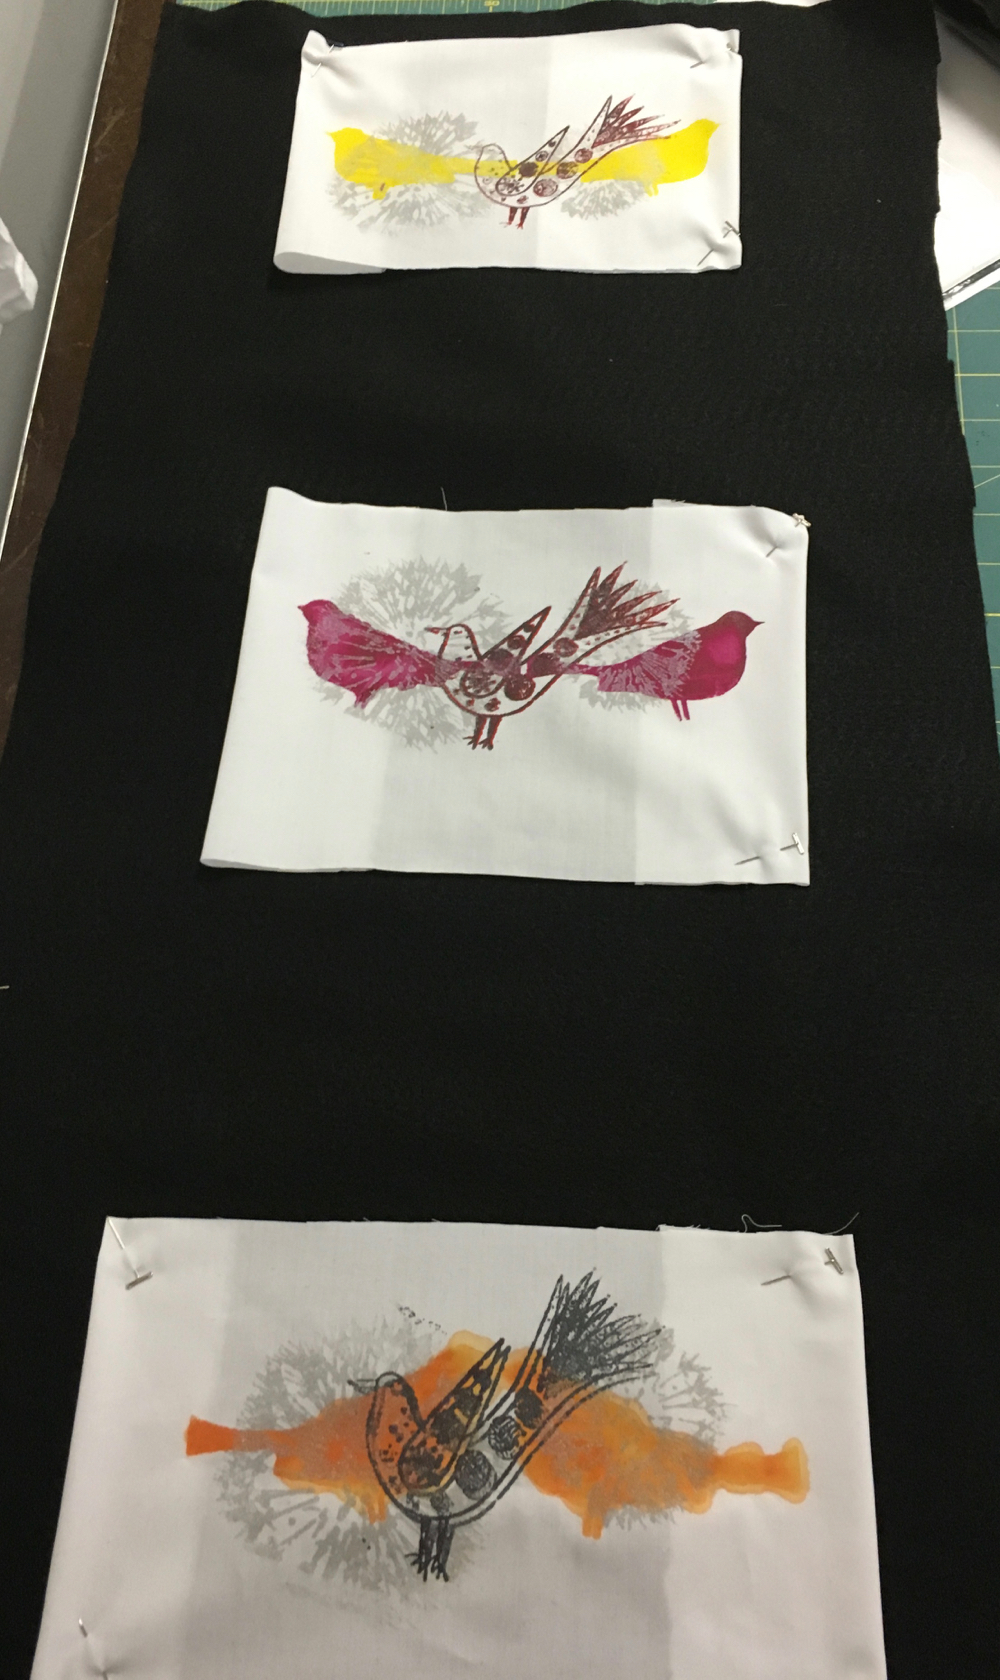
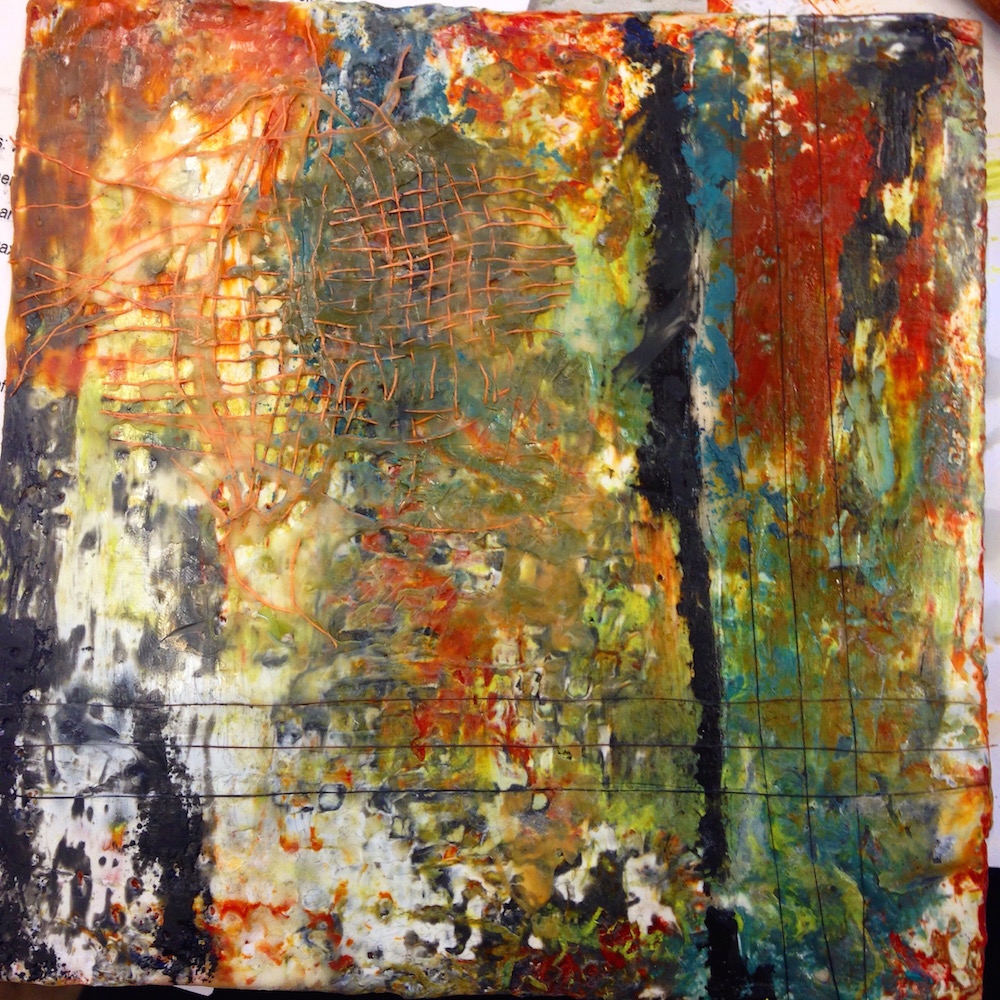
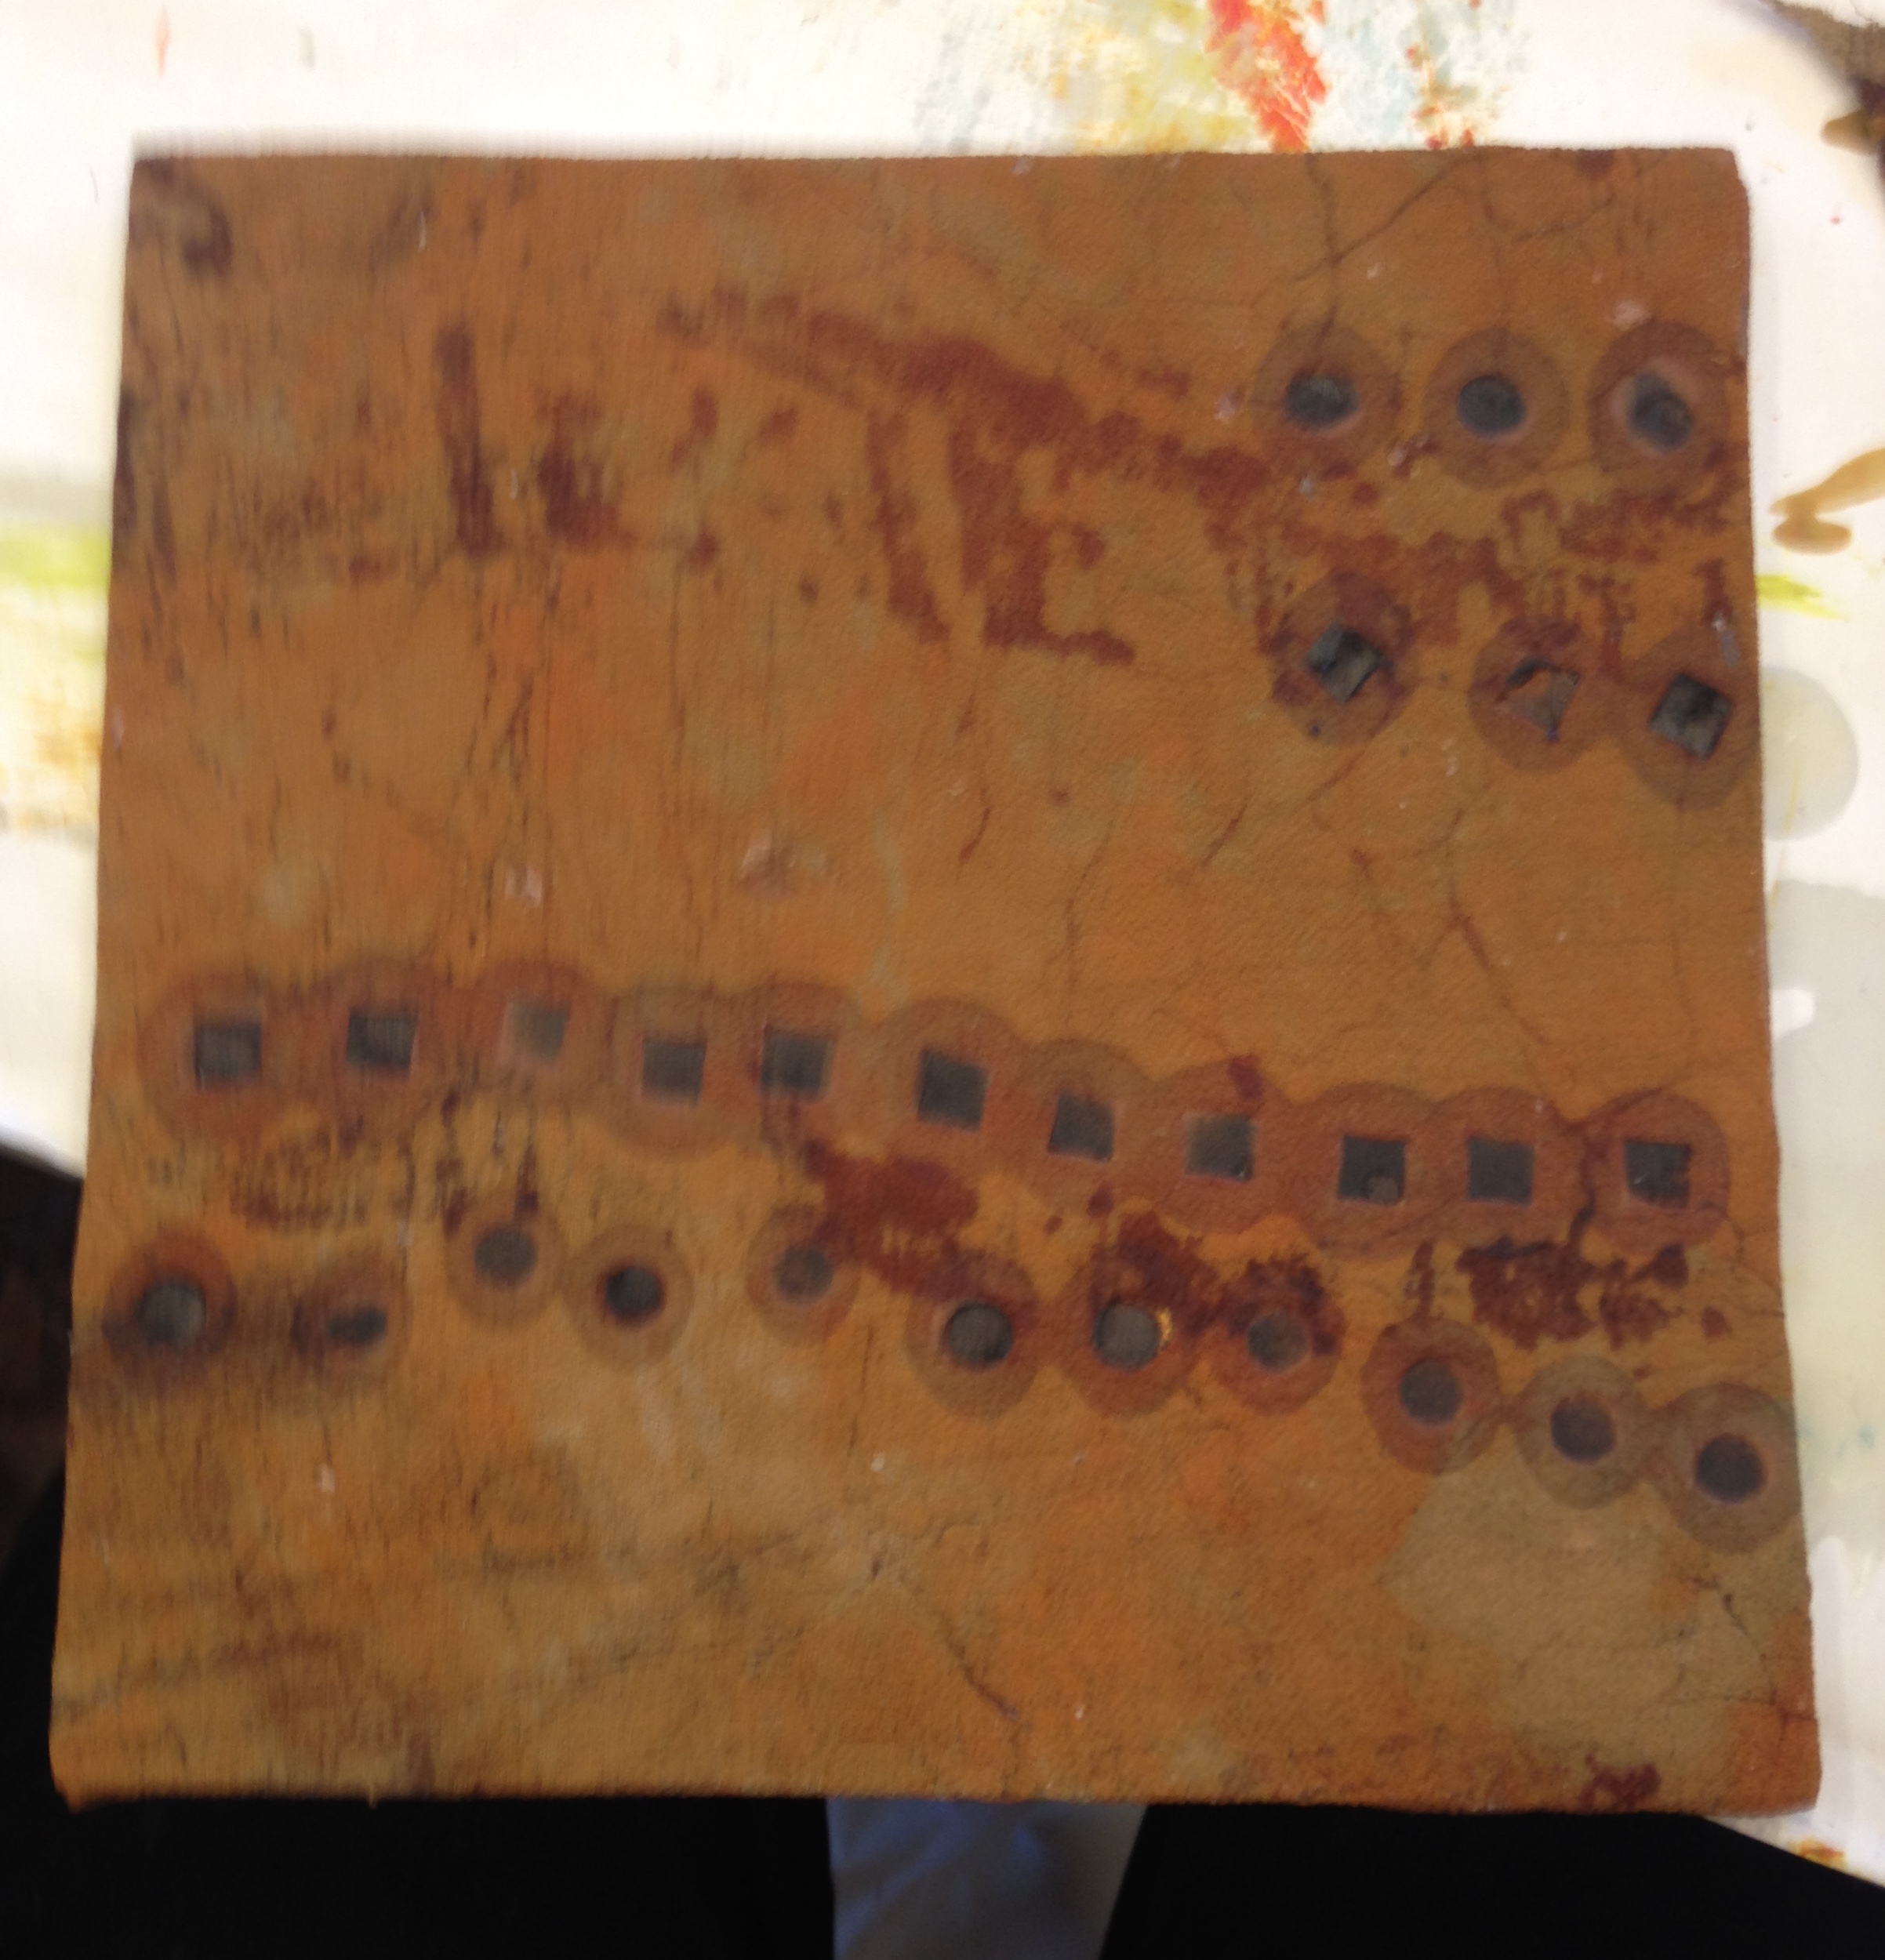
The next day, we moved on to working with painted organza layered on canvas and we were to capture some things between the layers.

IMG_2289 (1)

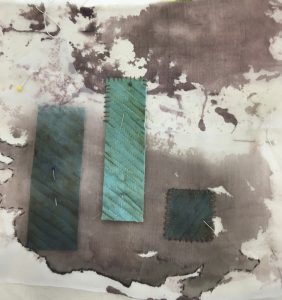
I had some previously quilted rusted silk which I cut into rectangles. Two pieces are under the organza and the middle one is on top. I am in the process of stitching the quilted silk pieces down. Then, I will add some interesting stitching to the rest of the piece. I am thinking of adding a bit of rust to this in some way.

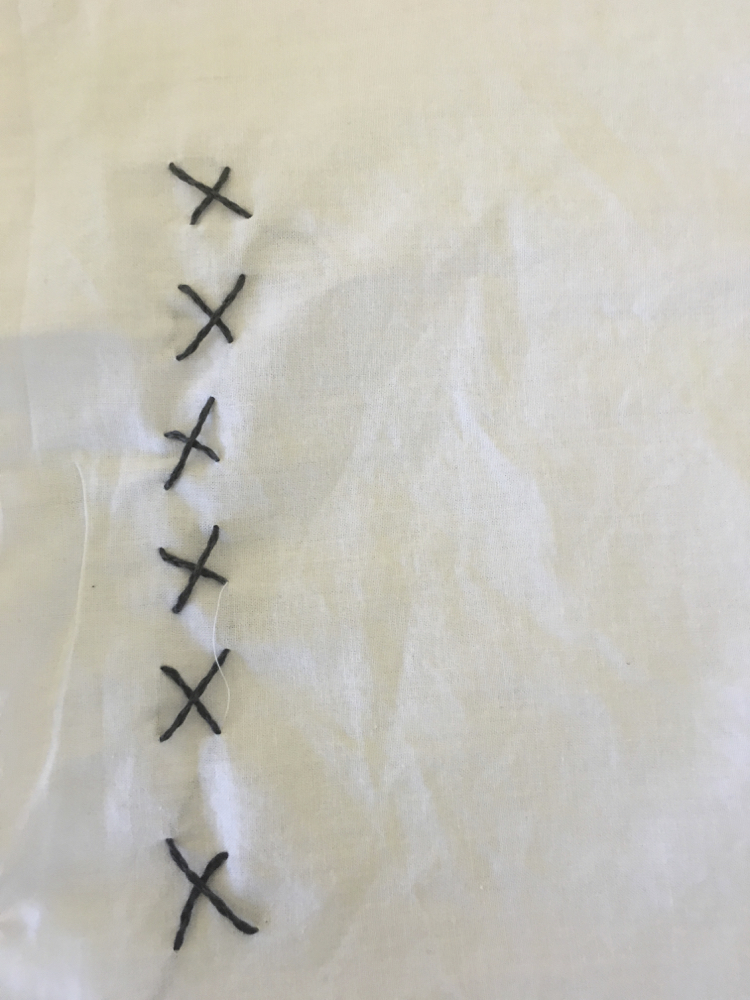
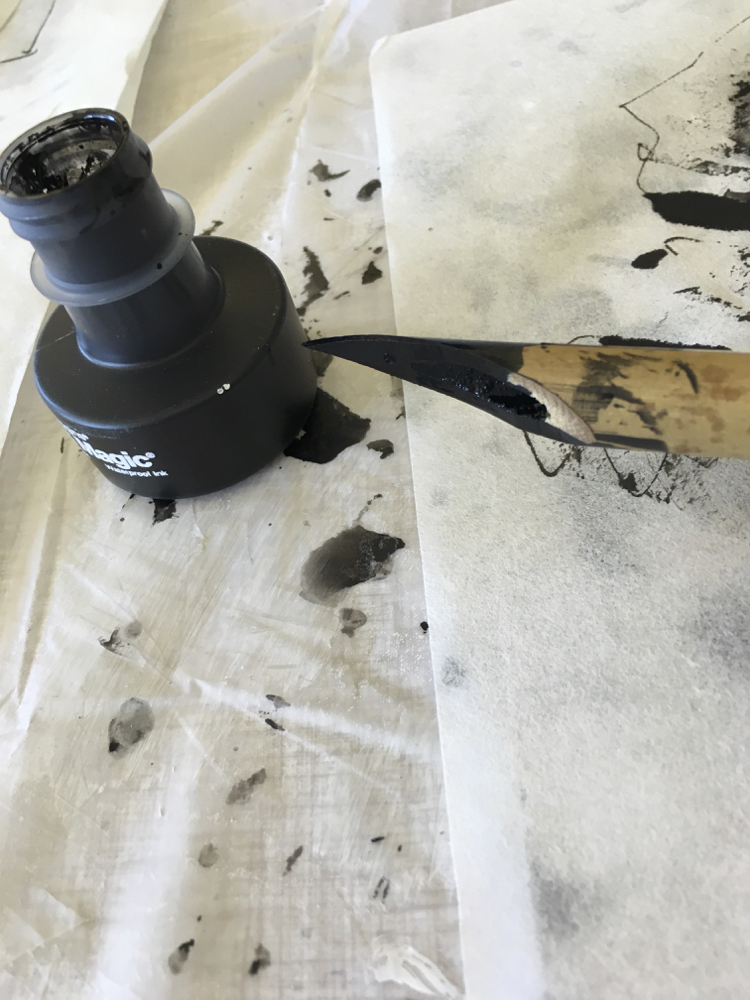
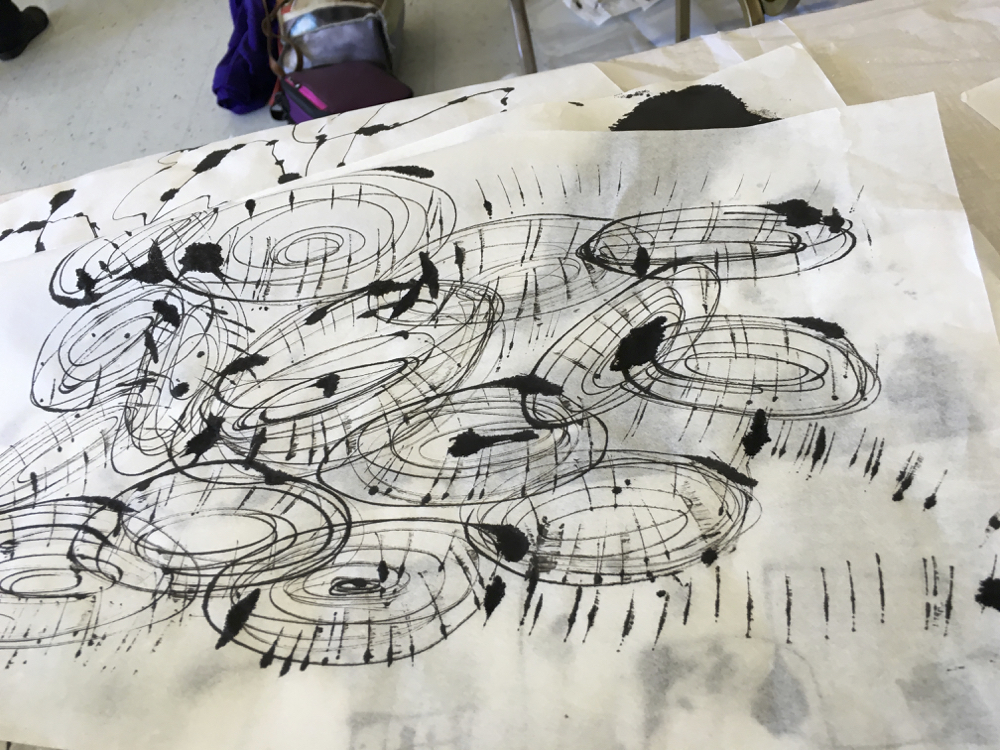
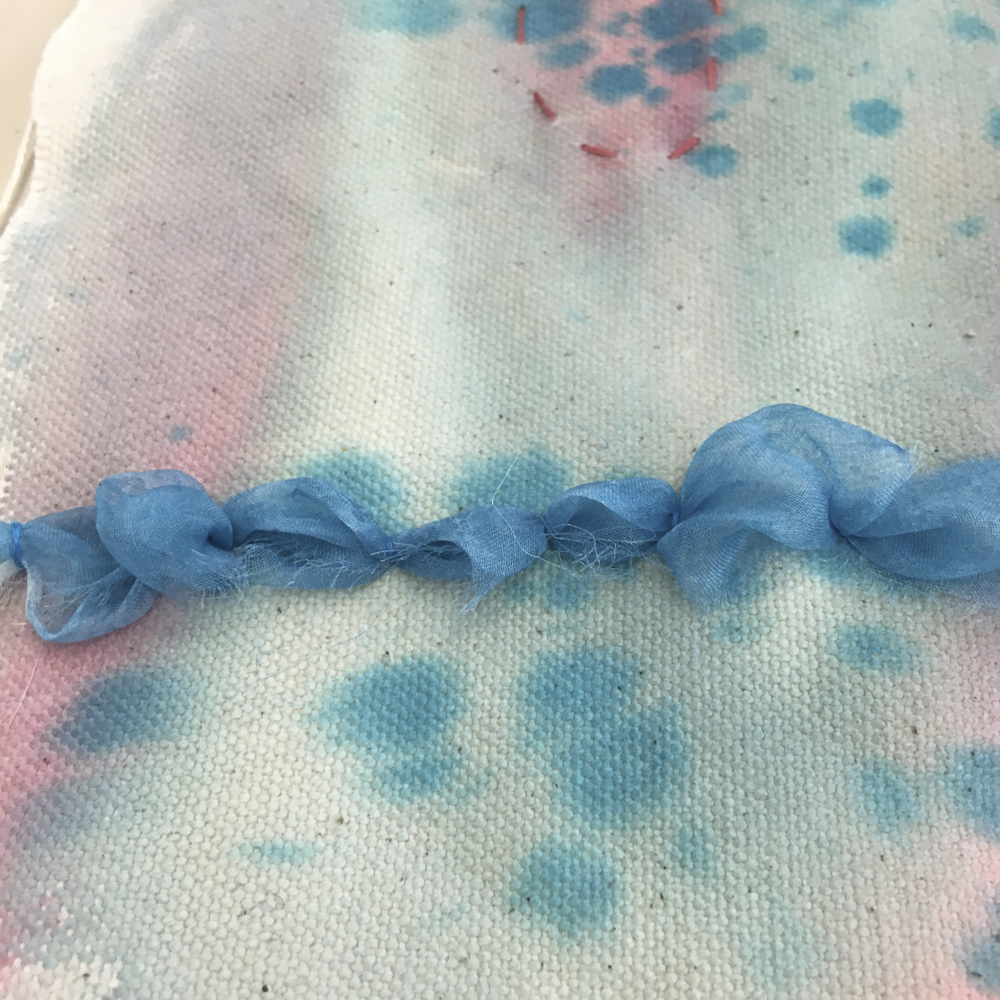
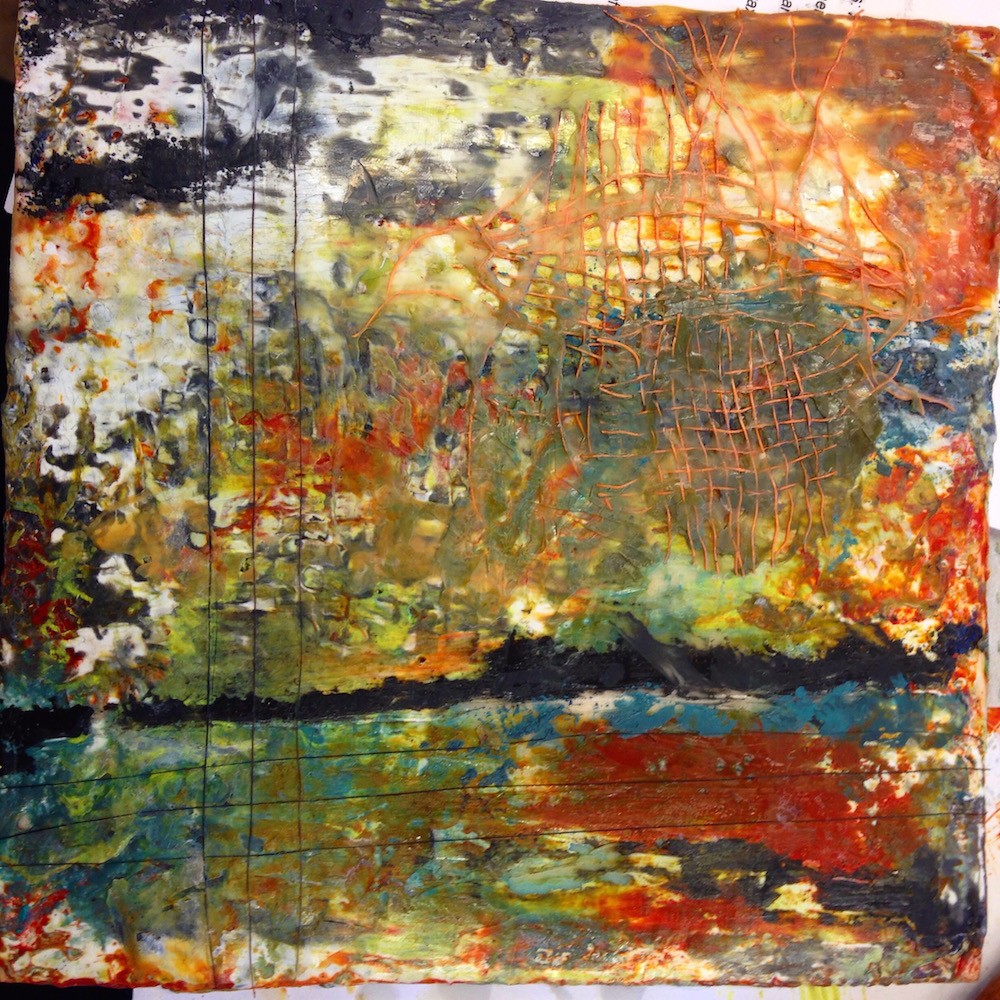
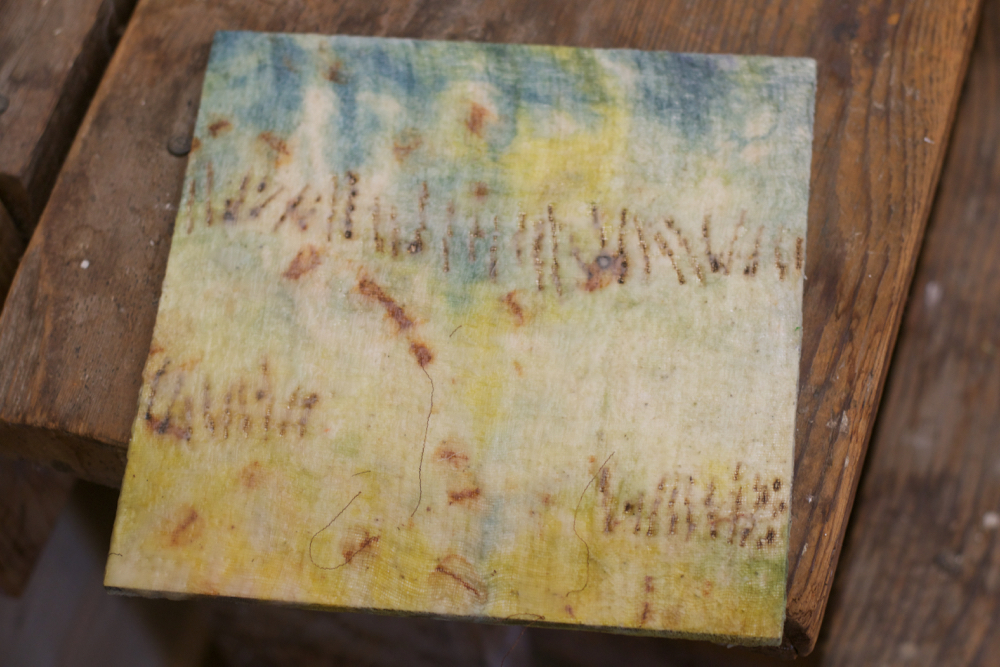
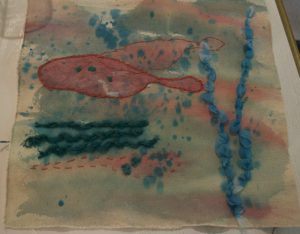
Then we were introduced to stitching on water color paper. The trick here is to pre-punch your stitching holes with a needle or awl. For my piece, I stained the water color paper with acrylic ink and got some interesting effects by blow drying it. Click on any photo to see it larger.

_DSC7610


I am in the process of stitching with variegated thread, following the design created by the ink.

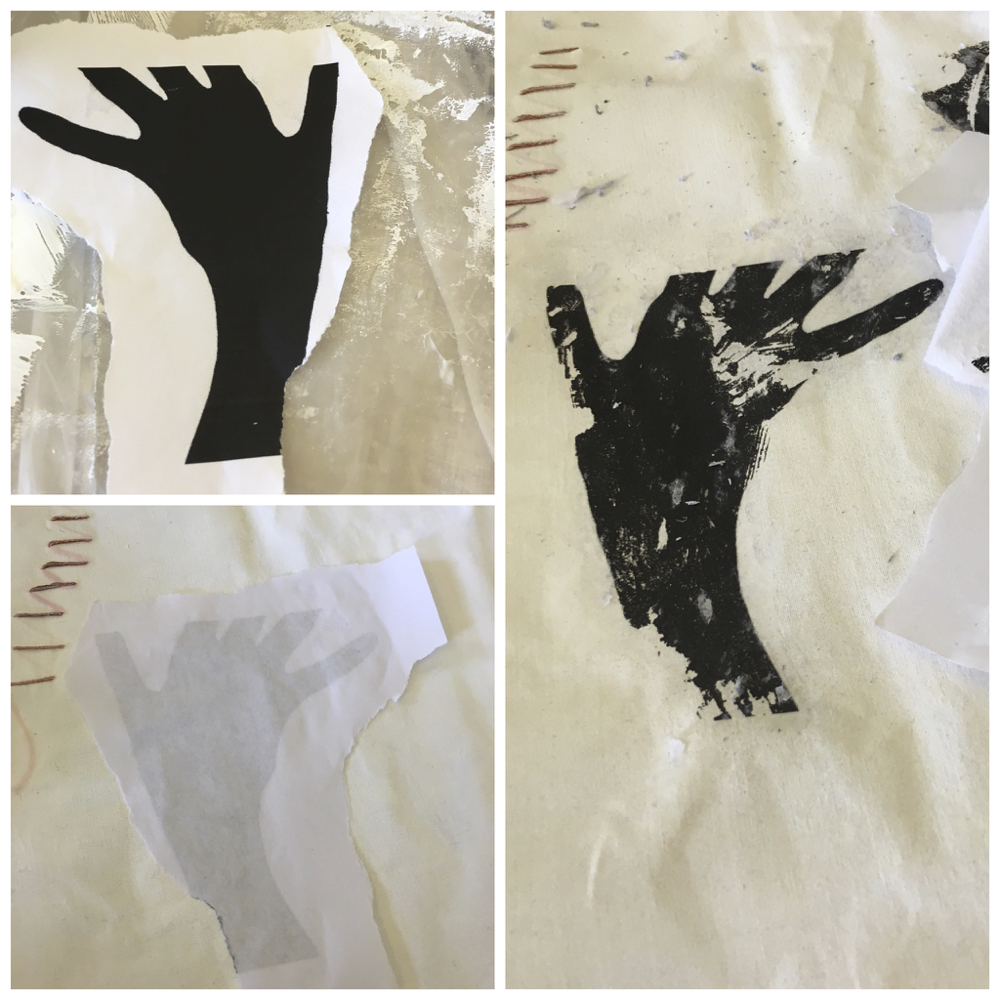
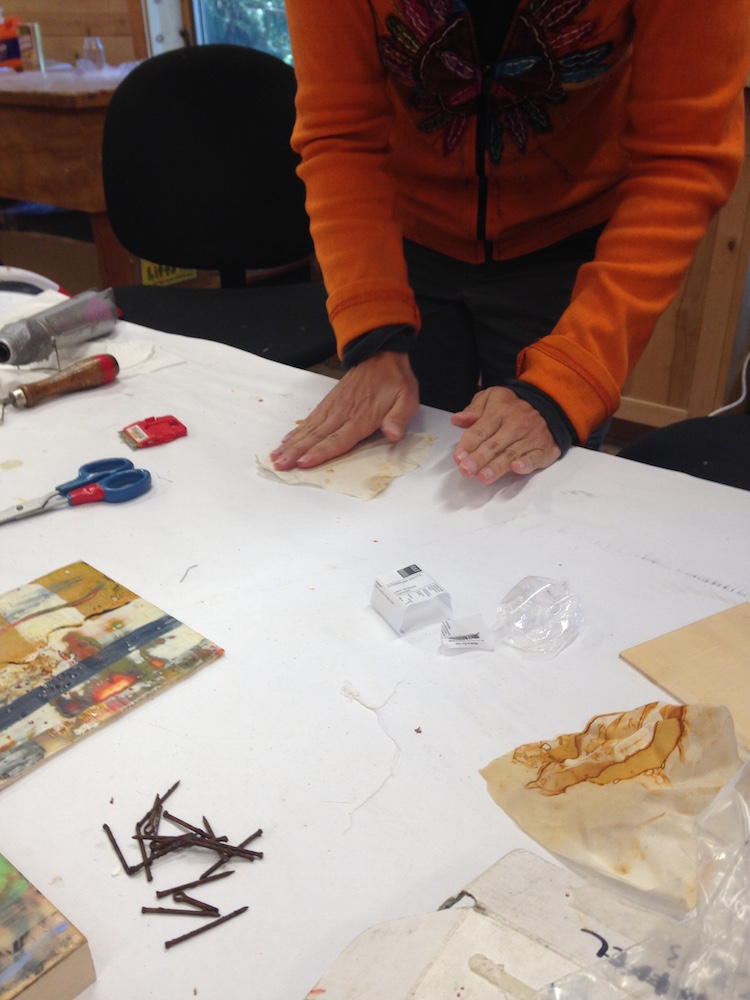
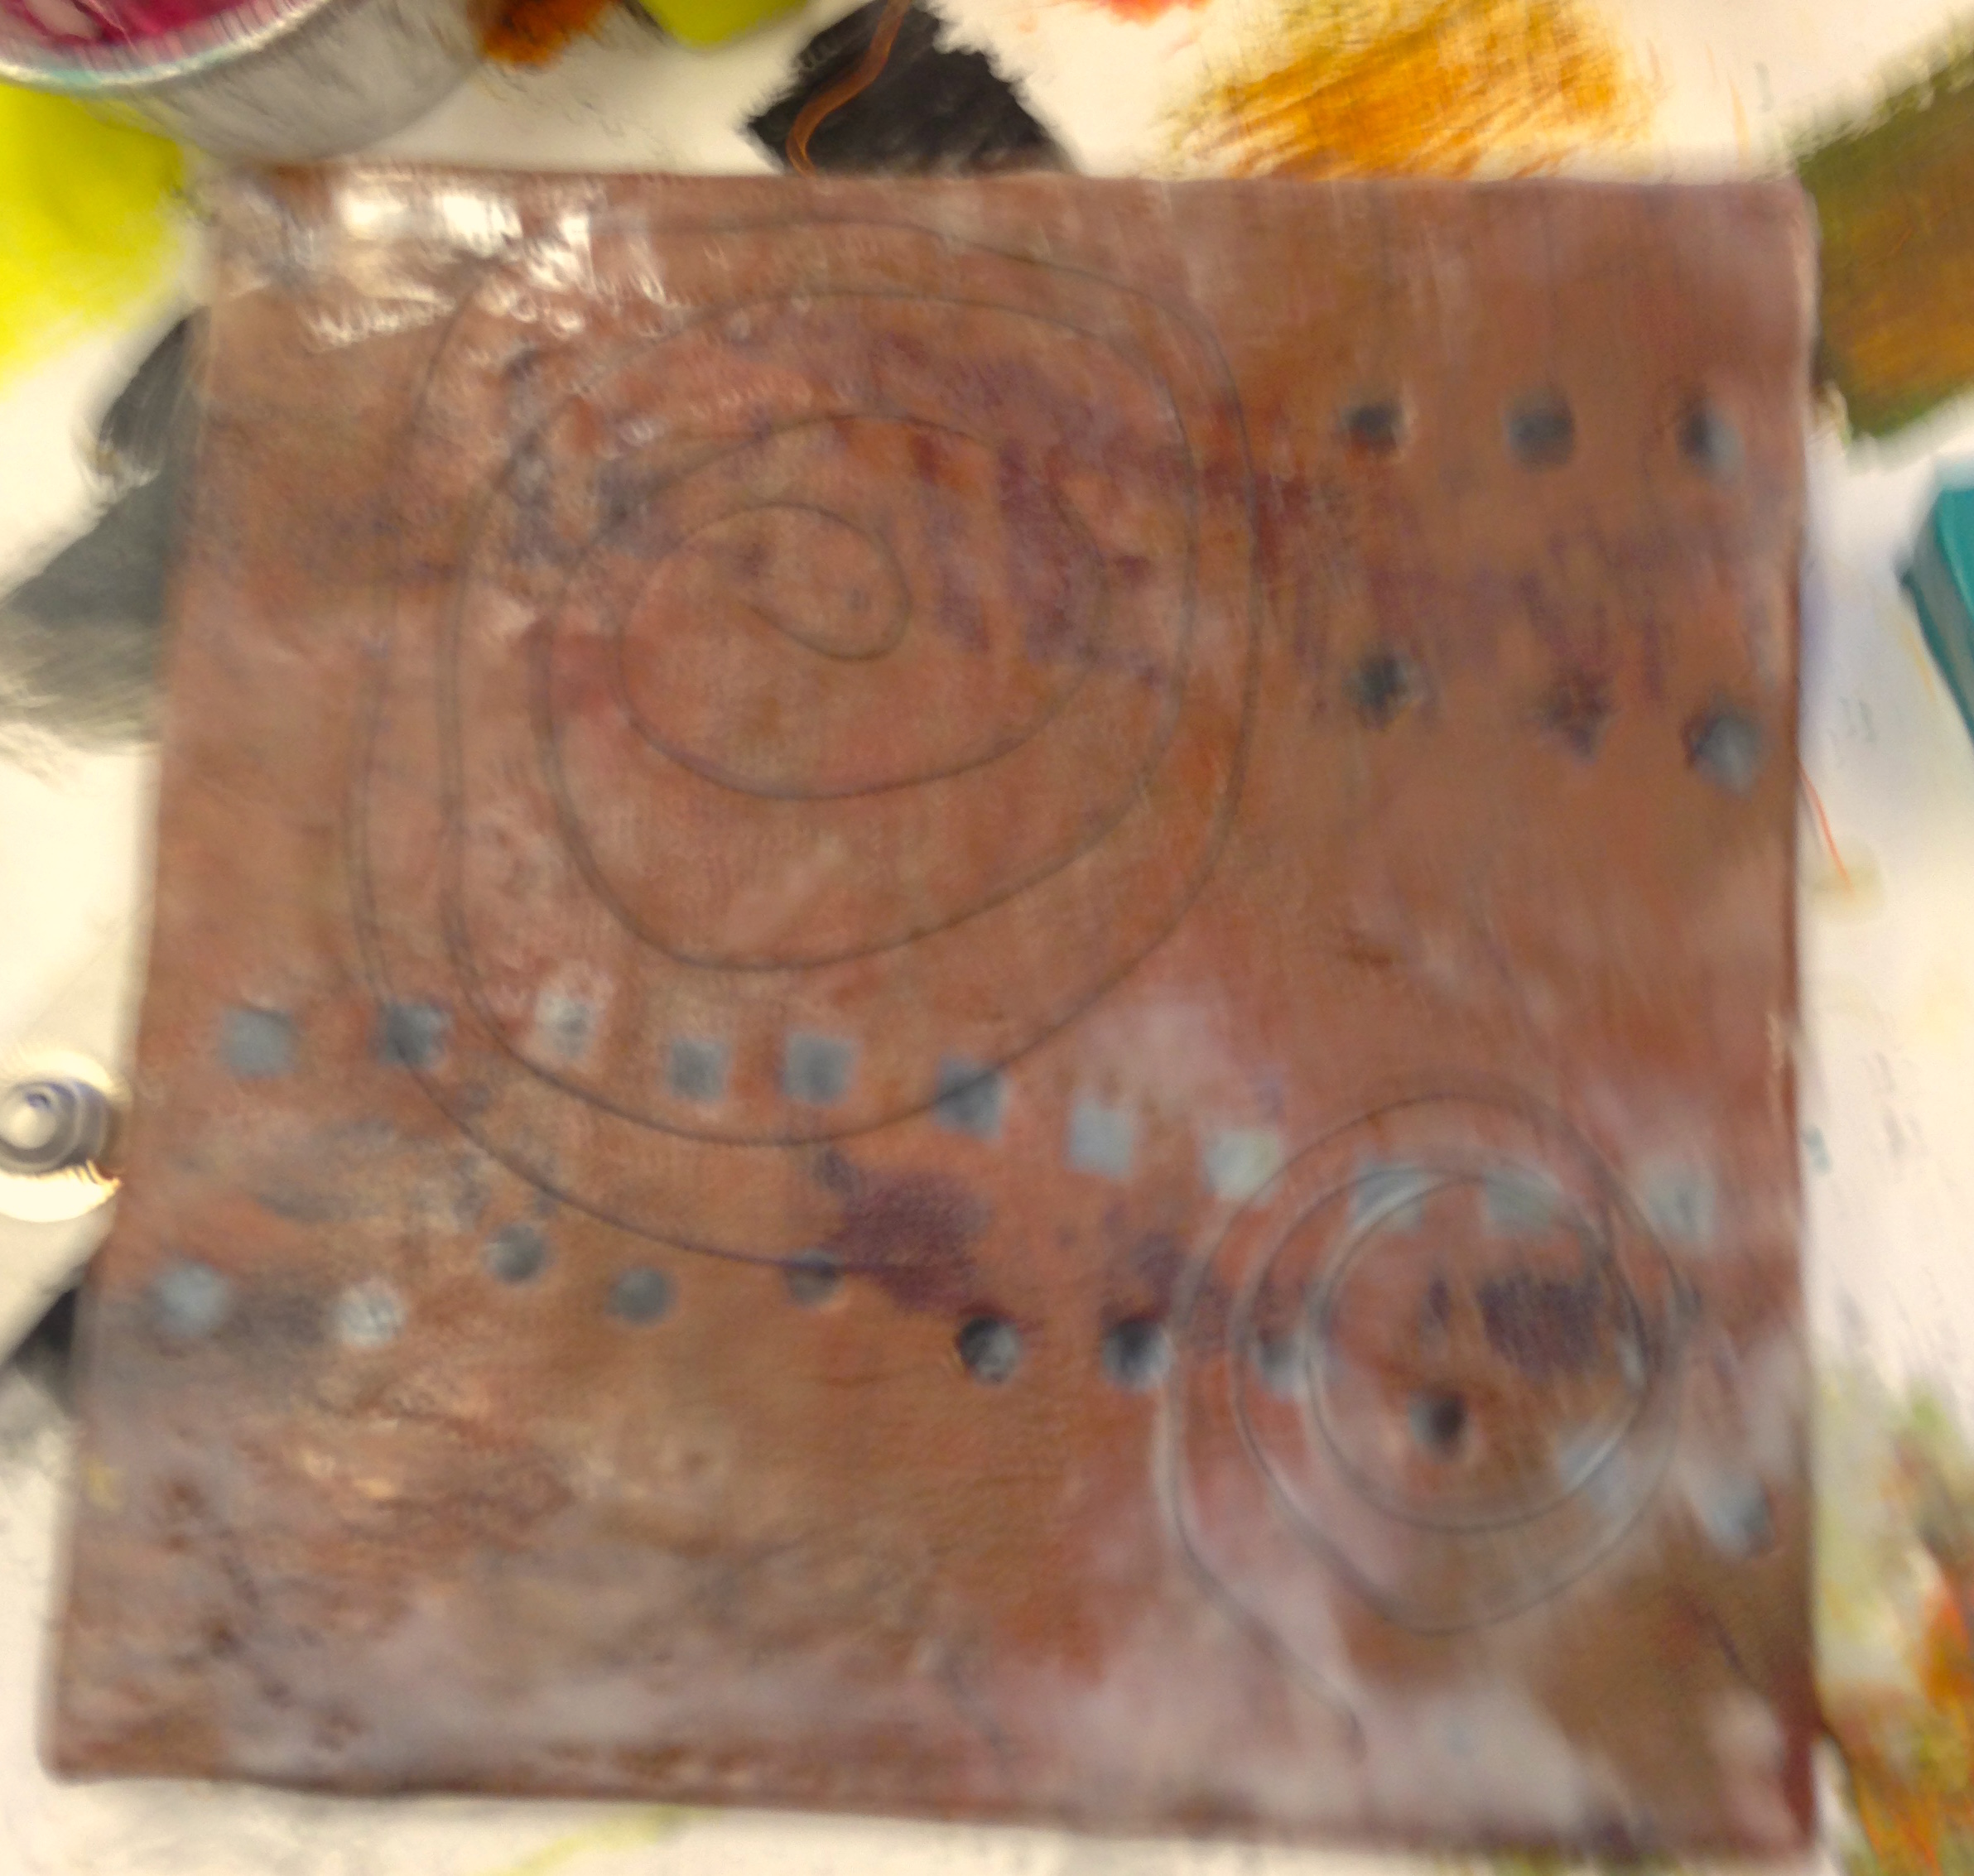
On the last day, I had an idea that I just had to work on using some of the materials that I brought.

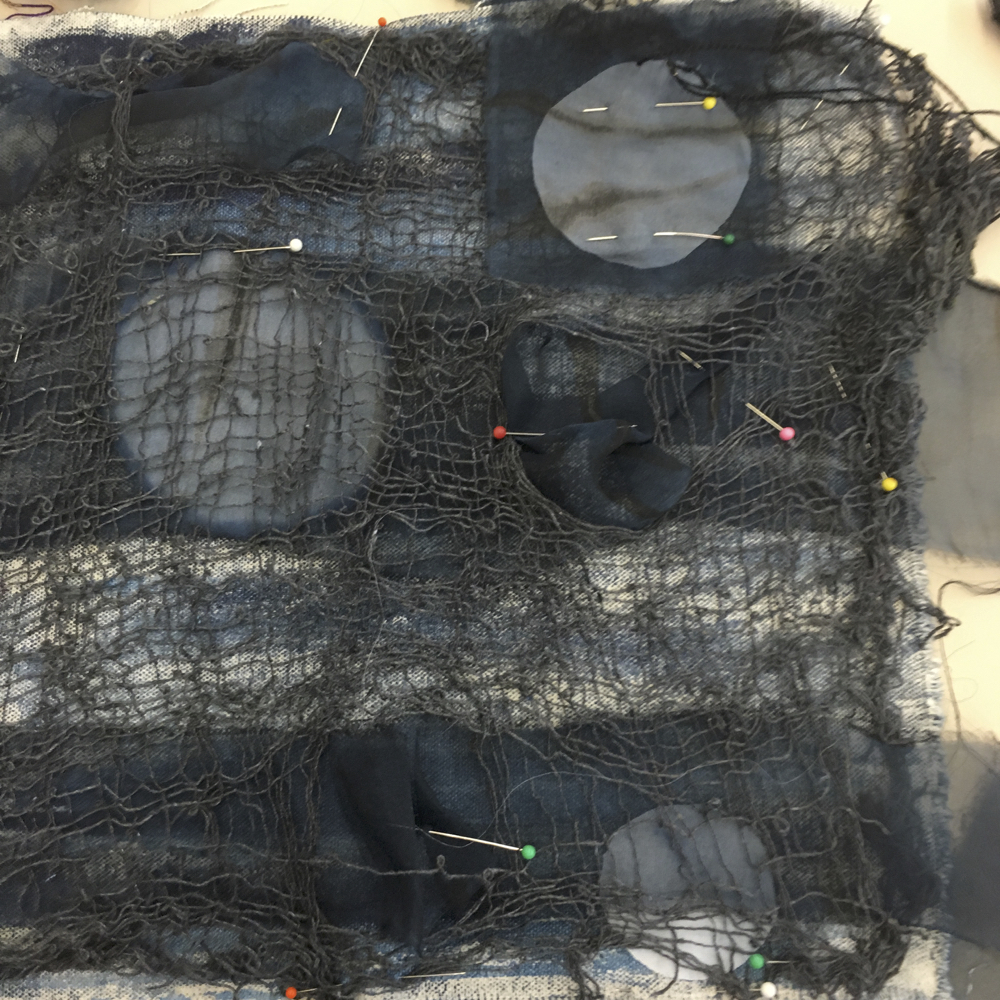
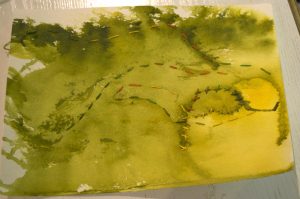
First, I painted the canvas with indigo Dynaflow paint. I forgot to get a photo before I started stitching, but you can get an idea from this photo.

IMG_2298

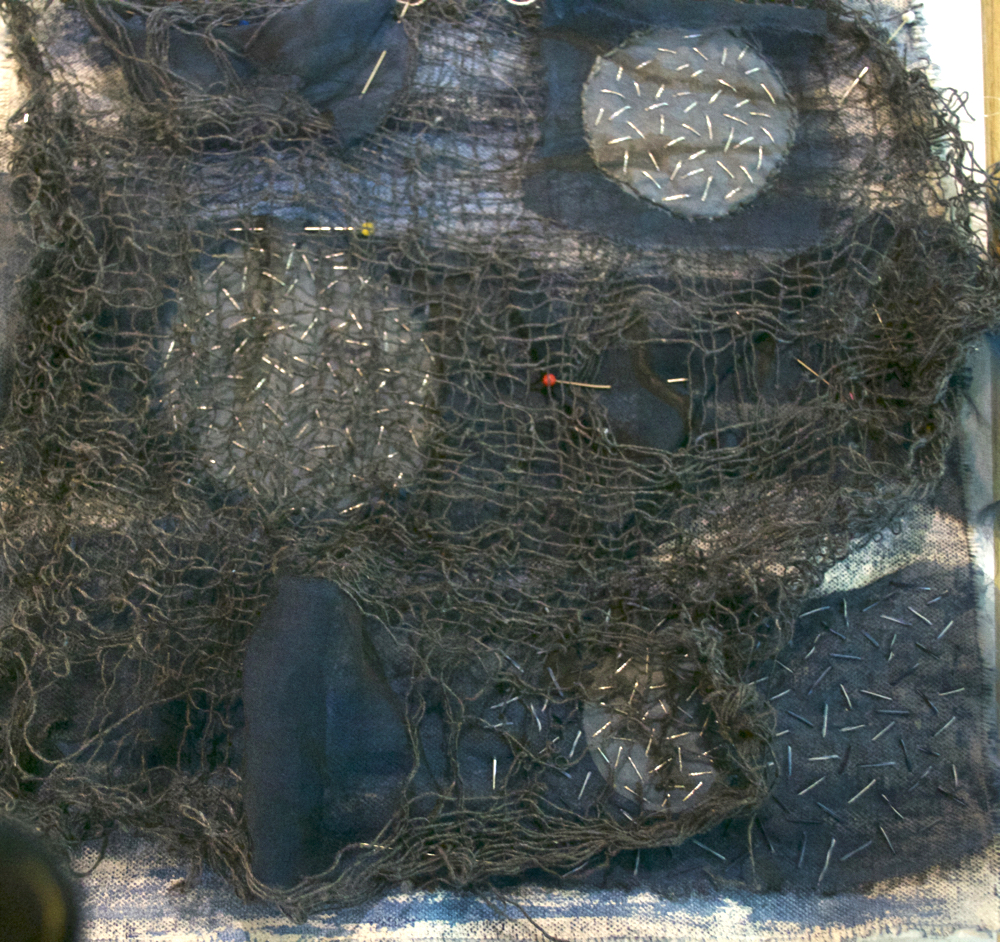
I had some indigo fabric with clamped circles. I cut out three circles for the composition. I also had a dark blue shibori organza which has black lines in it. And I also had a piece of Rymplecoth that my friend, Maris, gave me. It is more loosely woven than cheesecloth and is used for cleaning and polishing. She uses it in her felting. I dyed it a dark black. It takes the dye really well.

I used strips of the organza as I wanted some of the painted canvas to show to give a better value change. I ripped some holes in the Rymplecloth so that the organza can poke through.

IMG_2292 (1)

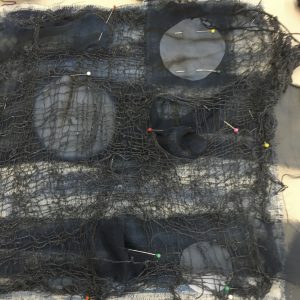
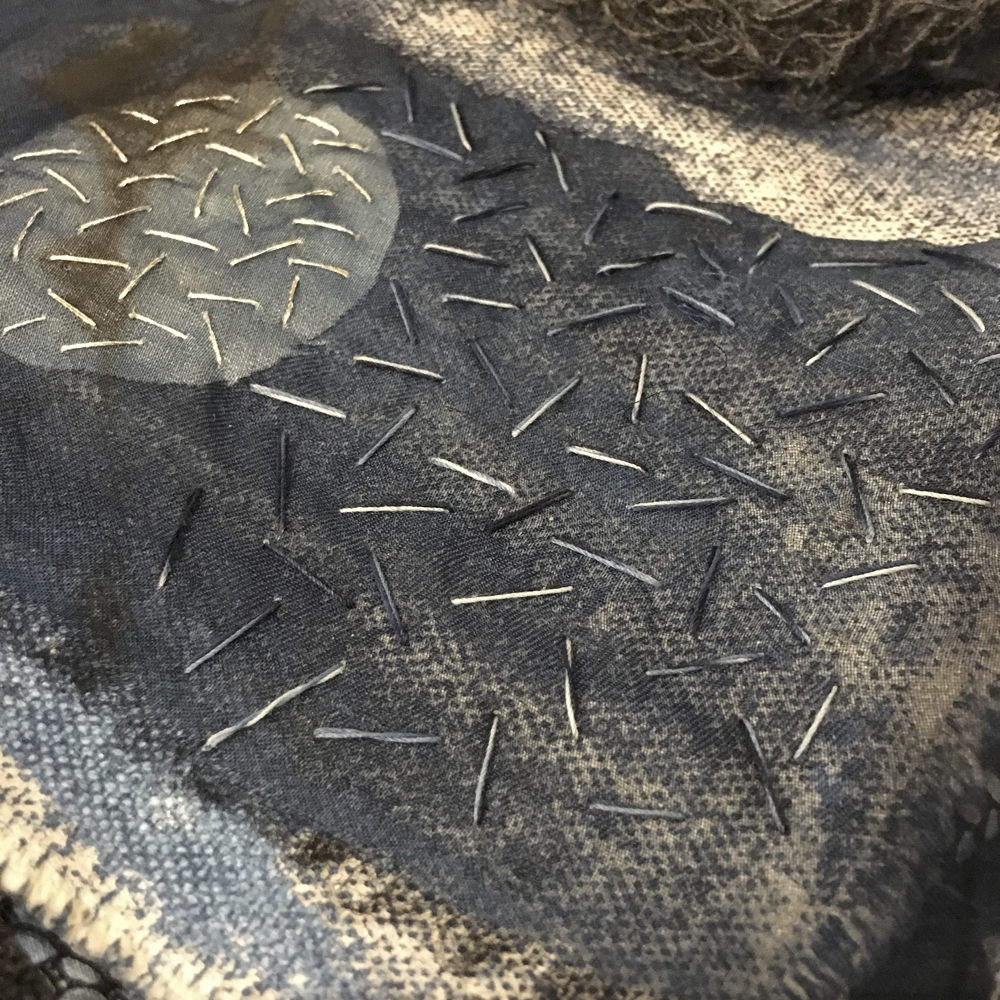
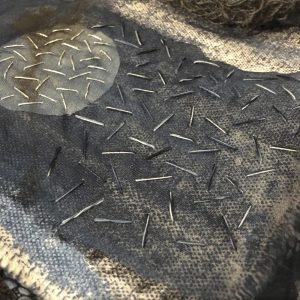
The top circle is on top of the organza and is couched down and stitched with silver metallic thread.

IMG_2297

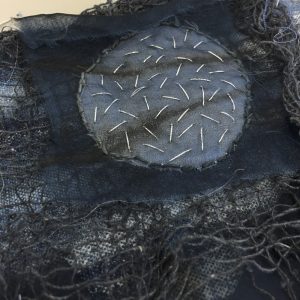
The other circles are under organza and stitched with the silver thread. I have started doing some stitching on the organza and canvas and then I will tack the Rymple cloth down.

IMG_2313

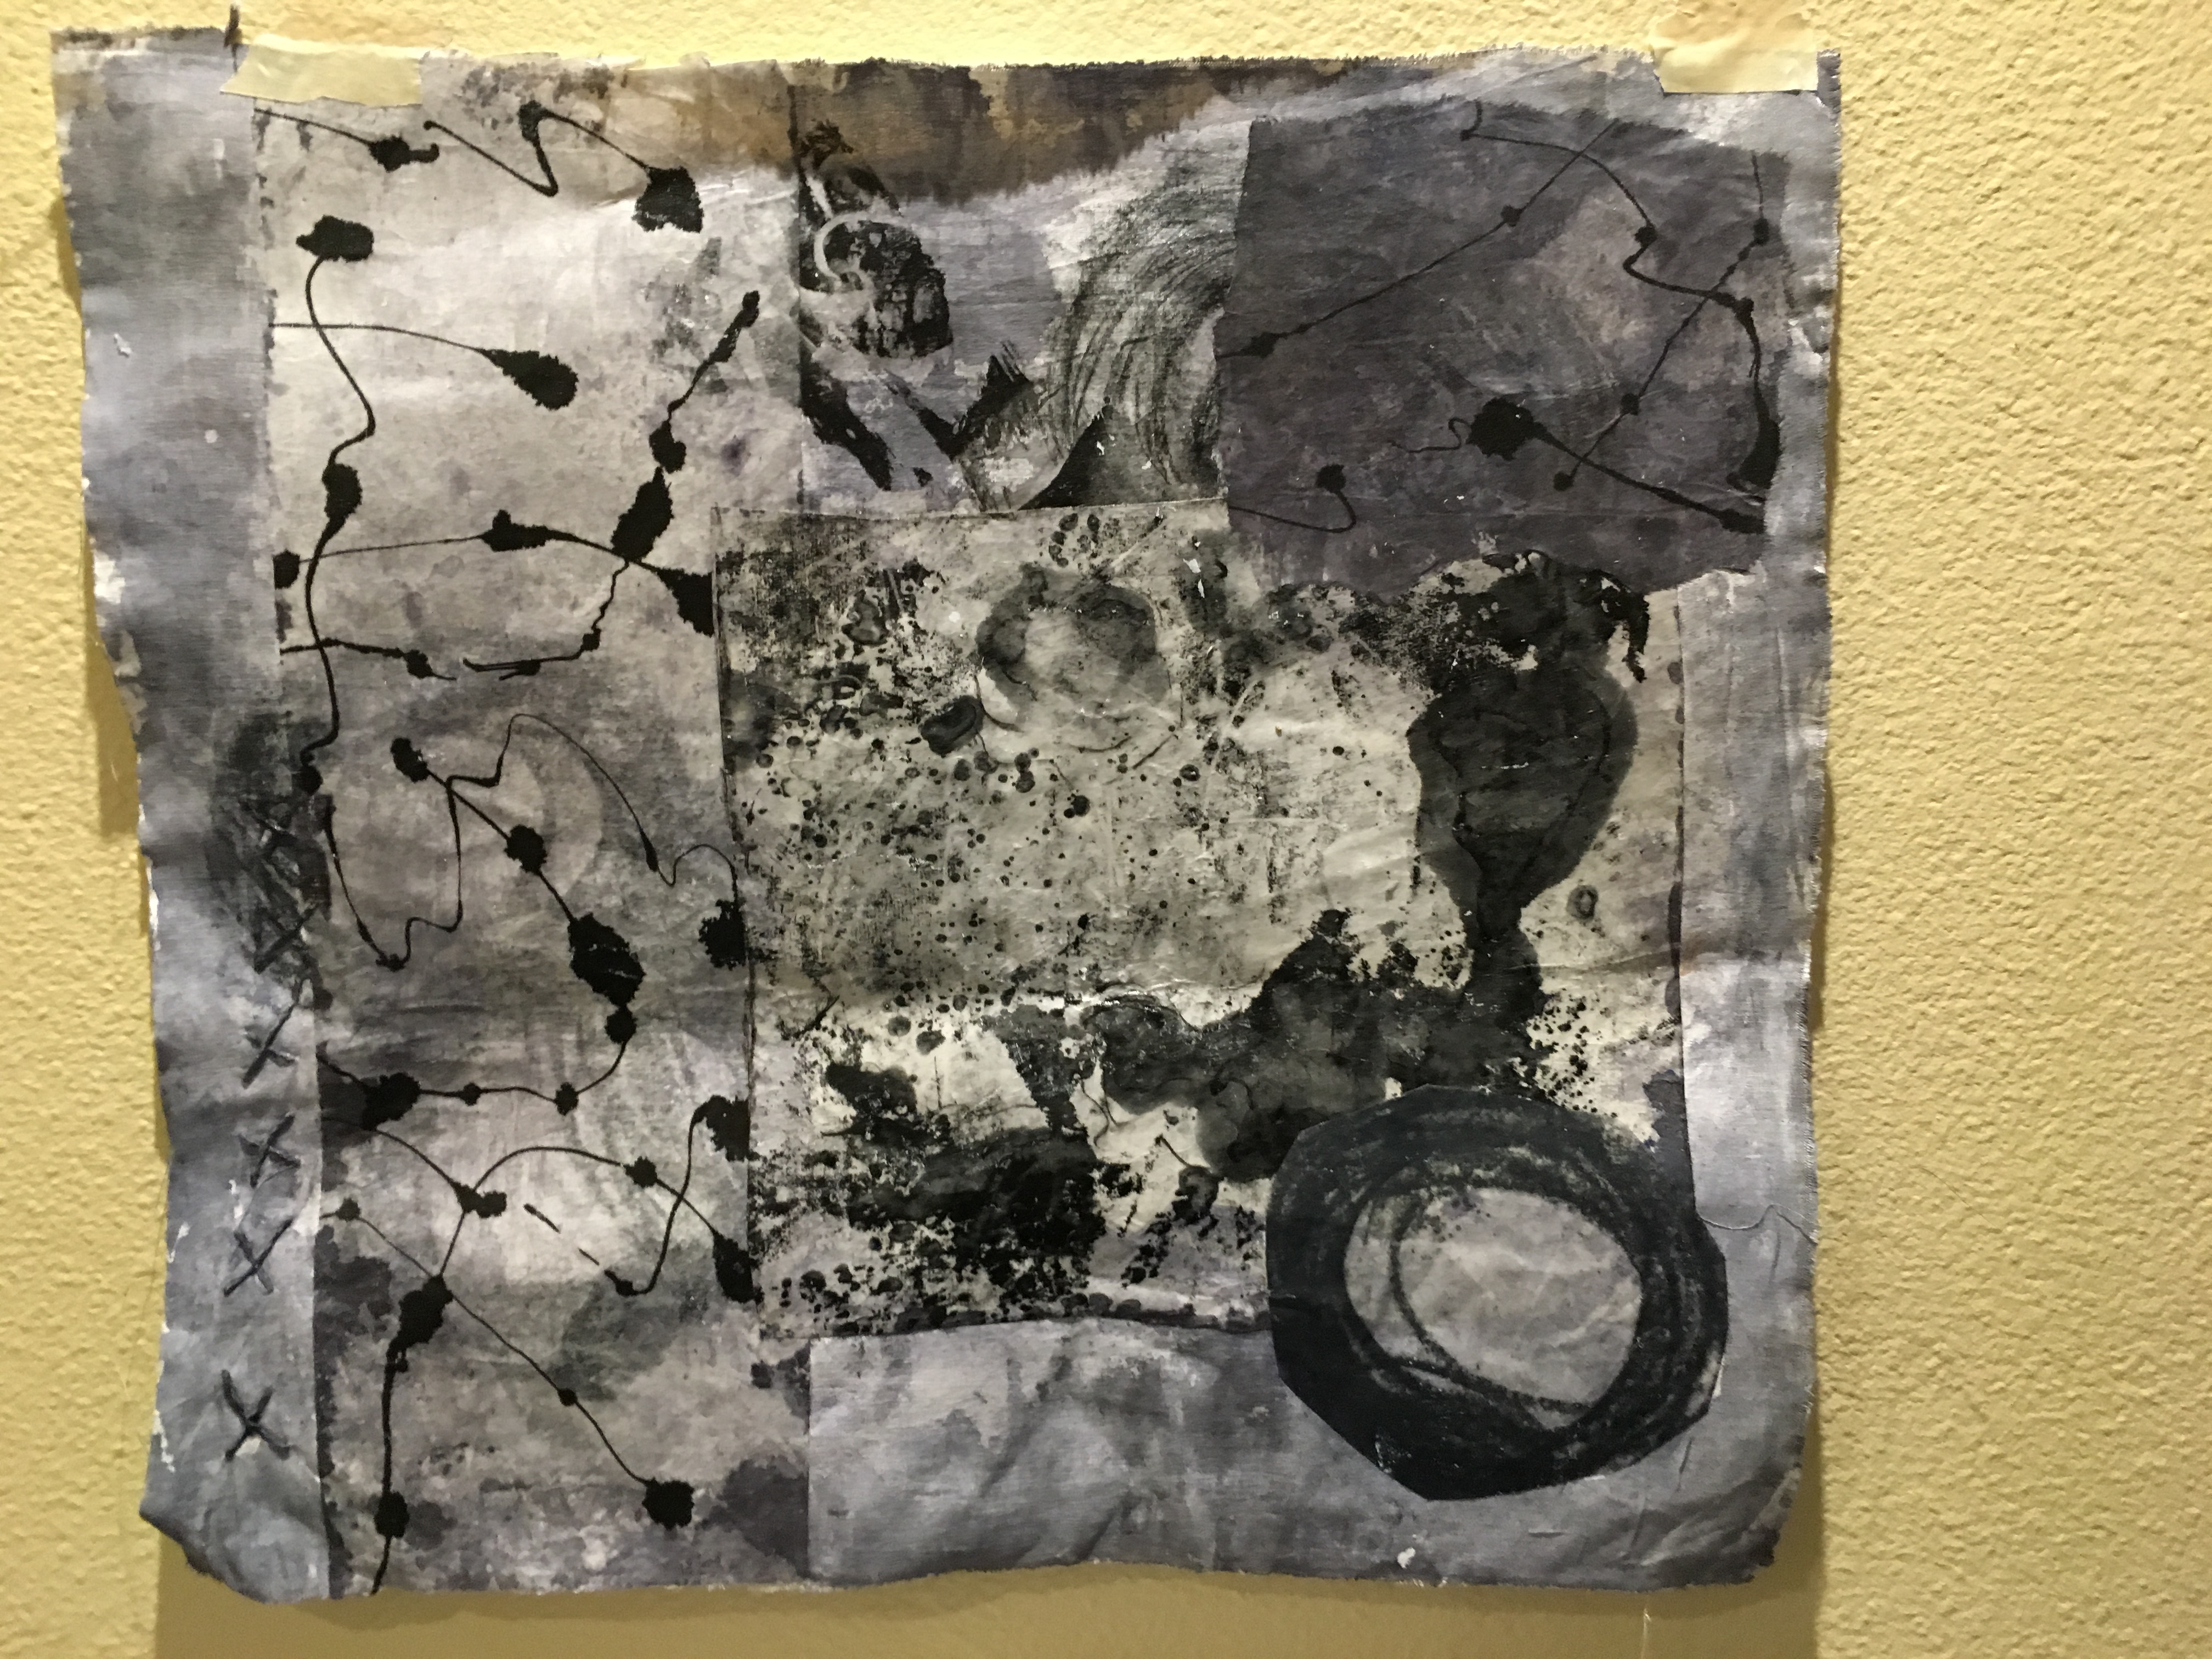
Here is the final layout which looks a bit messy, but I think I know where I am going.

_DSC7606

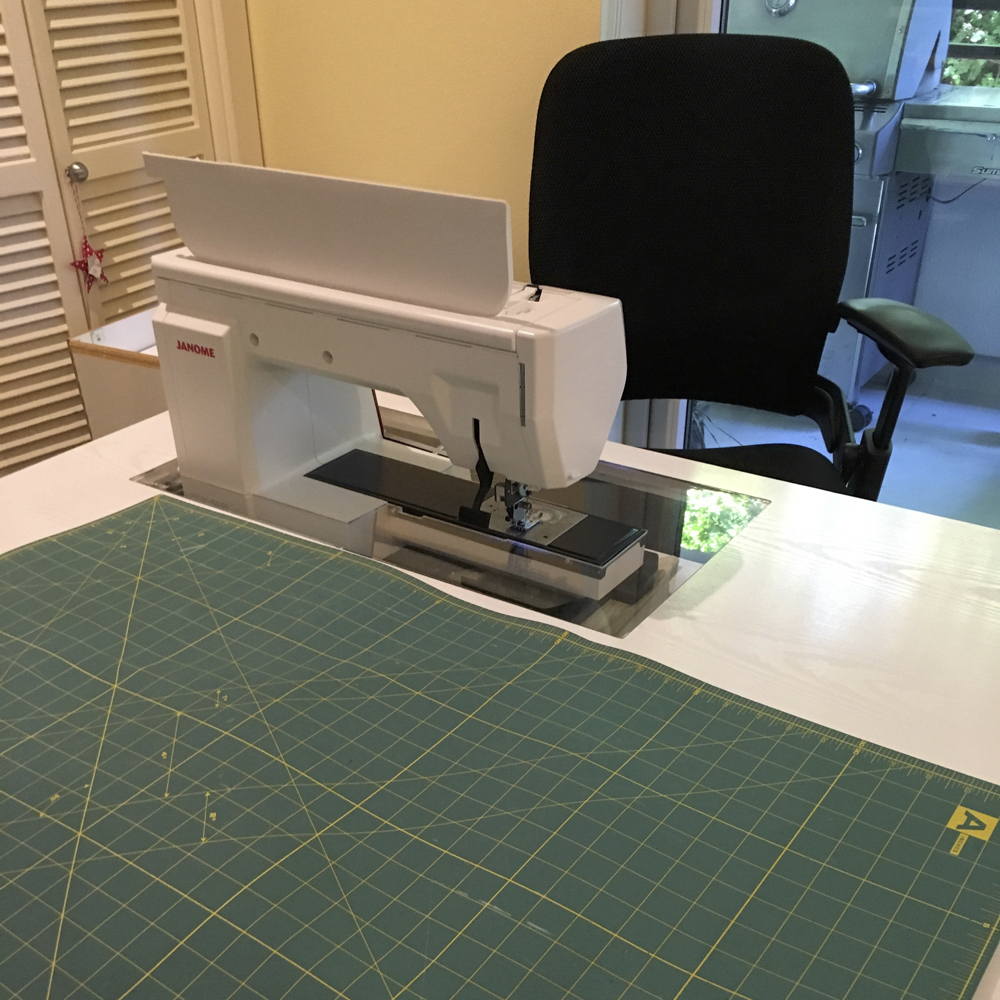
I was feeling a bit overwhelmed earlier this week and wishing my recovery was moving faster. Yesterday, I had Mr C  help me get my sewing machine table back where I use it and pulled the Janome up out of hiding. It made me so happy, I almost danced. I think it is a symbol for the life I want to live and now, I am feeling so much better and have been doing better. I think I turned a corner.

IMG_2316

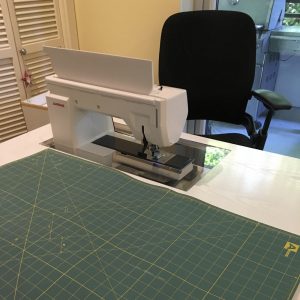
All I did was shorten some clothes, but it felt good. My knee didn’t like the knee lift, but that will get better.


Textile Printing Class Wrap-up

Thursday, March 17th, 2016

IMG_1621

Last night was our fifth and final printing and collage class. There was still some printing going on, but most people tried to put together a stitched composition. Barbara made some stuffed fish that are swimming with some one dimensional fish. Nicely done!

IMG_1622

Adia had done several prints on pieces of canvas. She cut them up and started on a collage. We convinced her to remove some items.

IMG_1627

Here is her final composition.

Liz helped her fussy cut her ferns.

IMG_1628

The father and daughter duo, Scott and Tiffany, were hard at work.

IMG_1625

Tiffany ended up with a composition featuring an elephant.

IMG_1629

Marilyn was working on an underwater scene with colorful fish and water plants.

IMG_1623

Ann ended up with a trio of birdy prints.

IMG_1630

I really enjoyed teaching this class with my friend, Allan Oliver, but I am glad it is over. I came home, totally exhausted and in the worst pain. I woke up at 5 with pain and could not go back to sleep. I was at might wits end, but I had my STASH friends coming for our monthly get-together and lunch so I had to suck it up and get busy. We were chatting away when Mr C interrupted to tell me that Kaiser had called and wanted to schedule my knee replacement surgery. Who0pee!! I called them this afternoon and got all scheduled for May 9th. I could have gone the week before, but Mr C has a colonoscopy scheduled and I need to be able to drive him. I wonder if April is going to take forever or fly by!!

I am wondering if I can pull myself together to get two quilts done for upcoming shows since I will be out of commission for a bit. Stay tuned.

Printing Workshop #3

Thursday, March 3rd, 2016

IMG_1551

We are moving right along. Last week my thermofax overheated and melted the screen material. Last night, when I tested it, the dang light, that burns the image did not go on. Then it went on half way through the process, burning only half an image. We found a way to work around that. I also found out that the laser copier at Trinity was producing really strong carbon images and I needed to turn the thermofax down. Then we had a great night. I love the image up there that Wendy made and printed on black with white paint.

She also has been experimenting with layering images which is something I have tried to encourage.

IMG_1549

This is James, who moved here from New Zealand last year. He loves taking art classes and being with other folks. His mother is a sometimes quilter. I just love James!!

IMG_1545

Steve did this very successful zebra print and layered in some grasses.

IMG_1547

Scott did this musical layered print using some nice clip art.

IMG_1550

I threw together this collage of leaves which I am hand-stitching to show them how they can use their prints to make a piece of art. Not sure that many of them will get to this point!

IMG_1554

I have been sooo busy with SDA work. We have a deadline for entering an exhibit tomorrow and lots of people are joining and renewing so that they are eligible. So, too much computer time.  I did make it down to the gym to do 20 minutes on the bike.

Encaustic/Fiber Day Two

Wednesday, August 5th, 2015

encaustic1 with collage2015-08-05 12.13.43-1

We started today by putting yesterdays pieces on the table and critiquing them for composition. She then showed us how adding elements can enhance or improve a composition. She thought the black lines on my piece were two big and that I should scrape them down. I collaged in piece of a net onion bag and some horsehair lines. I just love the look of the lines made by the horse hair. Almost everyone in the class loves this piece, but me not so much. I really like a simpler more serene composition. I think changing the orientation to the top one, helps.

Next on the agenda was learning to wrap a board with fabric. I had a nice piece of funky dyed silk that I think Kristin La Flamme might have given me. To wrap the fabric, you put a very light layer of wax on the board and then press the fabric on the board and smooth it and iron it with a Clover mini-iron to adhere it to the wax.

fabric to board

Then, the board edges and back are carefully waxed and the fabric is wrapped and the corners are trimmed and ironed down.

fabric corners

silkfabricencwrap

Next, we used a soldering iron like tool to burn marks into the top.

silkencwithbranding

Here is this piece with more wax and some horsehair spirals. The wax was not completely dry so it is still opaque in areas.

silkencwith horsehair:wax

Here is a board wrapped with the rusted cheesecloth fabric with marks burned into the surface.

_DSC7440

I then covered it with wax and added some pigmented wax and some perle cotton. The wax was not dry on this when I left.

cheeseclothwax,perlecotton

I am enjoying the class so much. I got to have a session with Lorriane and she looked at the encaustic I have done and my art quilt portfolio. She saw a definite relationship with how I approach art quilt composition and my encaustic compositions. That felt good.