home
about the artist
gallery
blog
links
contact

Archive for the ‘Dyeing’ Category

I am Dyeing to Show You

Thursday, January 14th, 2016

IMG_1184

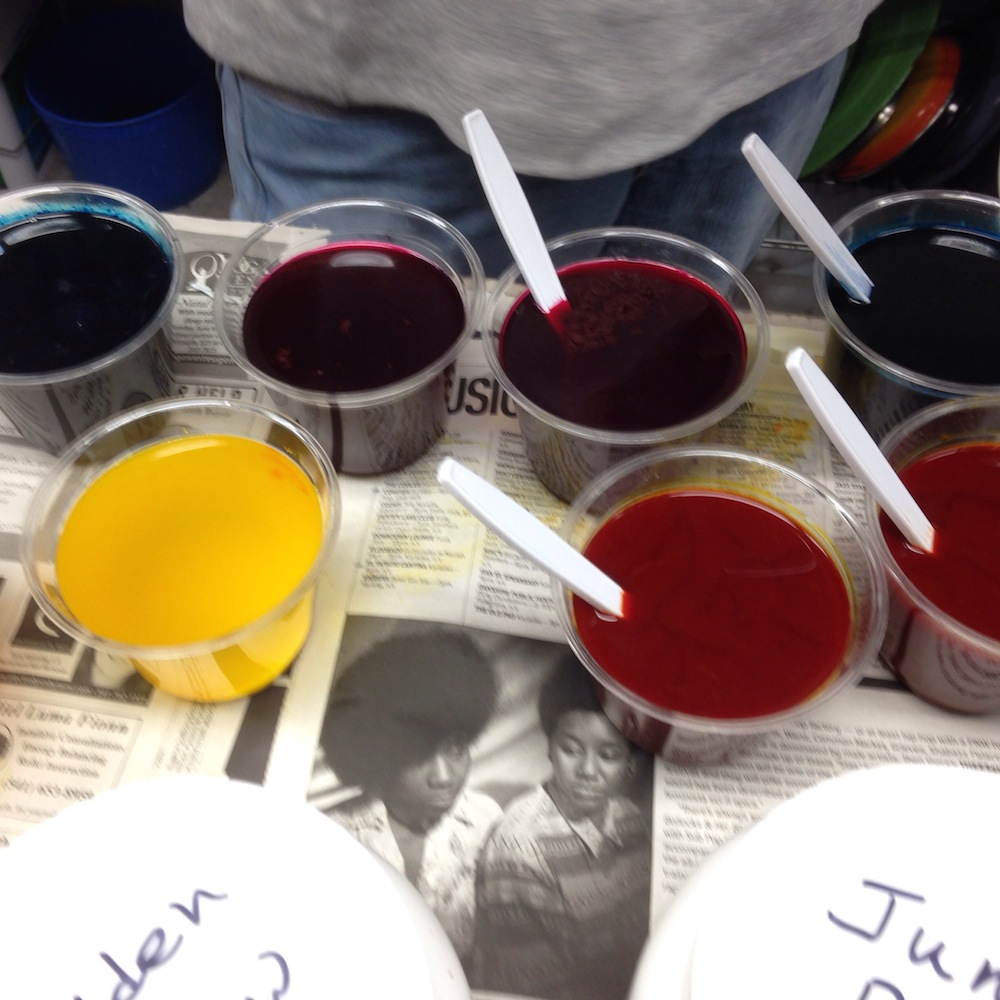
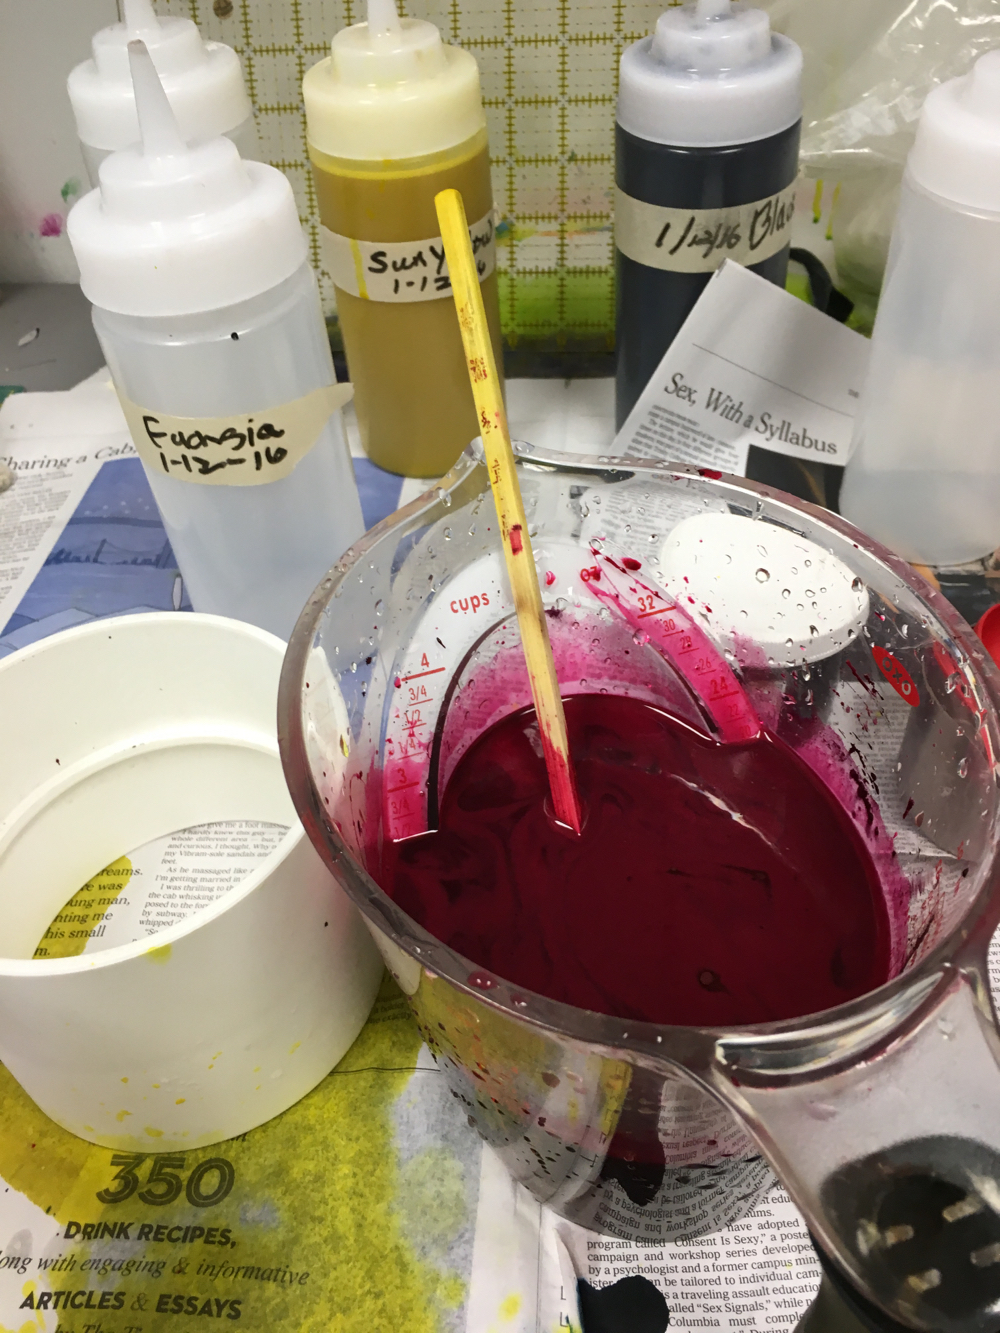
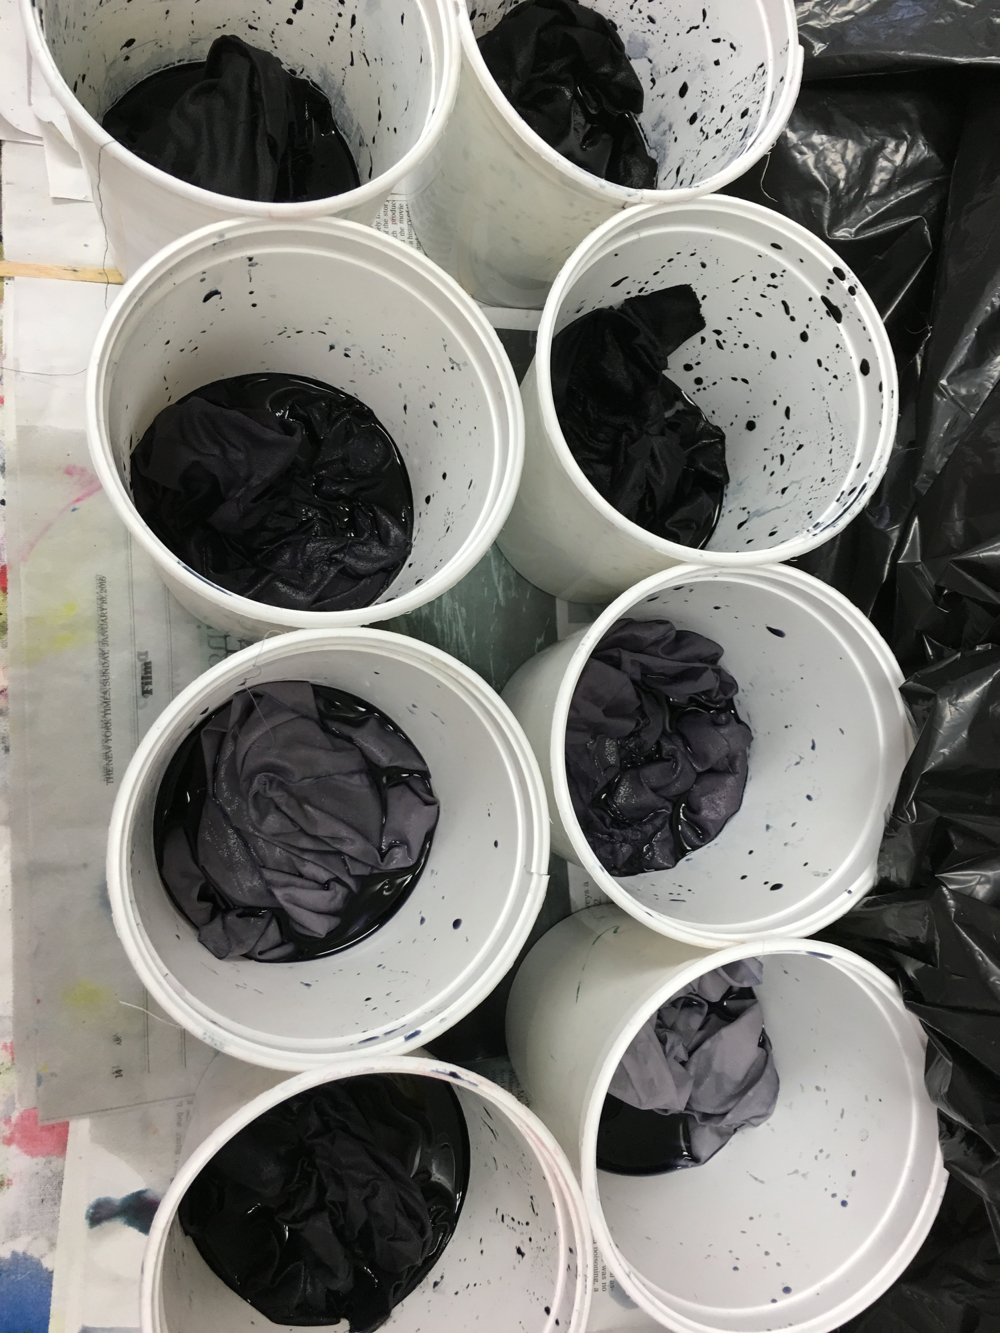
I think I mentioned that I am taking Elizabeth Barton’s online Basic dyeing class. Her method is new to me. You mix up a lot of dye concentrate to have on hand — we have done 6 colors. The soda ash is not added until the fabric has been in the dye for at least 30 minutes and you can wait until the next day. So, this week we mixed up our concentrates and then did a gray to black gradation. I think I like this method of having dye concentrate on hand, but I have to refrigerate it so I have ordered a cute little desk top fridge for my studio.

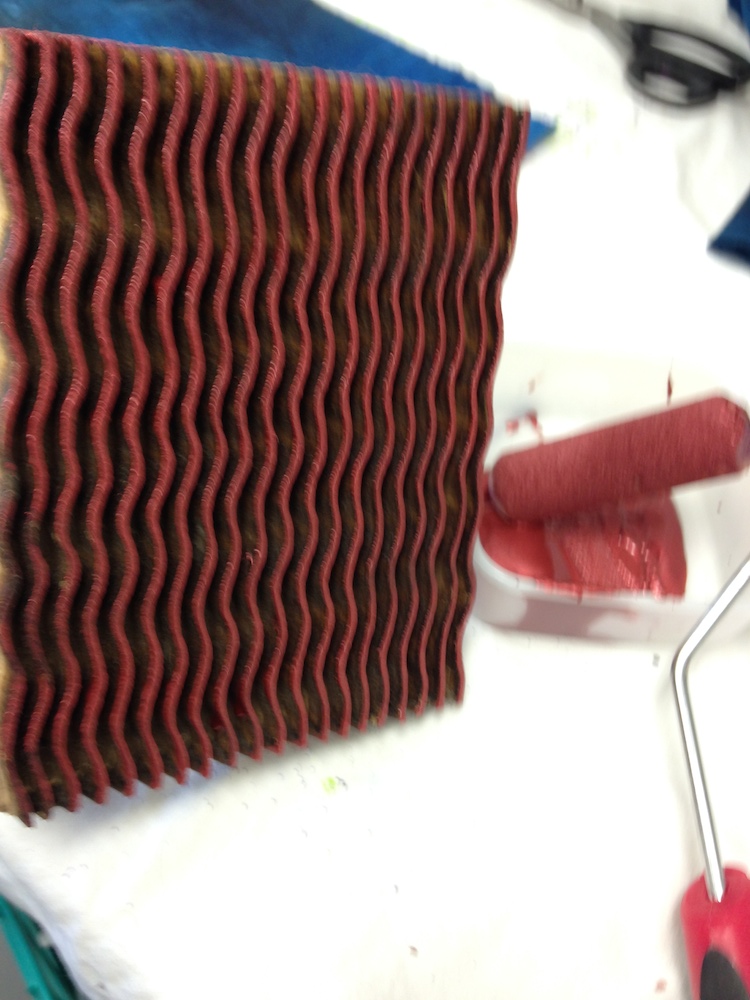
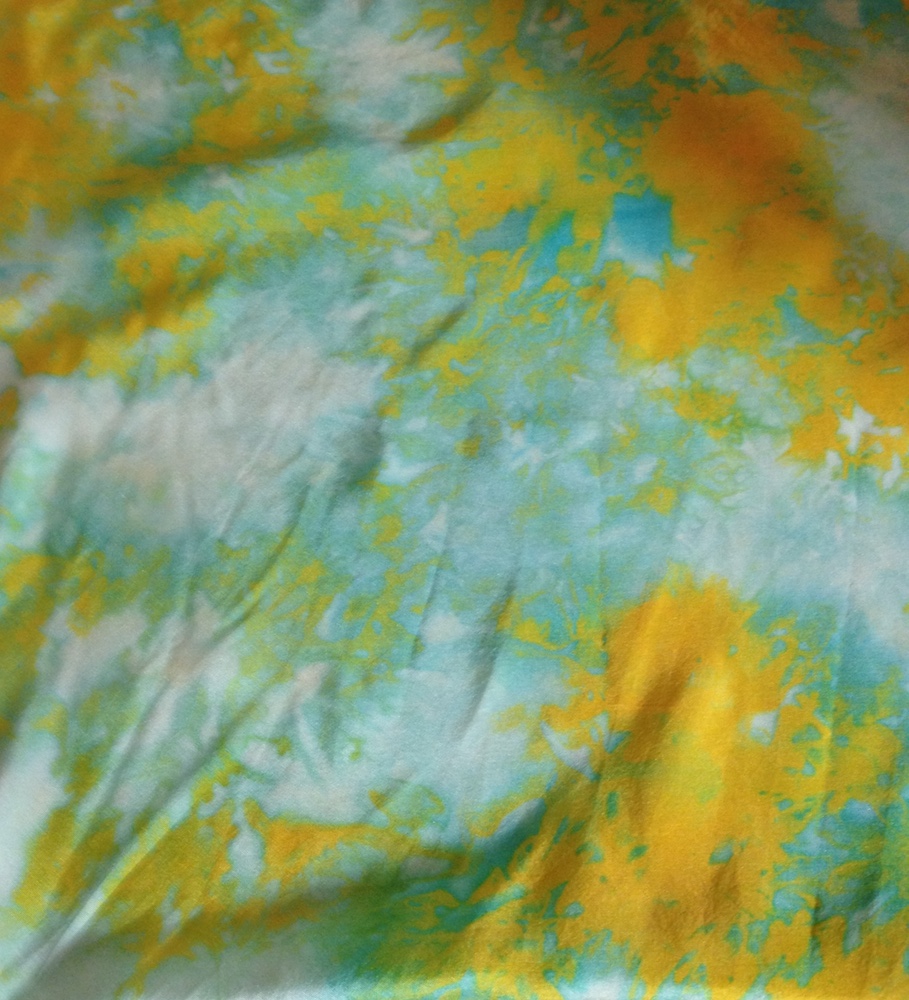
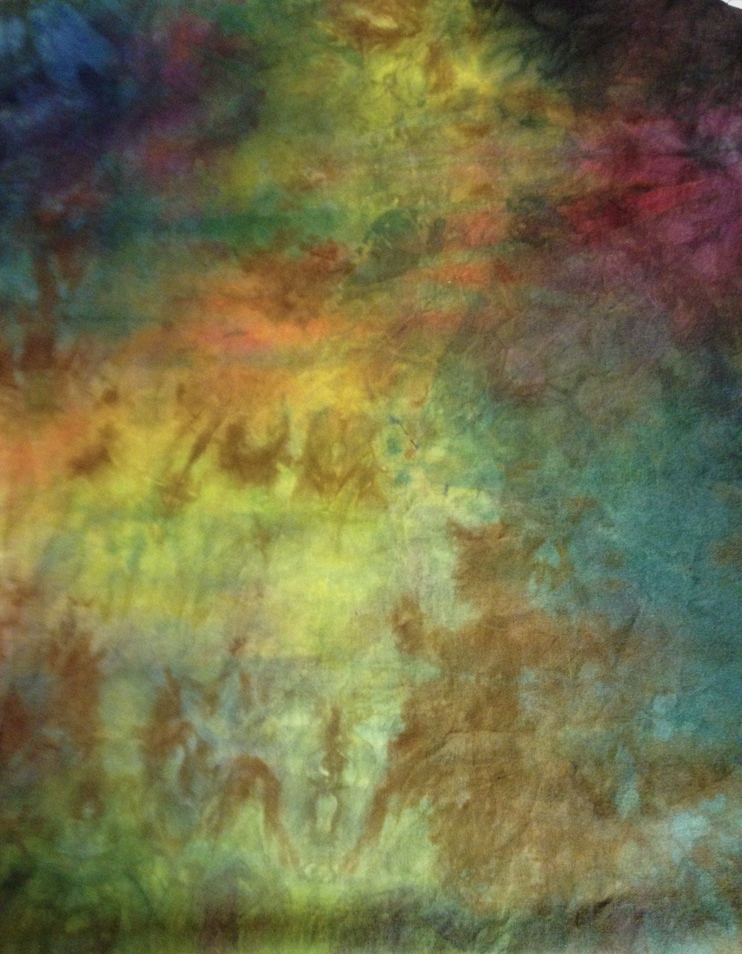
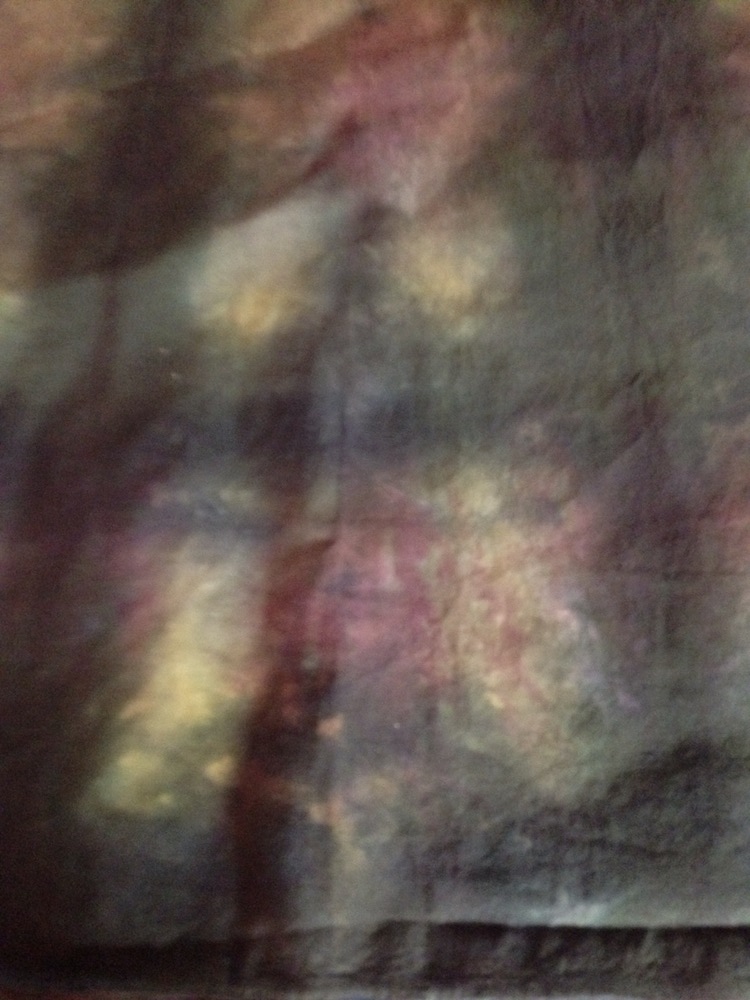
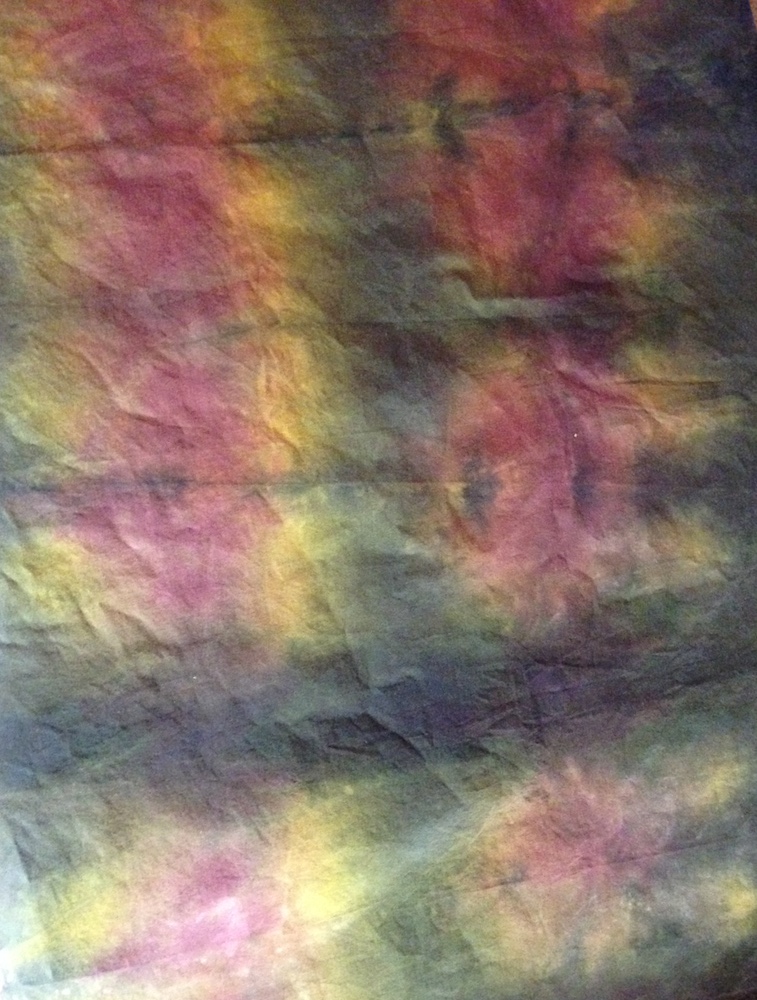
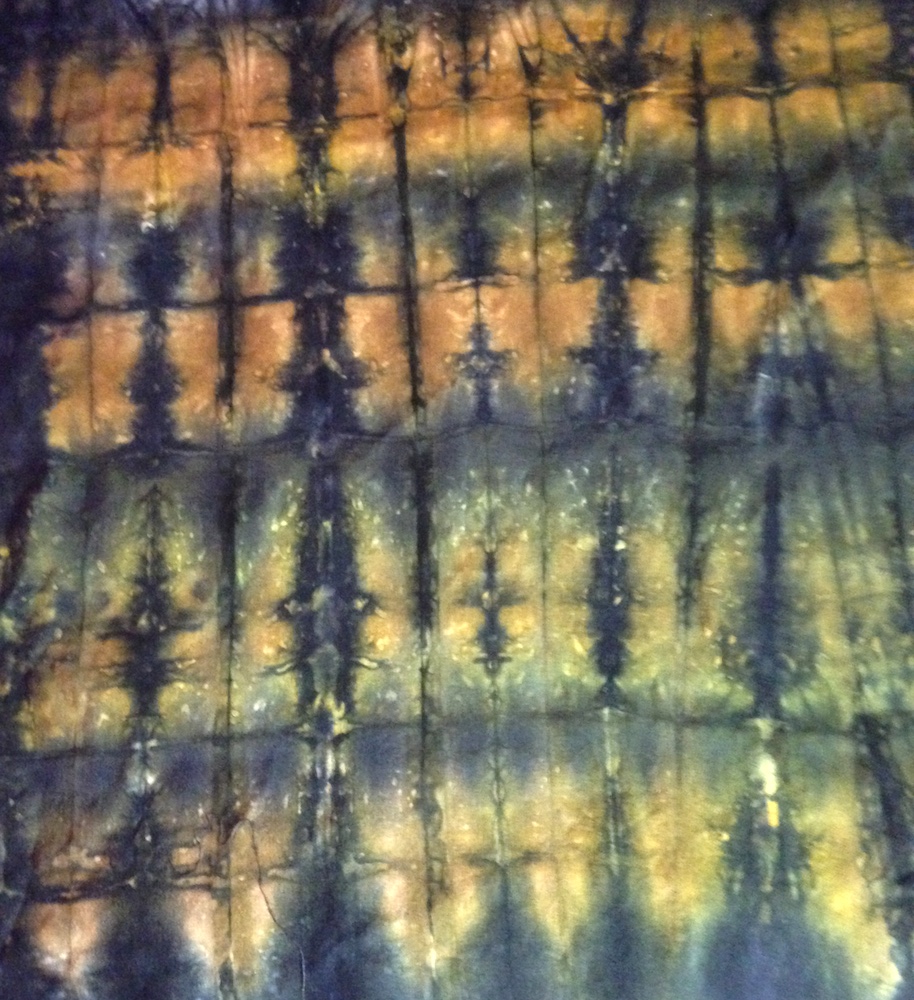
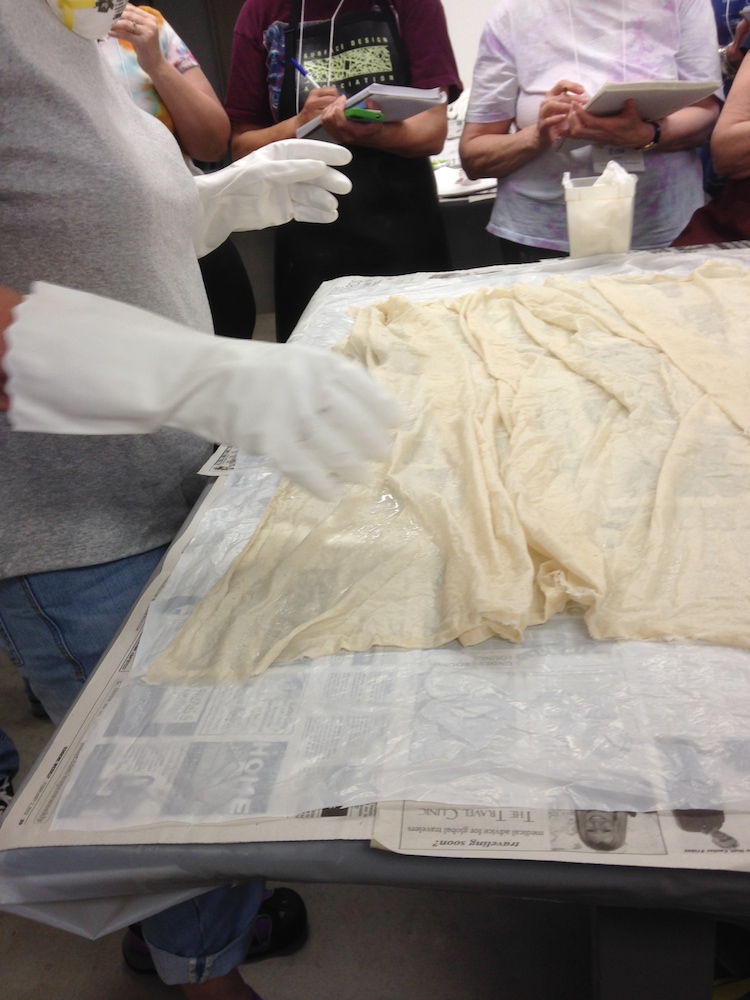
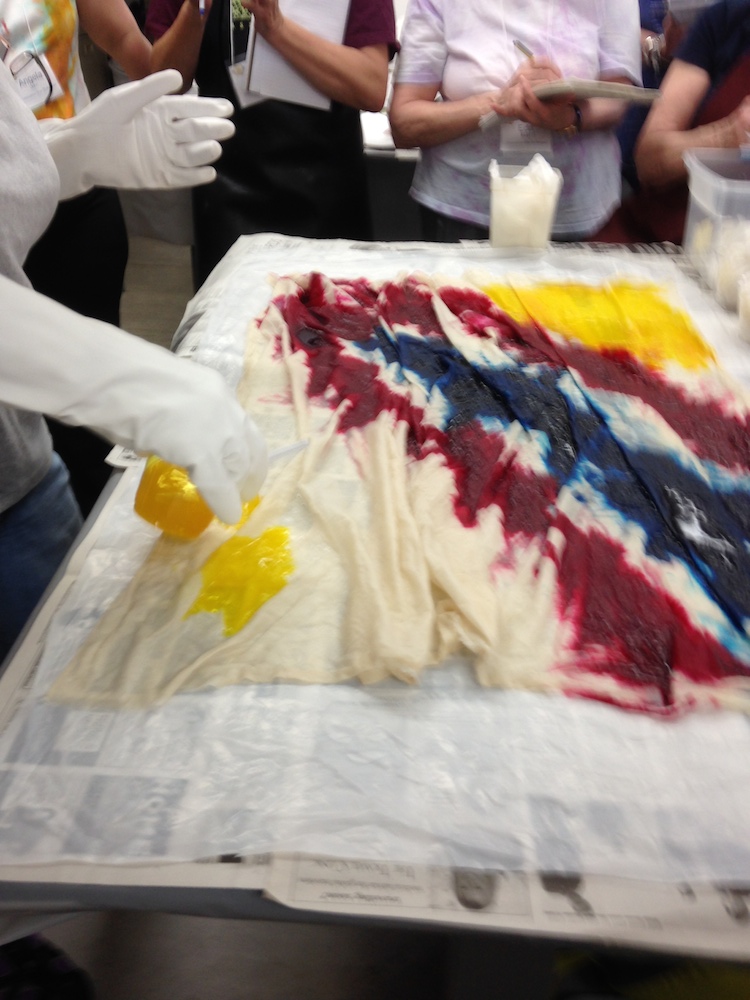
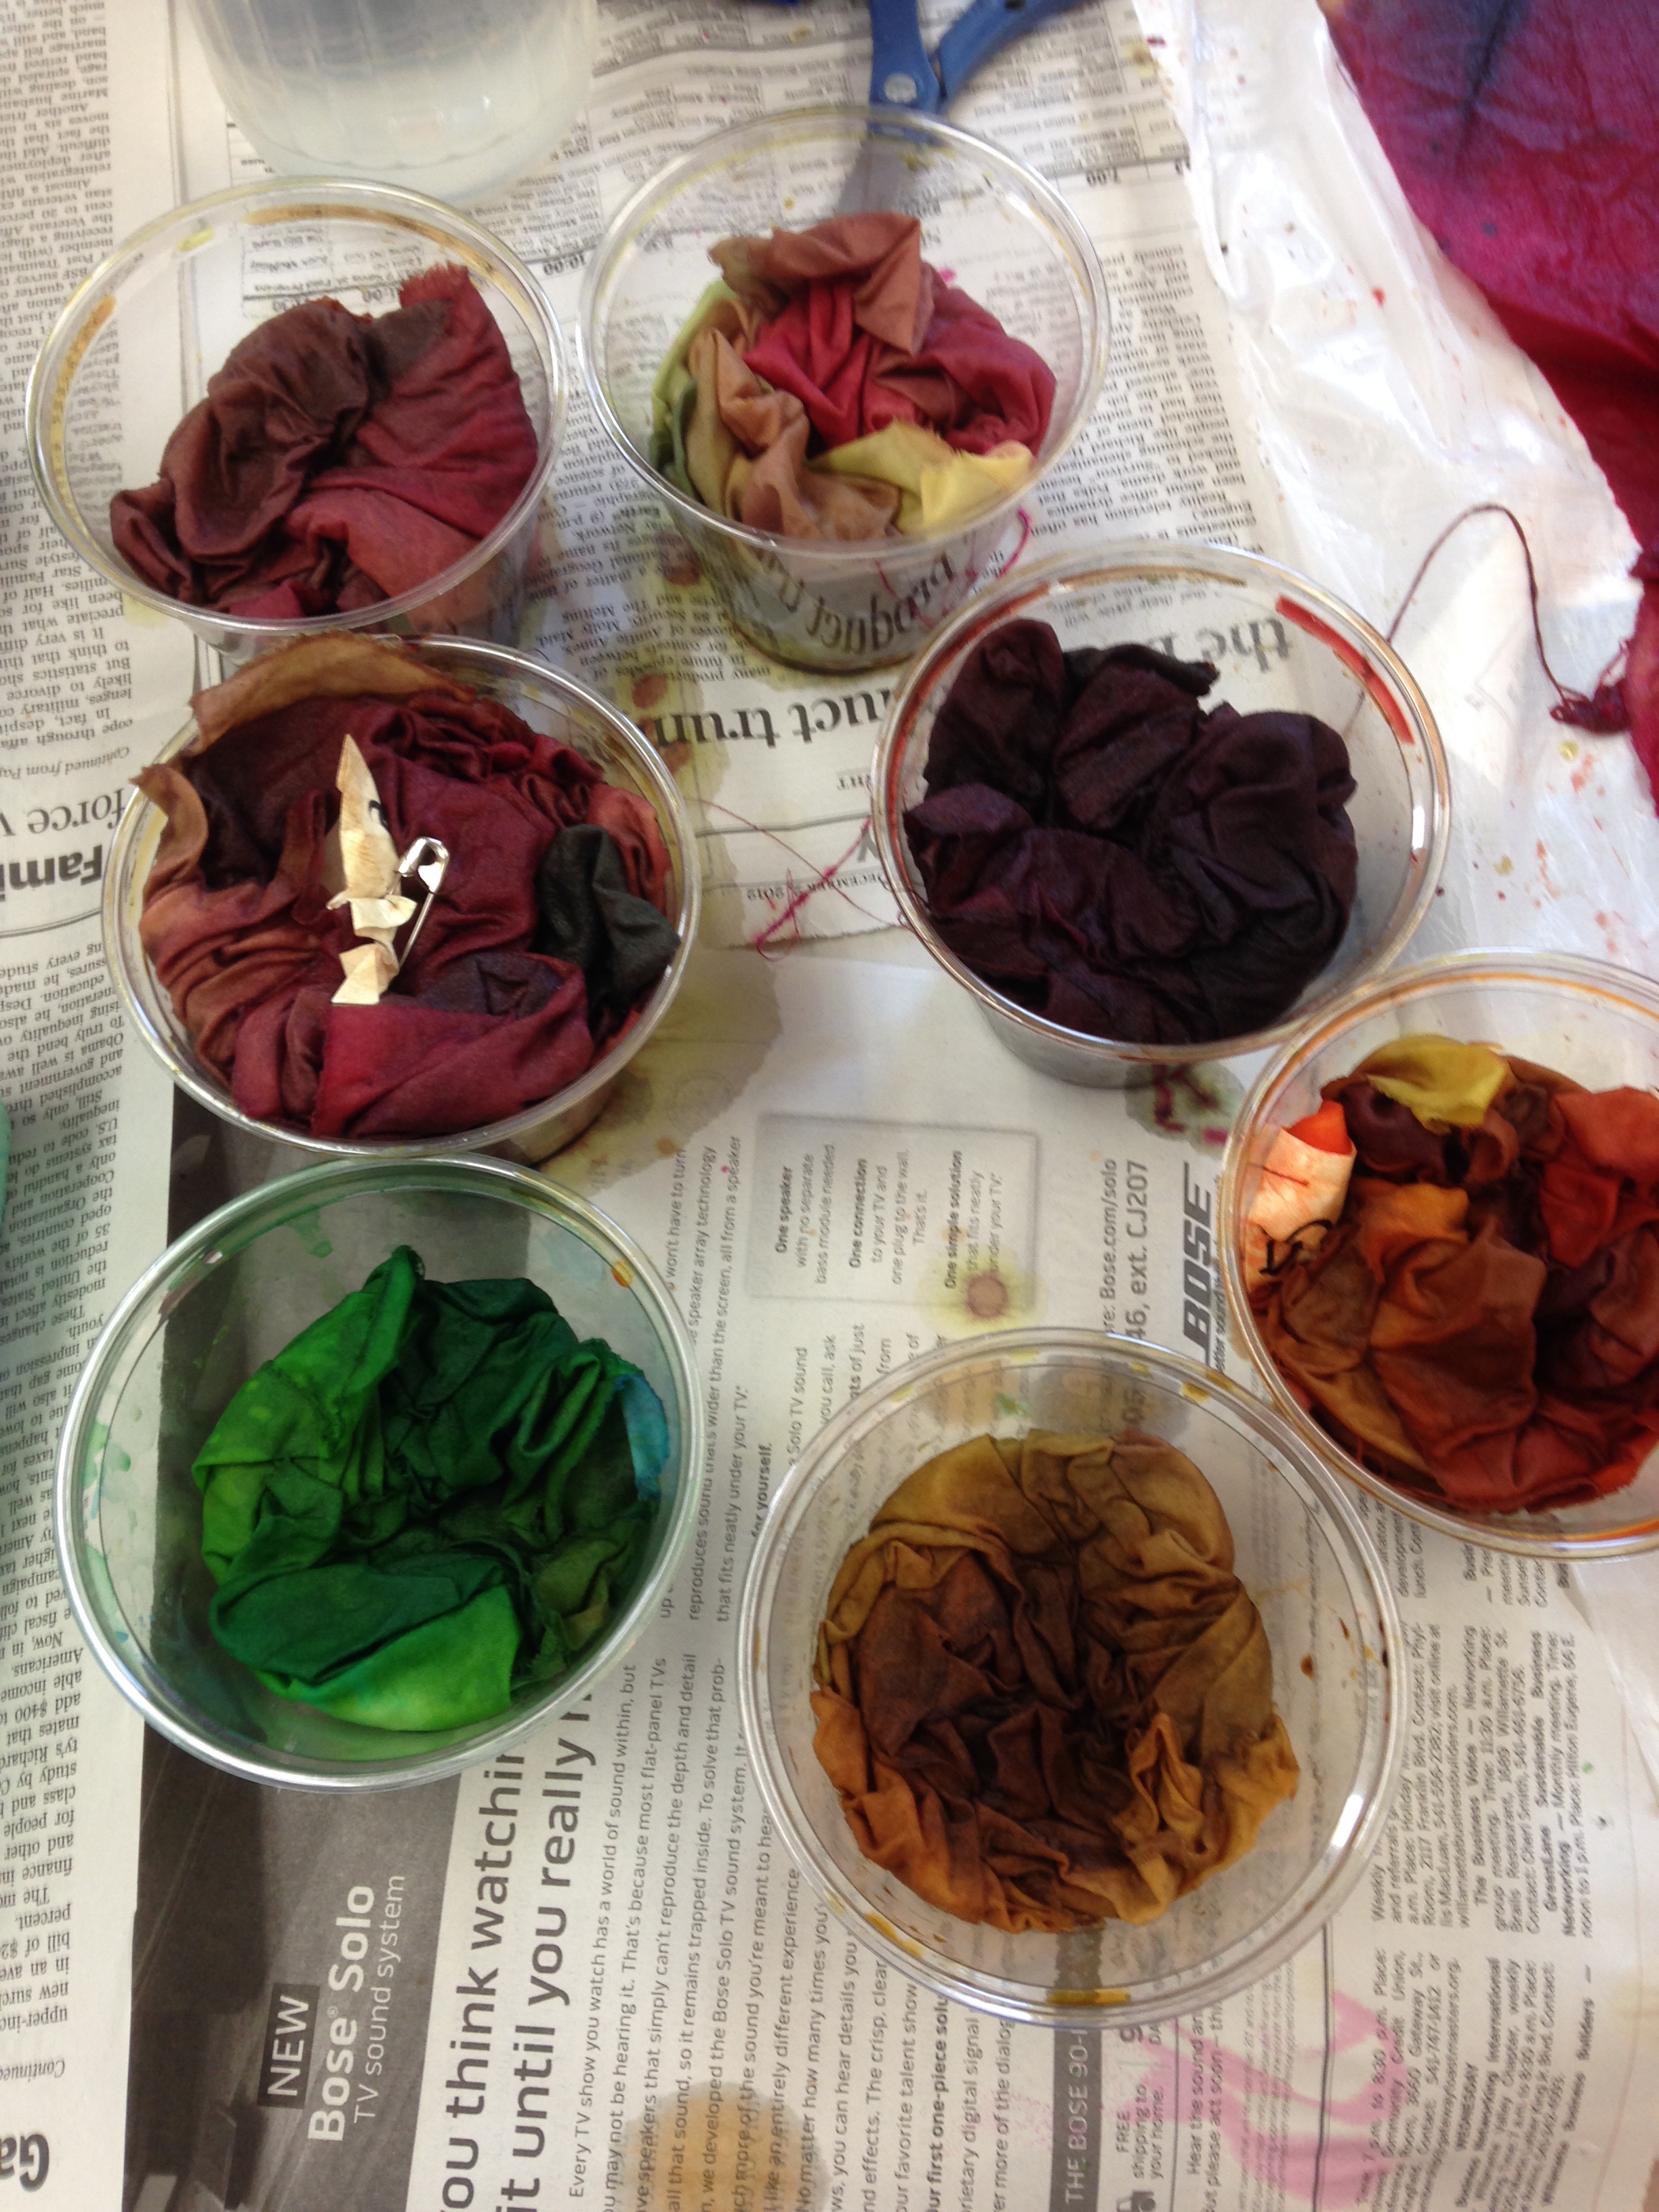
Here is my fabric batching:

IMG_1186

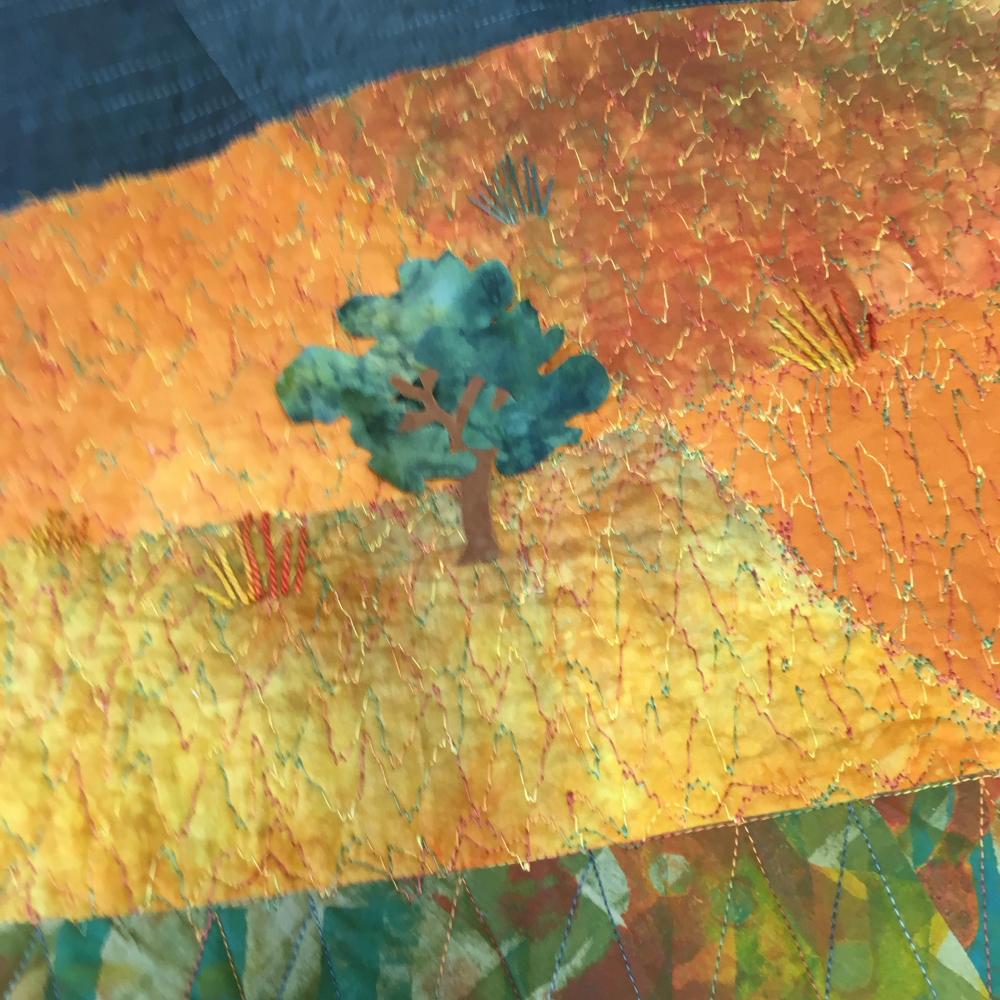
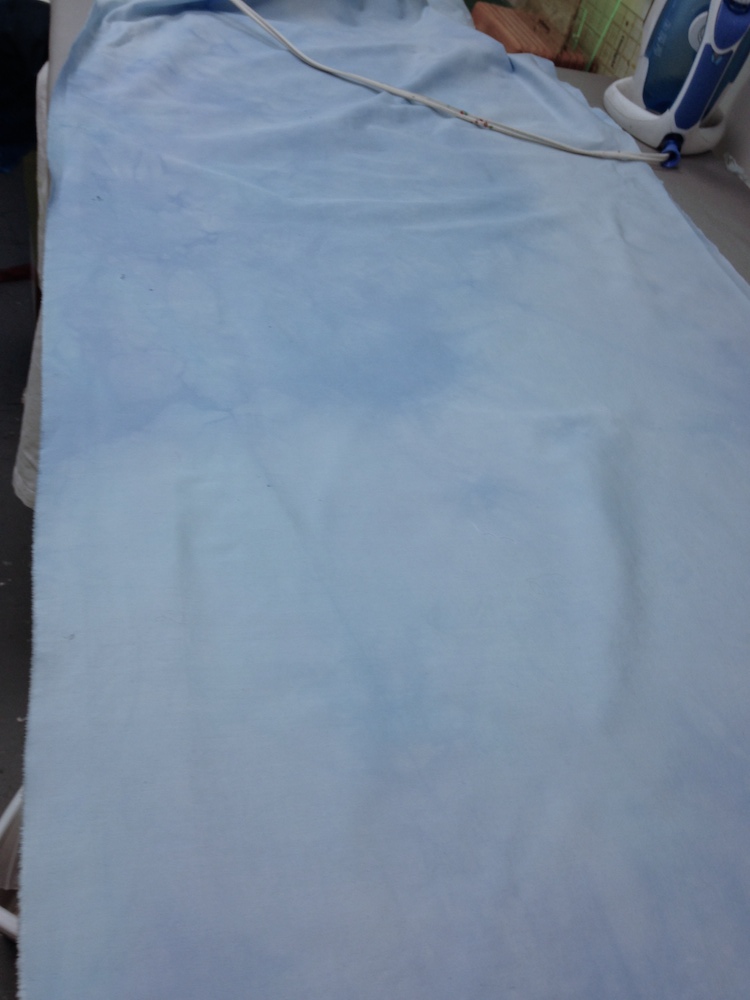
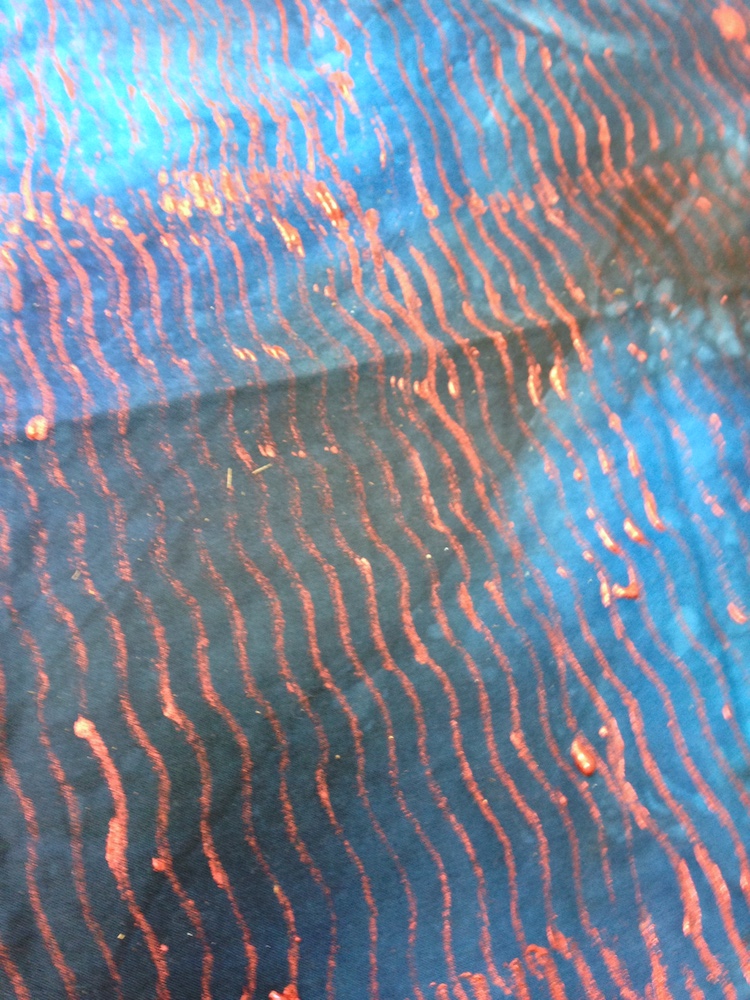
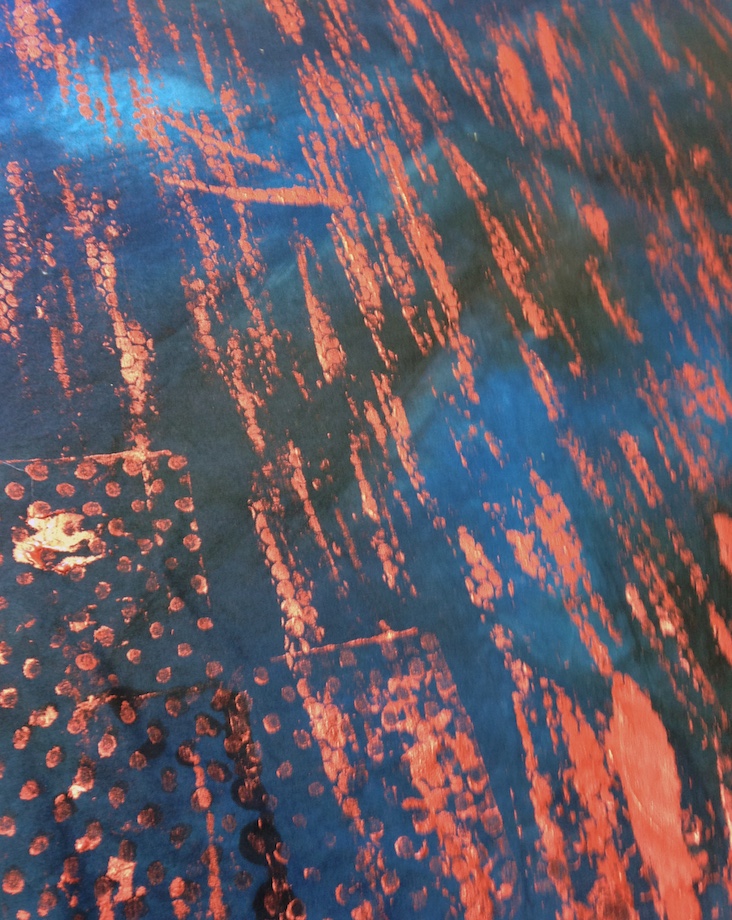
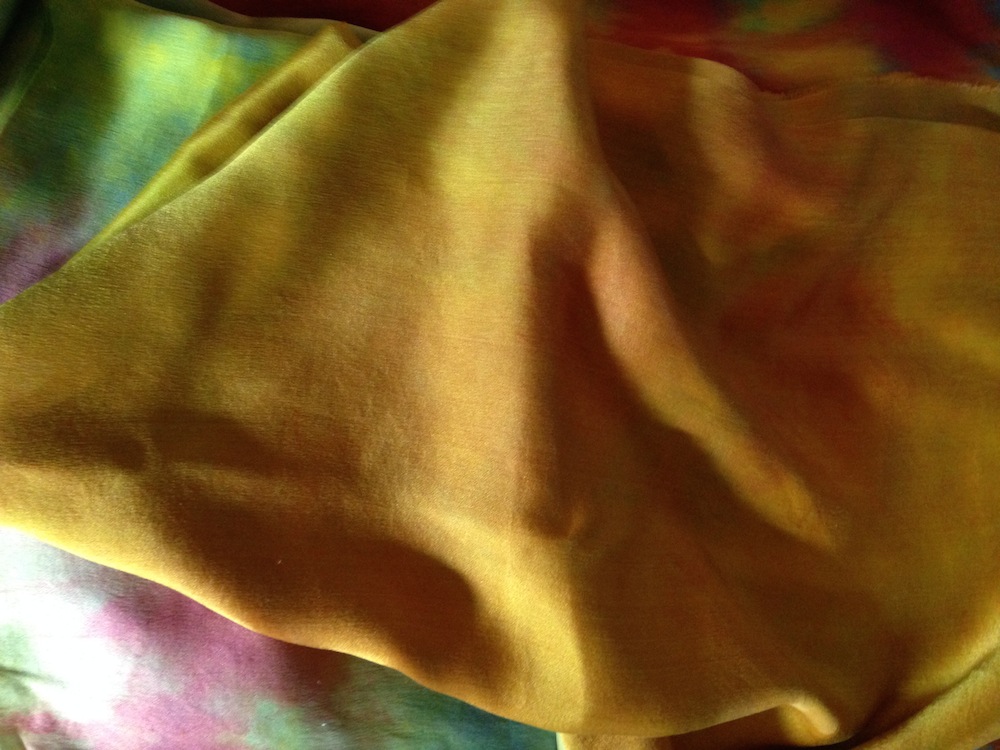
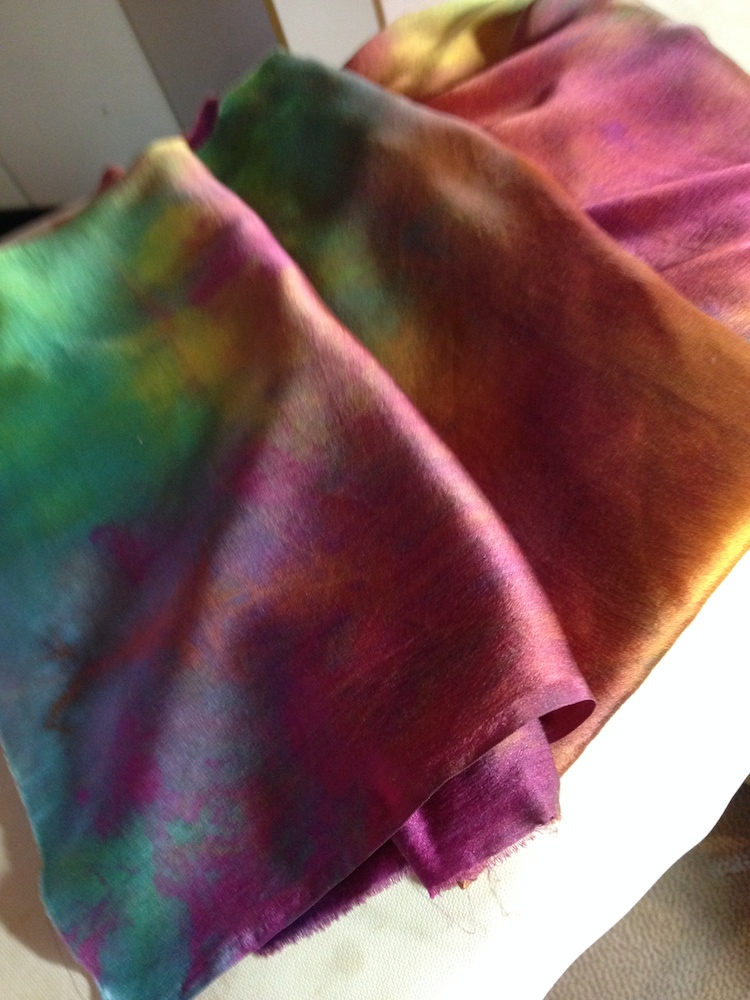
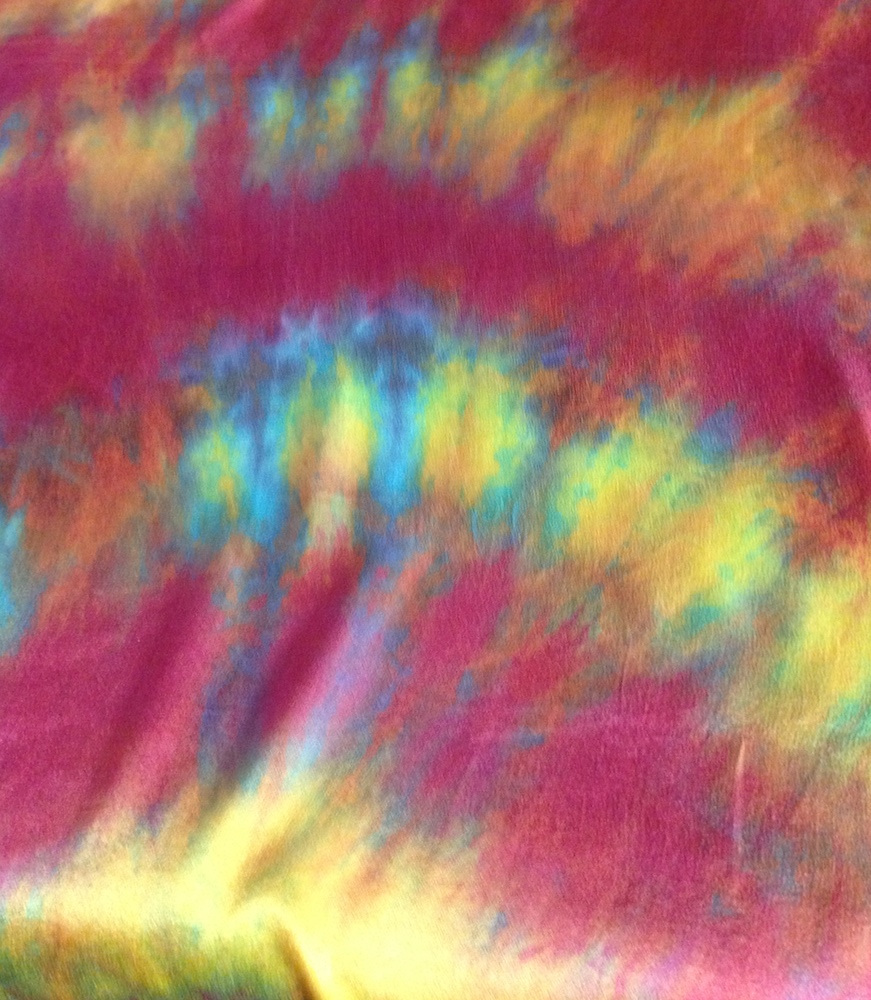
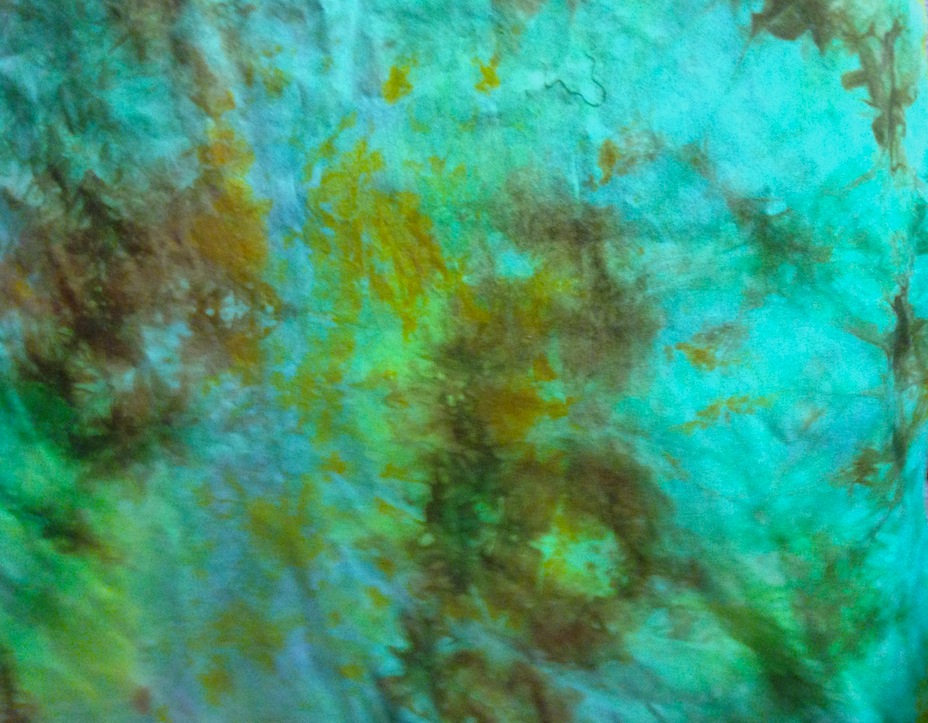
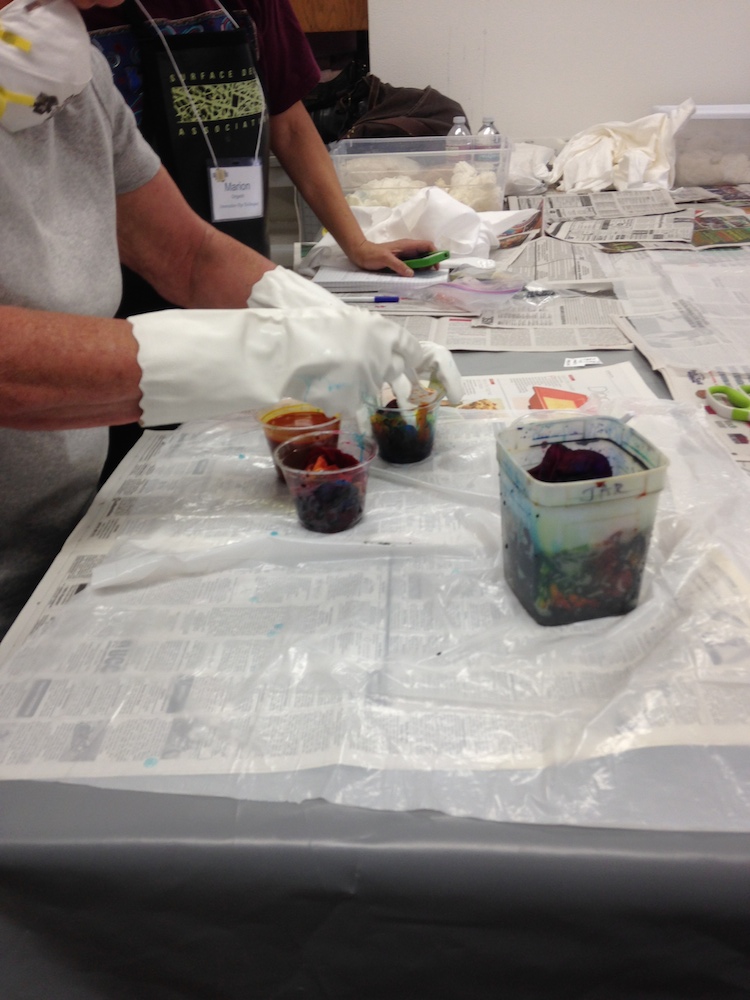
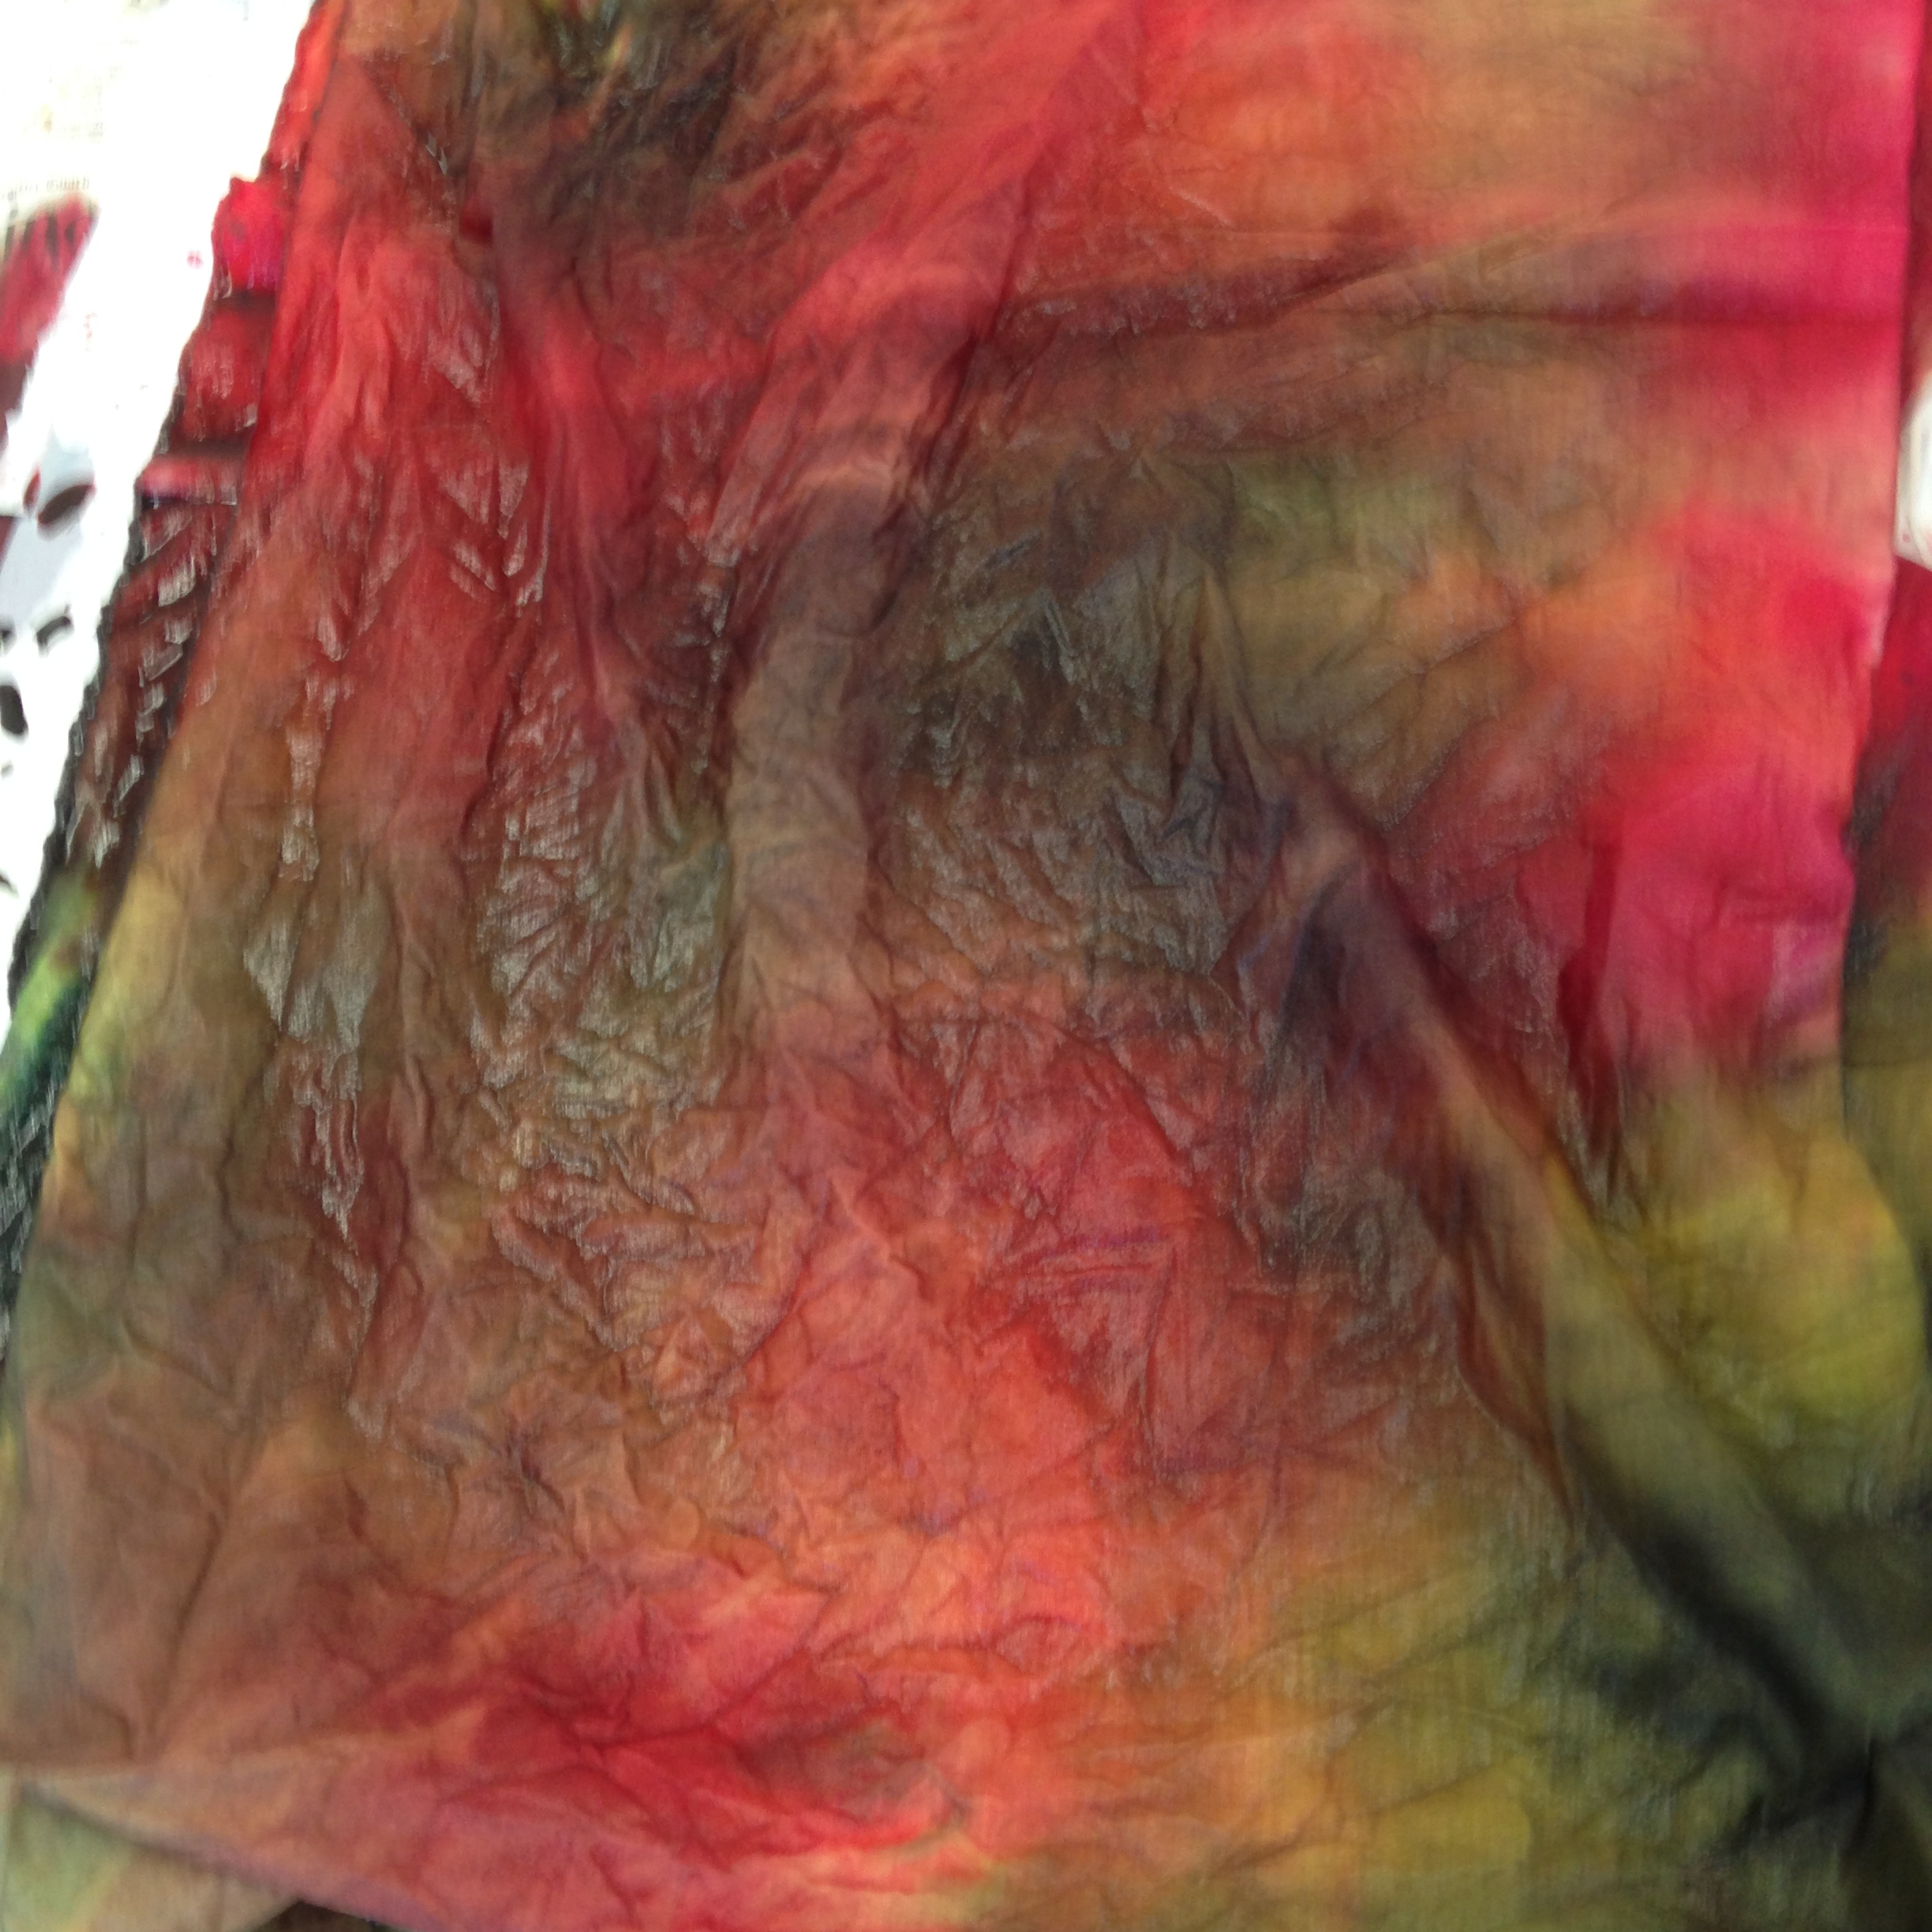
And here are my results. It is so hard to get grays and blacks that do not have purple or blue casts to them.

_DSC7556

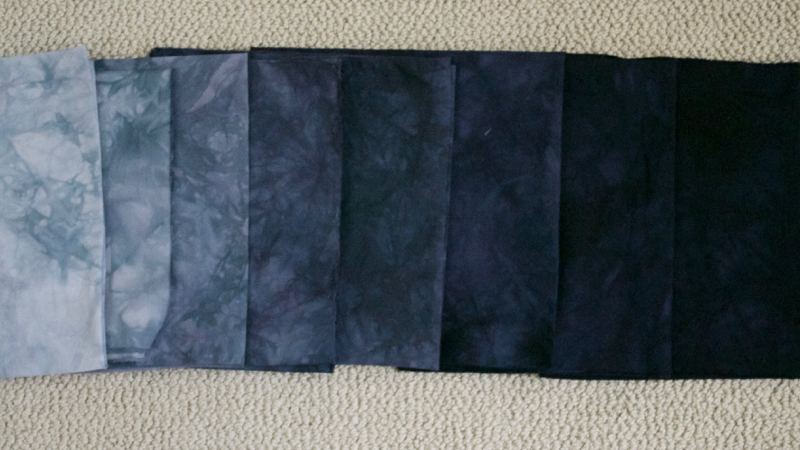
I also would like to get more even coloring and not have the mottled effect – things to work on.

The other thing that has kept me busy is purchasing a new car. Mr C and I have made lots of changes in our life to bring down the cost of living on the planet to have more discretionary income in our retirement. Getting the Prius was part of that, but to be honest, we never fell in love with the Prius, for many reasons. So it is leaving us and we now have a beautiful small Class C Mercedes Benz. It was a loaner at the dealership and has very few miles on it and all the bells and whistles. We just love driving it.

Screenshot 2016-01-14 20.14.23

We decided we needed just one little splurge.

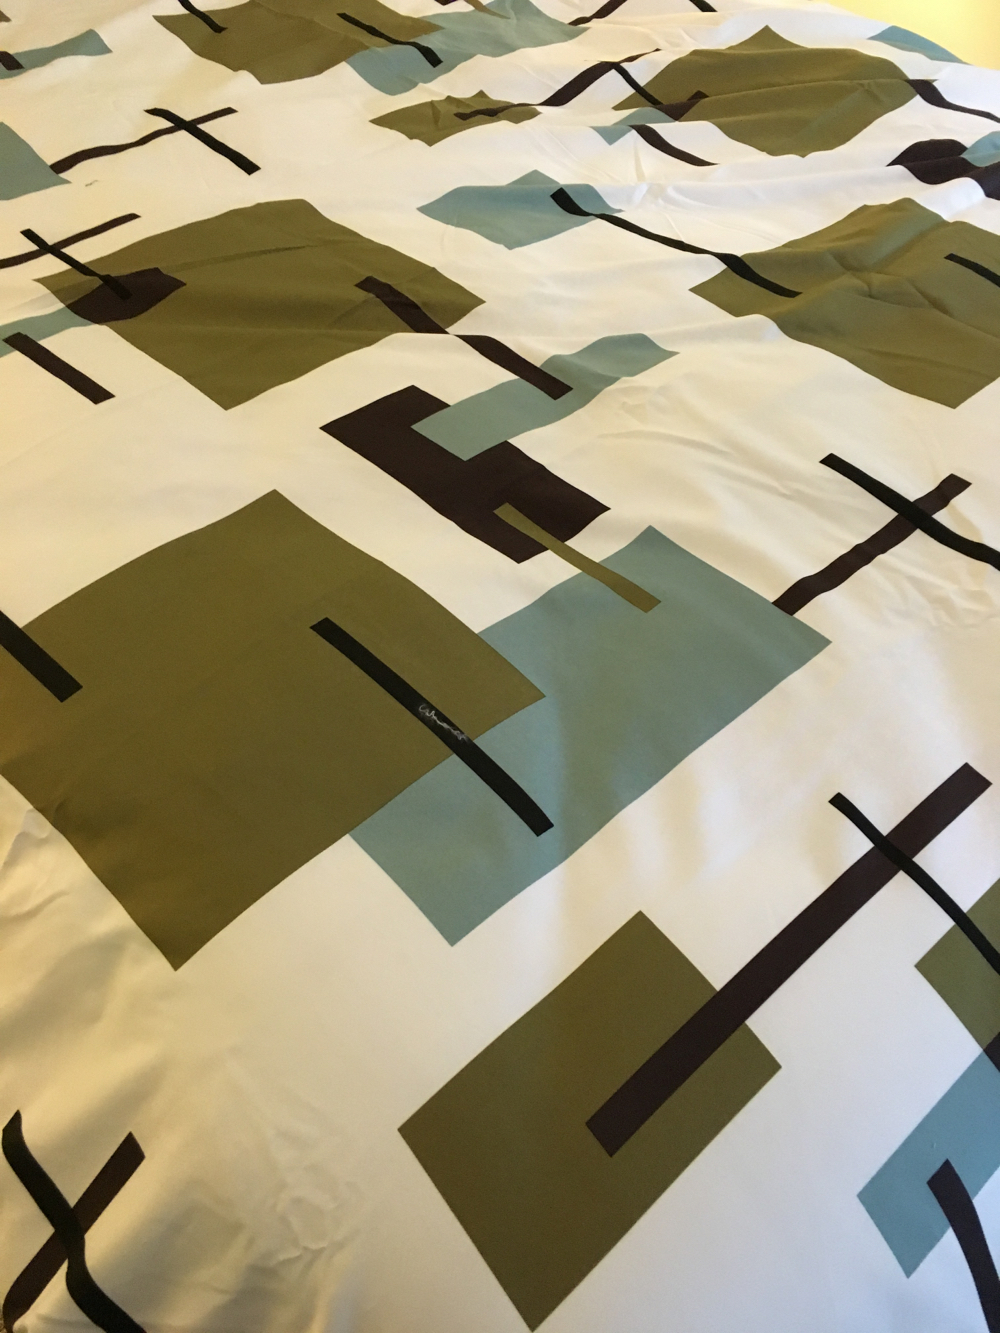
We also got a new mattress hoping it would help my sleep problems caused by my bum knees. I found this duvet cover which I love. It is reversible. Really looks great and suits our design aesthetic.


IMG_1189

IMG_1182


A Hectic, Satisfying Day

Thursday, January 7th, 2016

_DSC7543

When I took this quilt (without the tree) to my critique session last fall, the critic said it was not finished, it needed something else. I had always thought about putting a California Oak on it because you often see a lone Oak on the golden hills. I thought it might be too realistic for the overall tone of the quilt. But, today I did it. And, I am still not sure, but I sure love the tree.

I took off for the studio this morning to get this done. I cut a trunk.

IMG_1147

I auditioned some green fabrics and ended up using this batik. I think it worked well.

I fused the tree together on a teflon sheet.

IMG_1151

Then, I auditioned it in different spots on the landscape and fused it down.

IMG_1153

I took it home and quilted it.

I also finished this little quilt. I scattered a few more leaves on it before I added the facing.

_DSC7548

Tonight, we took the street car down to the Pearl to the opening of an art exhibit that 3 friends are in. I also retrieved my Blue Picasso Woman and brought it home. It has been traveling for a year and a half.

IMG_1156

I took all 3 of these quilts to Kristin LaFlamme who is taking them to Seattle with her tomorrow to be photographed by Mark Frey, who is a great photographer of textiles and art objects. Kristin has a 3-D piece that needs to be photographed for a catalog for a SAQA exhibit at the Textile Museum, Migration Stories. Here she is photographing it in our condo hallway for a video she plans to make of it in various sites.

IMG_0885

And so, I am feeling pretty good tonight. Got a lot accomplished. Tomorrow, I start an online dyeing class with Elizabeth Barton. While I was at the studio, I checked on my supplies. In this workshop she promises:

If you’ve never dyed before, this is the class to take. If you have taken a class but ended up feeling confused about the whole process, this is the class to take. If you have taken a class, and felt like it was all too much work, this is the class to take! If you have taken a class and had wimpy or muddy results, this is the class to take! If you have read about a class where you had to dye thousands of little square samples before you could even think about what you needed to make that quilt you have in mind, this is the class to take! If you want to be able to dye a reasonable approximation of any color you see anywhere, this is the class to take! In five lessons, I explain the process of hand dyeing in simple, safe, clear, easy to remember terms. We make enough dye concentrate in the first class to last us through the whole course – and beyond! You really don’t need to be mixing up dye every single time! There are only a few key factors to successful dyeing and I’ll explain them very clearly, so failure just simply is not an option! We will cover: dye mixing, gradation dyeing, pure versus mixed colors, how to derive your own recipes, how to dye neutrals and why you need them and the benefits of overdyeing. In the last class, working from a color inspiration source, we dye the fabric for your next quilt!


Keeping Busy!

Saturday, June 7th, 2014

picassowomanpattern

This is my larger than life Picasso woman. The original file was rasterized and printed on 20 sheets of legal size paper. She is going to be one of my entries for the What’s Blue to You show. I originally created her as an etching when I lived in North Carolina, where I took a print making class.

picassowoman

I eventually made her in fabric.

picassowomanportrait


I made a modern day version of her, as me.

nowselfportrait

So, now, I plan to turn her into blue Picasso woman, larger than life. I wanted to use a pale shade of blue for her face and neck and didn’t have a large enough piece so I quickly dyed some.

bluefacefabric

I was going to go out and buy batiks for the hair, but on second thought, I felt that I should print some fabric – some dark blue with orange red highlights. I used russet metallic paint.


I used my wavy wood block.

wavywoodblock

wavyprint

And sequin waste.

sequinwastestencil

And a Stencil girl stencil.

stencilforhair


I created patterns using freezer paper by tracing from the large print out. It will be relatively easy to do the eyes nose and mouth. My next decision is what to use for the background. I think I want to bring in some other colors for fun – maybe a Picassoish cubist background!!

I am having fun and learning how to work in my smaller space. I can not leave things out. Every thing has to be put away when I am done and moving to the next phase. When I took Judy Robinson’s class last month, I found a new clean up tool to have in the studio. Baby wipes, if used soon, will clean up dye and acrylic paint from your skin.

huggietool

Last night, Mr C and I took the street car over the river to the venue for the High Fiber Diet show, Simply Red, which is at the Architectural Heritage Center. Here are a couple of scenes from the exhibit and reception.

simplyredshow

You can see my moonstruck piece in this shot.

simplyredshow2

I have been doing lots of walking – yesterday, I walked to my studio and back home. I did over 8000 steps before lunch! In the afternoon, I got some training on the SDA website. I am going to start helping with membership stuff. It will add a few hours to my work load with them, but I think it is manageable.

That is all for now. Enjoy your weekend.


Fabulous Fabric

Monday, May 5th, 2014

goldensilk

I am so smitten with the newly dyed fabric in my stash!! Above is a beautiful variegated gold silk charmeuse.

I arrived home from Eugene late yesterday afternoon. I have yards and yards of new fabric for my stash. Here is more of the silk. The first batch was dyed in Judy’s  nature method.

dyedsilk3

This psychedelic piece was done with the texture method.

dyedsilk1


And this one is the star burst method.


dyedsilk2


I love these pieces of cotton which are color bursts.

dyedfabric7

dyedfabric6

I am not sure how I did these, but I like the dark values.

dyedfabric2

dyedfabric3

dyedfabric4

And this one is a star burst – nice, eh?

dyedfabric1

It took a few tries to perfect her lines technique, but this one is pretty good.

dyedfabric5

I have only made a small dent in ironing these. I love the magic that happens when you iron hand-dyed fabric.

I went to get my teeth cleaned today and had the bad news that the bridge on the right side of my mouth is disintegrating and is in danger of coming loose. So I have to go in and get new impressions and find out my options for replacing it. I see $ signs!!


Color Burst

Thursday, May 1st, 2014

fabricpullsfrom base

I am in Eugene at the Eugene Textile Center, taking a dye workshop from Judy Robertson. I have long coveted her fabrics  and when I first bought them, I was afraid to cut into them. We are using her methods on a variety of fabrics and are learning how to do her 5 signature dye techniques – color burst, star burst, nature, stripe and texture. In this photo, she is holding one of her fabrics that I bought and used in my Red Sky at Night.

judyrobertson


redskyatnight


Today we did color burst. mixed dyes

After sewing tyvek labels to our fabrics and soaking them in soda ash, we mixed up dye with urea water. To start, Judy mixed lemon yellow, fuchsia, turquoise and golden yellow. The base fabric is spread out on a sheet of plastic. I call this piece, the mother fabric because it will be used to produce several new pieces.

motherfabric

Then dye is poured over the fabric, leaving white spaces in between.

dyeonmotherfabric

yelloaddedtobasefabric

Then, she poured on some urea water to wet everything. Now, soda ash soaked fabric is placed on top and smoothed and smushed to bring dye on to the surface. You can see the result up at the top.

The fabric is then stuffed in a plastic cup and she spooned on some golden yellow and gave it a little more of a smoosh.


fabricaquishincup

I used spring green, fuchsia, and something else (I forget!) I then poured some black across it. I should have taken more photos. But,  here is my first pull.

myfabricpulls

Here are all my cups of fabric which are batching overnight. I get to wash them out tomorrow.

mycupsoffabric

Everyone in the class did a different colorway and we around the room creating pieces from them.

Anyway, it was lots of fun and I am looking forward to more fun tomorrow. We are starting with starbursts.