home
about the artist
gallery
blog
links
contact

Archive for the ‘painting fabric’ Category

January Printed Fabric Bee – Petroglyphs

Sunday, February 1st, 2015


PFB01.15petroglyphs

Lynda Heines chose petroglyphs and a turquoise and orange color scheme. I wanted to stay away from the more well-known cave drawings. I did a search of Oregon Petroglyphs and came up with some unusual drawings. These are the photos I used:

oregonpetroglypheyes

oregonpeptrglyph

oregonpet2

I wanted some different sizes and line width to create more interest and these seemed to fit the bill. I played with them in photoshop and came up with these:

oregoneyesbw

oregonpetro1bw

oregonpet2bw

I made 3 thermofax screens and headed to the studio. I love how my print surface is looking after several months of Printed Fabric Bee printing!

dropcloth

I digress!

I selected a beigish (made up word?) hand-dye for the background. I printed the eyes first using a light brown paint.

petroglypheyes

Next, I printed over that with the skeletal drawings, using turquoise.

oregonpetroglyphs

Then I added the bug like creature using a brick red paint. Here is the 6 inch piece I did for the giveaway.

PFB6inch01.2015

That was fun. And now, you can leave a comment on Lynda’s blog post and on the Printed Fabric Bee Blog for a chance to win a collection of the fabrics we all made.

PFB 01-15


Getting It Done

Thursday, January 29th, 2015

EBJanfinal

I am happy to say that despite my aches and pains this past week, I have made progress on many fronts. I finished my value assignment for the master class a couple of days early – woo hoo! I think it is a very successful piece with value doing a lot of the work and nice negative space in the dark areas.

I also finished my print for this month’s Printed Fabric Bee challenge. I will reveal that in a few days. I used the left over paint on a piece of silk and splattered it with purple.

funsilkpainting

The drawing class is over and we are on to reduction printing. It is really challenging to think ahead and do the carving in the order you need to get the colors and patterns in the order that you want. Her you can see my sketch and my initial carving. I am going to use the back side to make a rectangle of one base color.

reductioncarving

I found it very meditative to carve my block.

Fifteen yards of silk charmeuse and lots of Dynaflow paint arrived from Dharma Trading yesterday. I have spent time at the studio for a couple of days and finally have the fabric organized and put away. I am almost ready to set up for painting the silk. I am excited to get started.

On the pain front, I finally figured out the the knee pain is related to the trapped nerve in my butt for which I saw a physical therapist a while back. I stopped doing the exercises because I was no longer having pain. I have started doing them again and it is helping.

All in all, I am a happy camper for now.

Oops! I Forgot to Blog…

Sunday, January 25th, 2015

onefootfigure

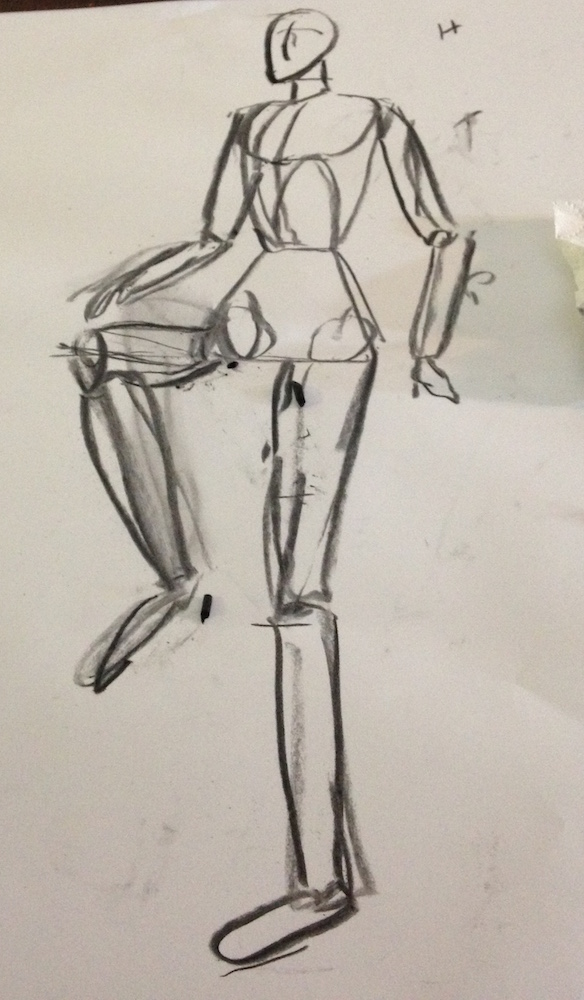
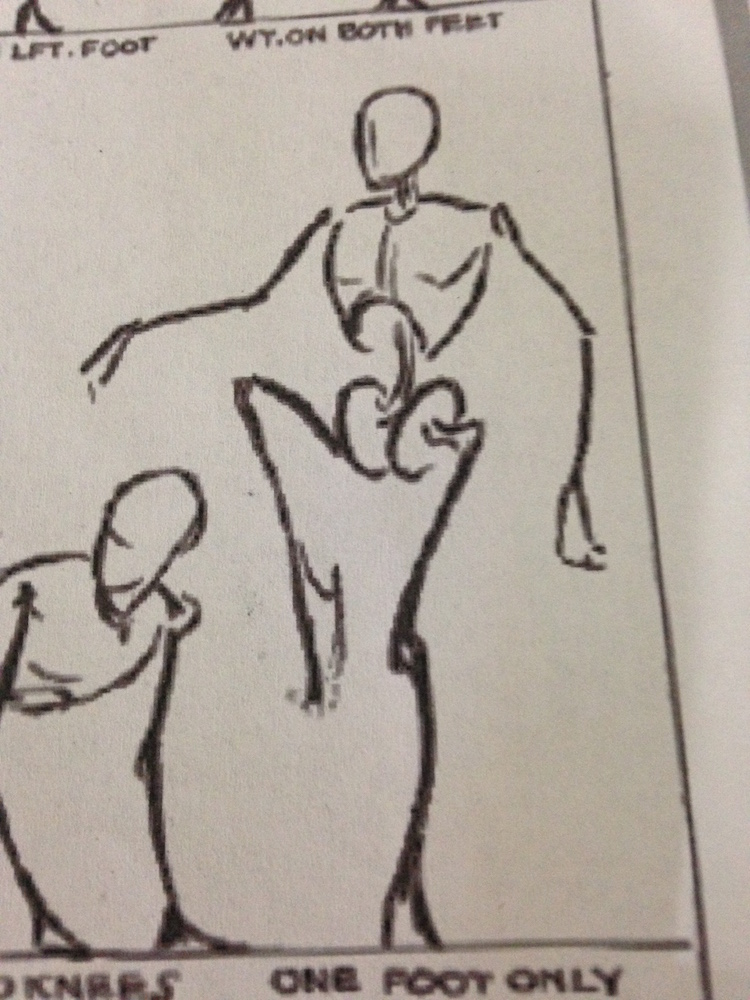
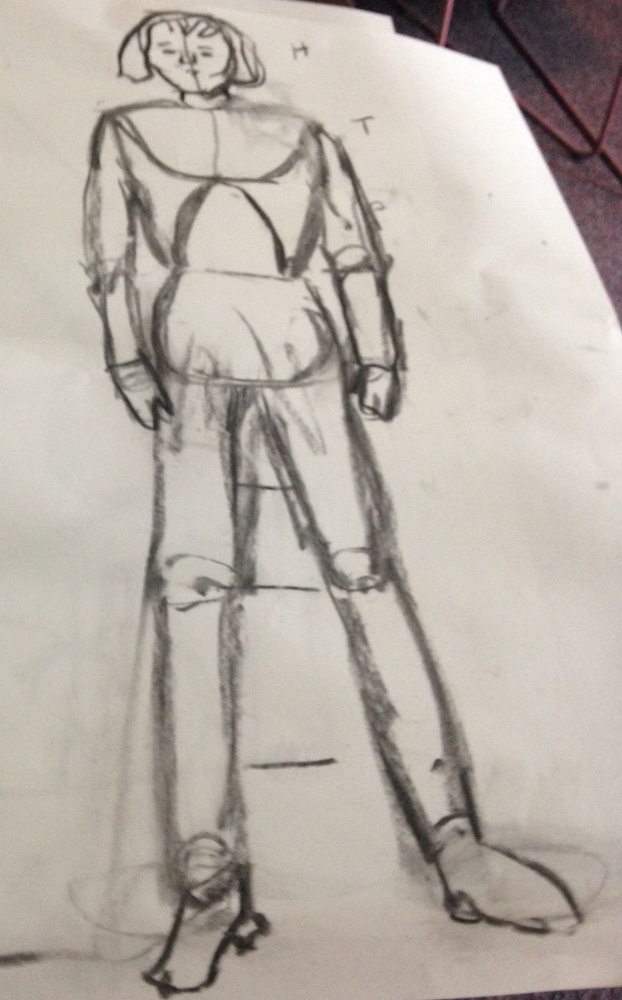
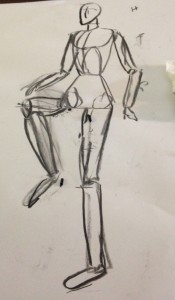
It has been a busy week! I had a SAQA meeting on Wednesday and lots of SDA work. Here is an update on the drawing class. We had our last session this week and he showed us how to draw the whole body and show different postures. Drawing a skellie first can help you get the right angles on the body parts. For instance, the above drawing was taken from this skellie.

skellie

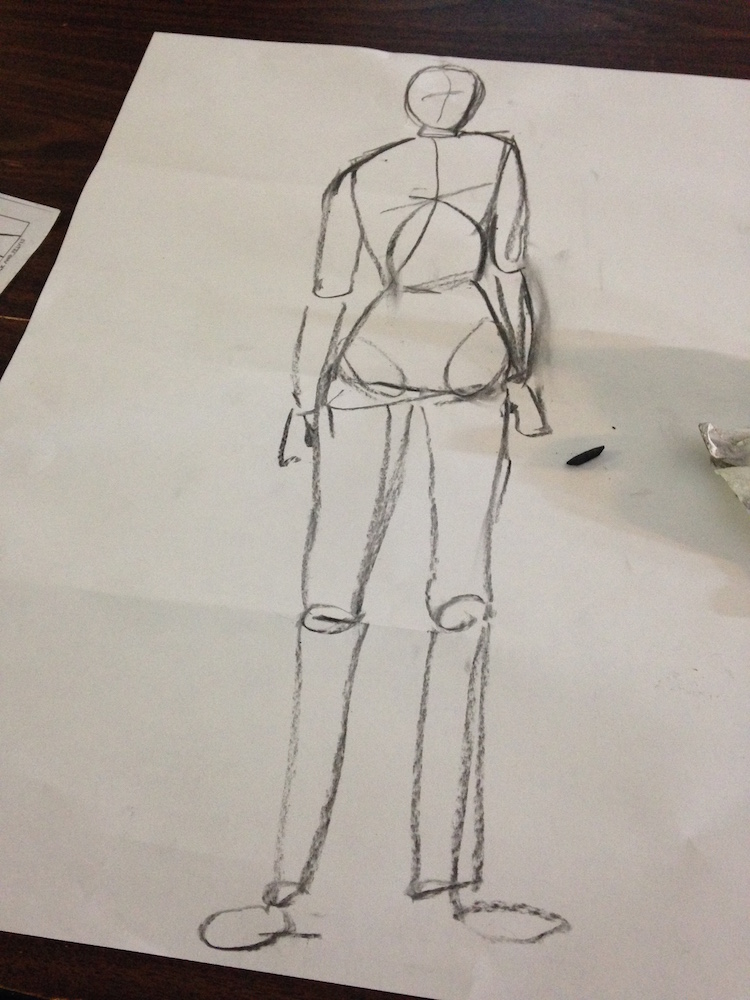
Did you know that the perfect proportioned body is 8 heads tall, but most of us are 7 – 7 1/2. The torso is two heads, the pelic area is one head and the legs are 4 heads. So you can take a piece of paper and divide it into 8 portions to draw your pefect human specimen. The photo’s perspective is off because the drawing was on the table.

8headfigure2

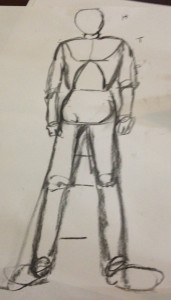
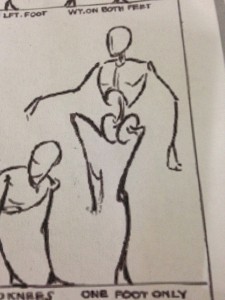
Another interesting fact is that an infant is 3 heads tall. Many paintings of babies have the head too small. As a child grows, the number of heads change. We also practiced other figure positions. This one is supposed to be standing on his right foot.

leaningfigure

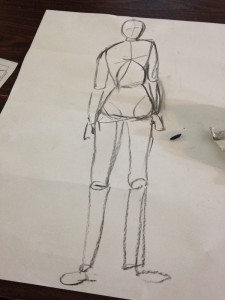
Here is another figure that I did.

8headstall

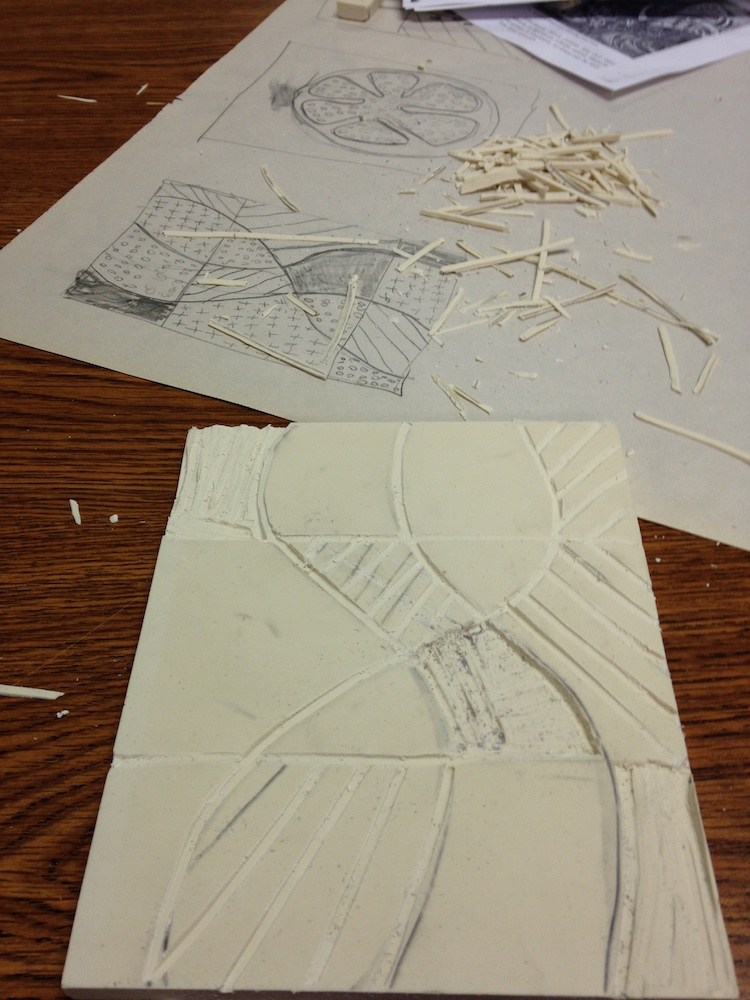
I doubt that I will be doing a lot of figure drawing, but I so enjoyed this process.  It has made me look at figures in paintings with a whole new eye. Next week, we start reduction printing. I am going to assist the teacher. I hope I get to participate, too.

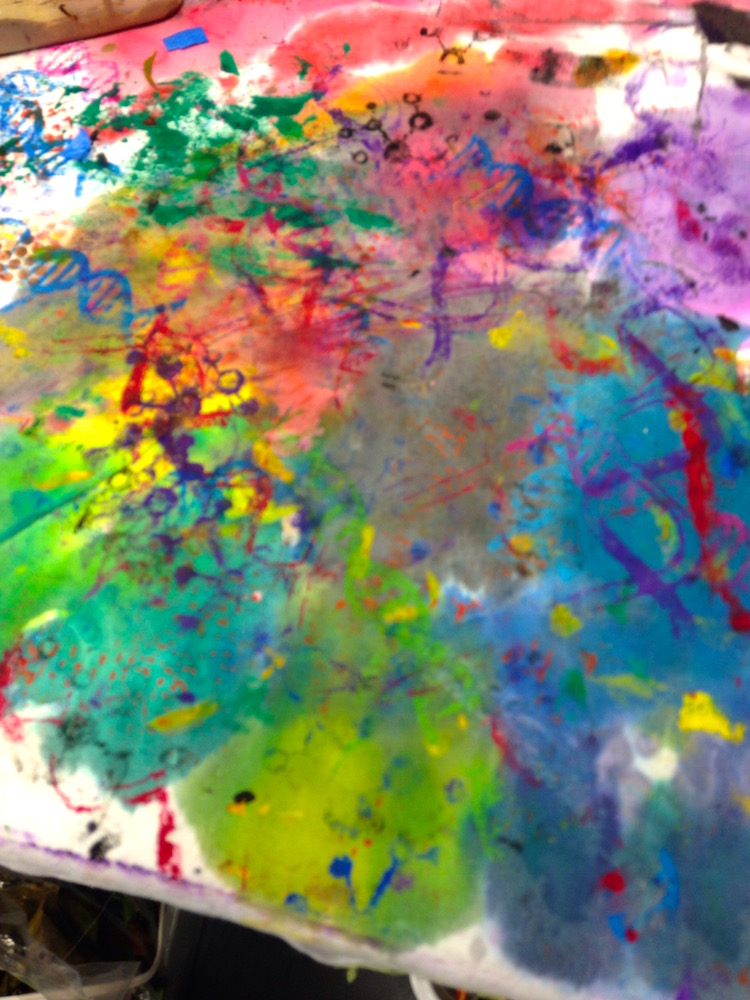
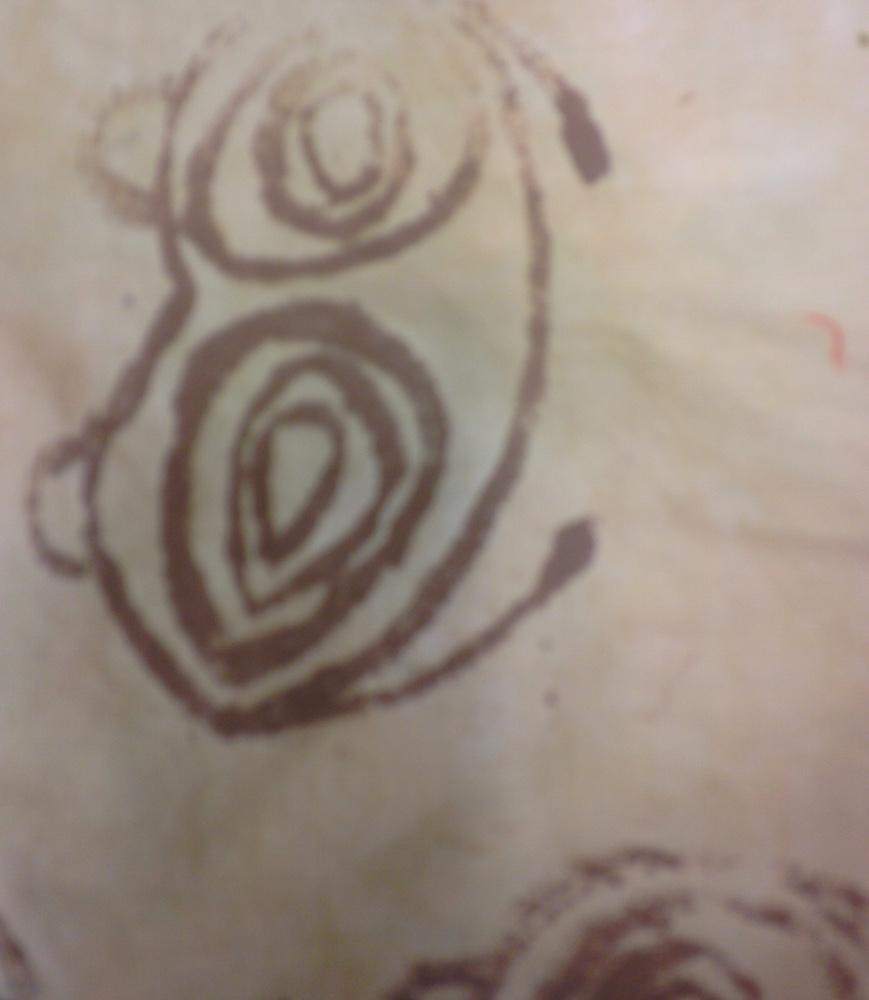
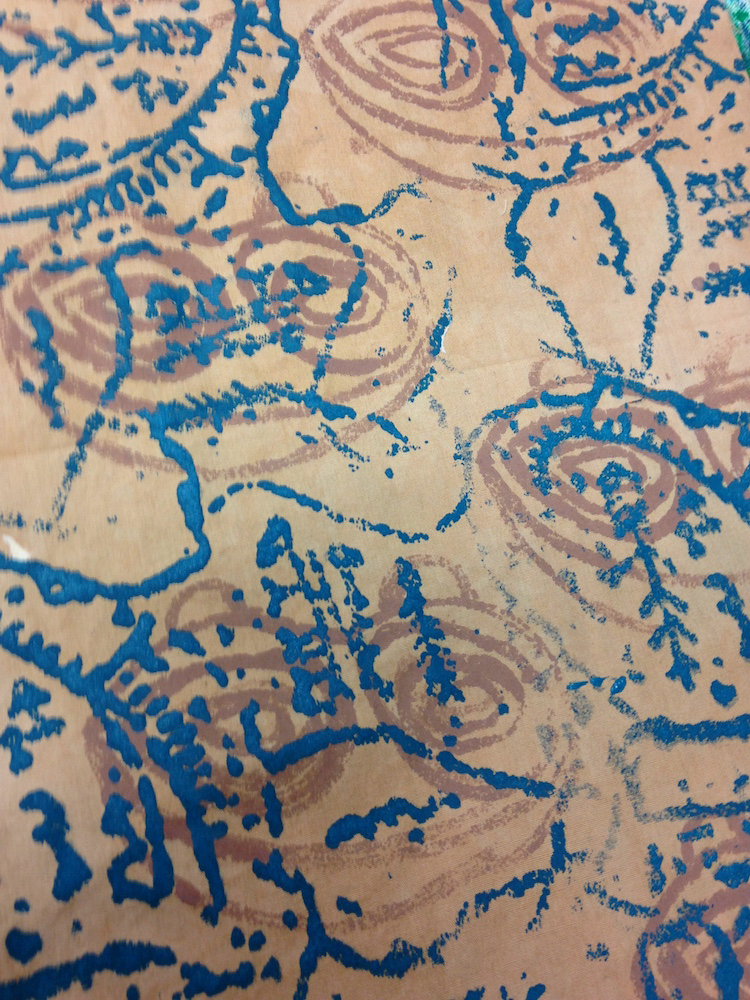
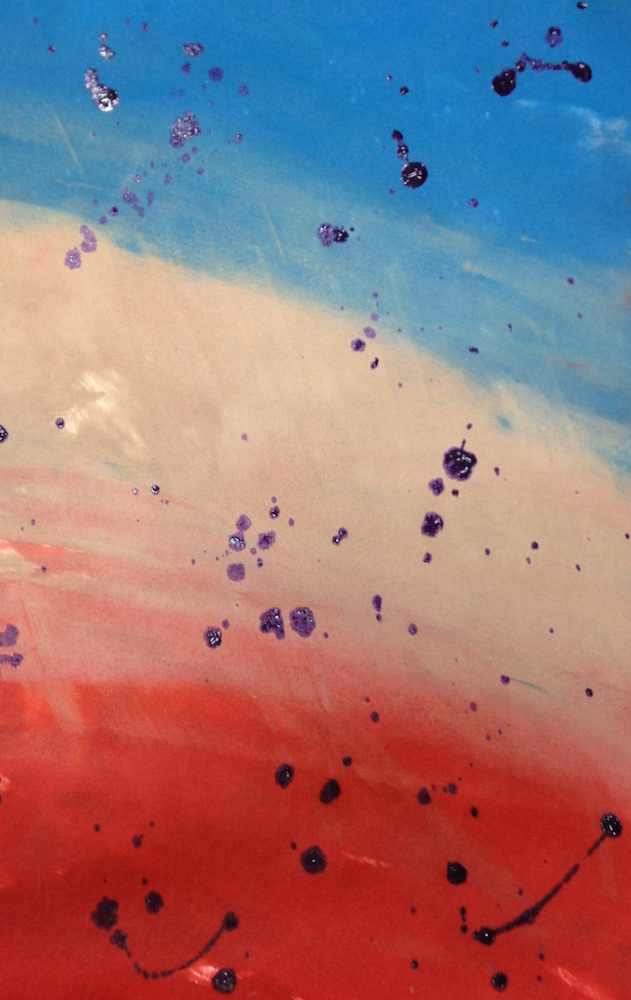
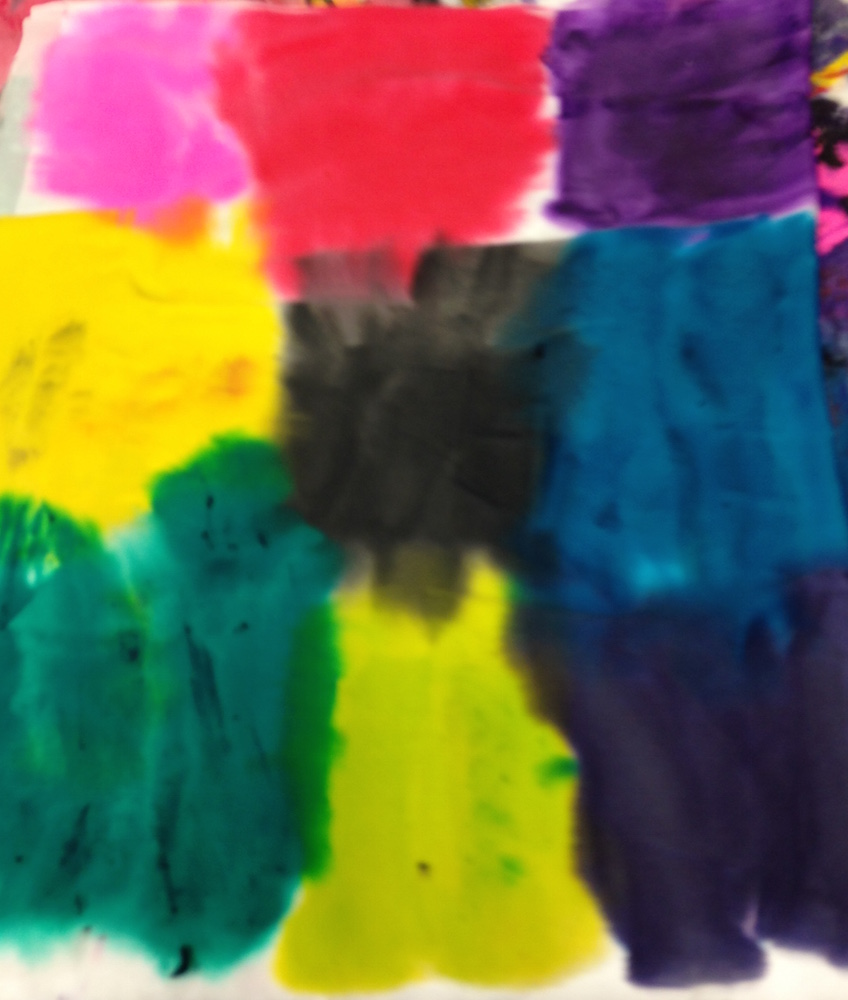
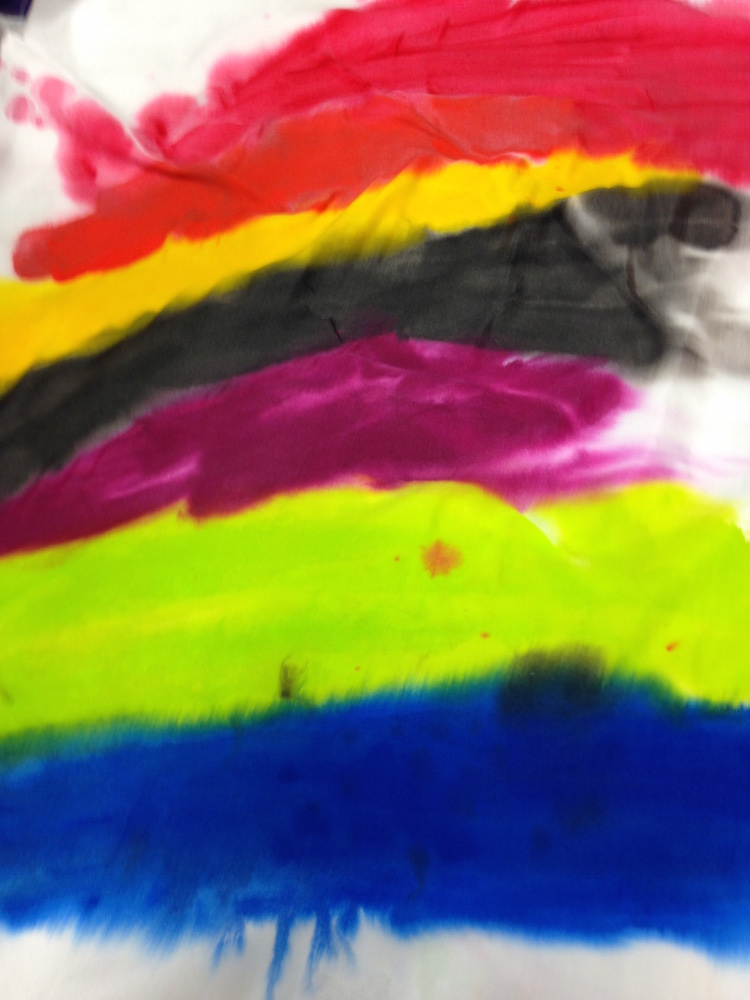
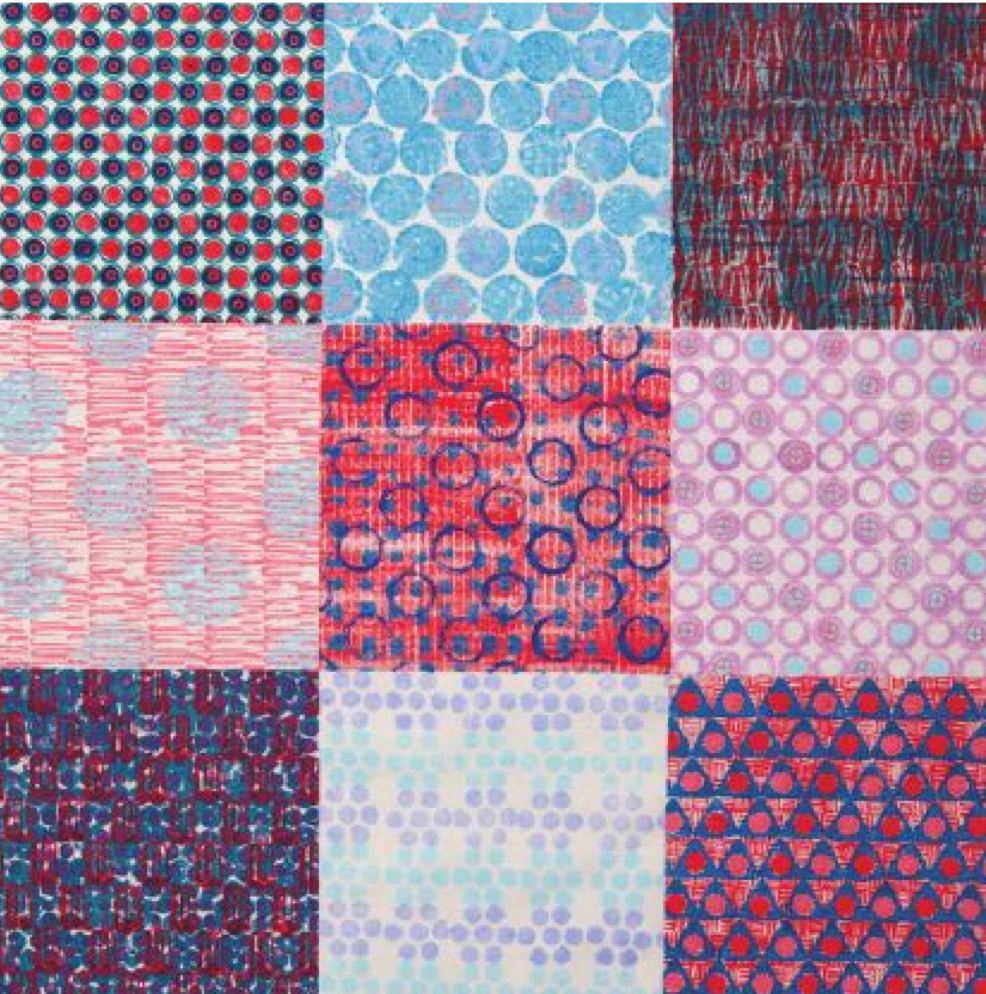
I was able to get to the studio one day and made a lot of progress getting the fabric stash under control. I also painted some silk samples. I think I am going to paint silk for my solo show instead of dyeing. I worry about the cool weather and getting the depth of color that I want. I used Jacquard’s Dynaflow paint on silk charmeuse and silk/cotton blend. I decided that I like the heavier weight charmeuse best. It is on the second fabric, below.

silkpainttest1

wilkpainttest2

So, today, I ordered 15 yards of silk charmeuse from Dharma and copious amounts of Dynaflow paint. I can’t wait until it gets here.

Thursday was Mr C’s 75th birthday. On Friday night we went out with Jack and Steph to a marvelous French restaurant in our neighborhood where we had a most excellent meal. Then we had birthday cheesecake back at The Congdo with M & M. It is always fun to catch up with these two and hear how well they are doing in school and life.

My new glasses came in early and I must say, they have really made a difference. So  happy to be done with the eye strain and headaches. Who knew?? LOL

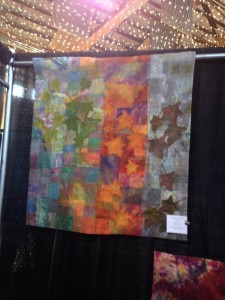
Yesterday, Terry Grant and I drove south about an hour and so to see the Stitches in Bloom show at the Oregon Garden. We both had work in the show. It was an interesting show with art quilts and traditional quilts sharing the same crowded space. There were quite a few vendors selling quilt fabric and notions. We had a nice lunch at the resort restaurant and then listened to a lecture by Cynthia Corbin from the Seattle area. I so love her work. Click here for a look at her website, if you are not familiar with her work. She has great sense of humor, too. I am looking forward to her workshop with the guild in March.

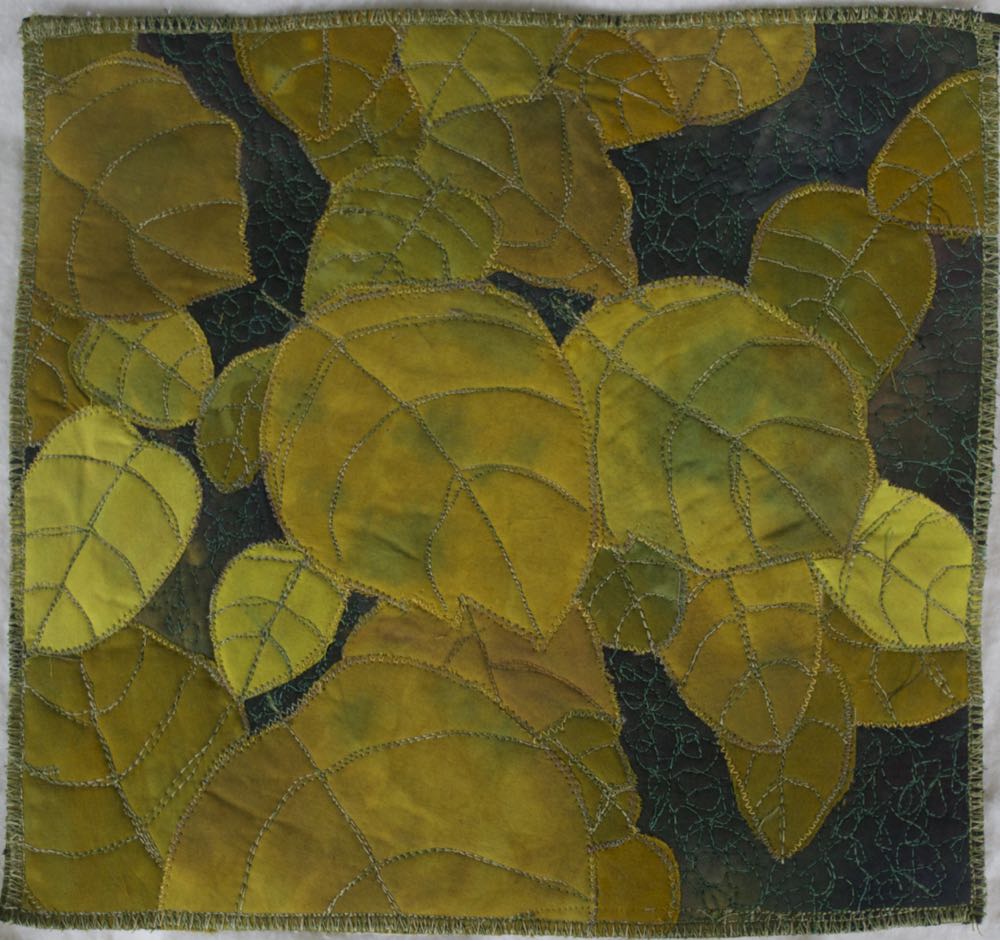
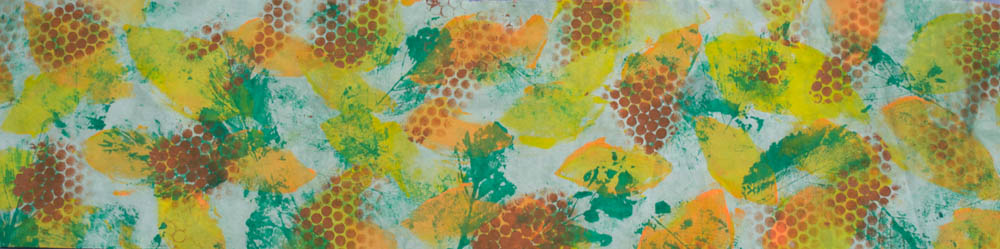
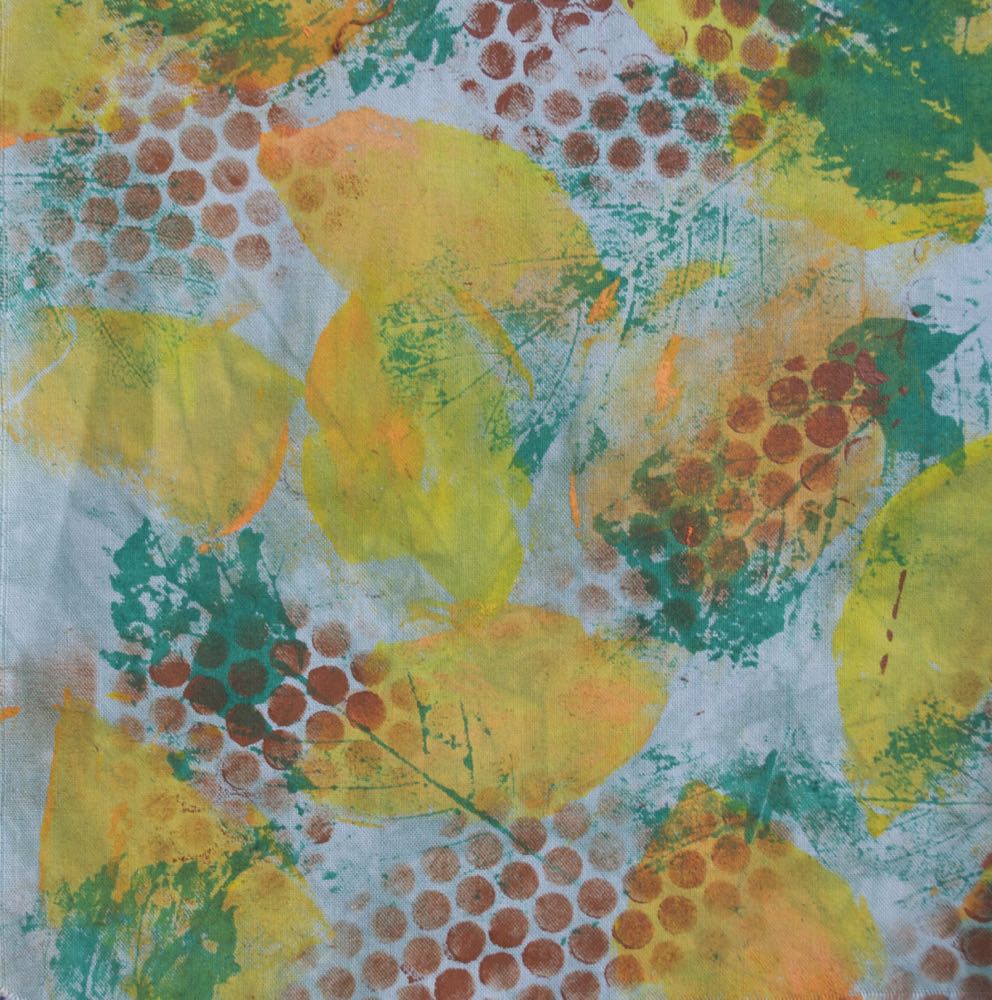
Here is a blurry photo of my leaf quilt at the show.

blurryleafphoto

It was a beautiful day to drive through the bucolic Oregon countryside. We saw Mt. Hood showing itself in all different directions.

mtHoodjan15

My goal for tomorrow is to do some more work in the studio and quilt my January EB piece.


Deconstructed Sunflower Print

Sunday, November 30th, 2014

deconstructedsunflowersusan

Here it is the last day of November, so soon. Where did the month go? For The Printed Fabric Bee this month, Susan Purney Mark was the Queen Bee. She asked for sunflowers. I tried coming up with various sunflower motifs and they all looked like ordinary sunflowers. I decided that what would suit my artistic sensibility would be to deconstruct the sunflower into its essential parts.

I started with printing a leafy background on a pale green hand-dyed cotton. I used a real leaf that looked like a miniature of an actual sunflower leaf.

greenleafprint

After doing some random leaf prints, I cut a couple of petal shapes from a piece of foam and started printing petals in various shades of yellow and yellow/orange.

petalspongeprints

morepetalprinting

For the sunflower seeds, I used some sequin waste to print random dots of brown.

sunflowerseedsprint

Susan requested that her piece be 6 inches by 24 inches. Here is the piece that will go into the giveaway:

deconstructedsunflower6

When we get the collage of all the pieces put together and we are ready for the drawing for the fabric collection, I will post it here.

We had a great Thanksgiving at Stephanie’s home. She cooked a whole turkey for the first time and it was delicious. I brought cranberry chutney, roasted squash and gluten free pumpkin pie.We enjoyed a walk in the neighborhood between dinner and dessert. Miles is really bonding with Scooter now, but he still is not ready to pick up the poop

TDay walk

I spent Friday and Saturday getting end of the month SDA work completed. This morning, Steph and I headed to Seattle, where I am right now. This is what greeted me in our hotel room.paigeinseattle

Paige’s Mom is having an all day interview at U of W Children’s Hospital tomorrow and so Steph and I are going to entertain this little charmer. The weather here is very cold, but with bright sun so it was a nice drive and nice to be out walking around in the University Village area.

Maybe I will check in tomorrow after our day in Seattle with Paige.

Fabric Printing at Home

Thursday, November 6th, 2014

juliesbook

Julie Booth, one of the members of The Printed Fabric Bee has written a wonderful book about printing on fabric at home. She uses every thing but the kitchen sink – on second thought, I think she probably uses the kitchen sink!! As a surface designer, I always enjoy looking at books with fresh ideas. I really enjoyed going through Julie’s book. It is packed with good information and beautiful photos.

She starts the book with very excellent information about setting up a home printing area and gathering the needed supplies – brushes, paints, and other tools. Scattered through the book are highlighted areas with extra information, tips and photos such as this one on how to make a portable padded print board.

juliepprintpad

Julie provides a plethora of ideas for using found items and stuff you will find in your kitchen cabinets for resists and printing – such as flour, sugar, veggies, foil. You can also find ways to use things you might normally throw in the trash or recycle bin to print gorgeous fabric.

juliefabric3

I especially like this trio of fabrics printed with blocks embellished with rubber bands, twist ties and string or twine. Click on any photo to see it larger,

juliefabric1

This piece has a nice textured background that has been over printed using veggies.

juliefabric2

You can pre-order the book from Amazon HERE.  Photos are used with permission from Quarry Books.